
0 - Introduction
If you need an IDE to program in almost any language, i can’t recommend Visual Studio Code enough. It is an open source code editor made by Microsoft and is very easy to use, but the true power in this editor is it’s extensions. In this article we will use one of those extensions to setup a folder in a remote computer where we can code and run our programs.
As always, let’s update the system before we begin:
sudo apt update
sudo apt upgrade
1 - Install
There are a couple of ways to install vscode in Ubuntu so you can choose the one that fits you best. In my opinion, installing via the app center is the easiest way for beginners, and has the benefit of vscode being run sandboxed.
1.1 - Installing via the App Center
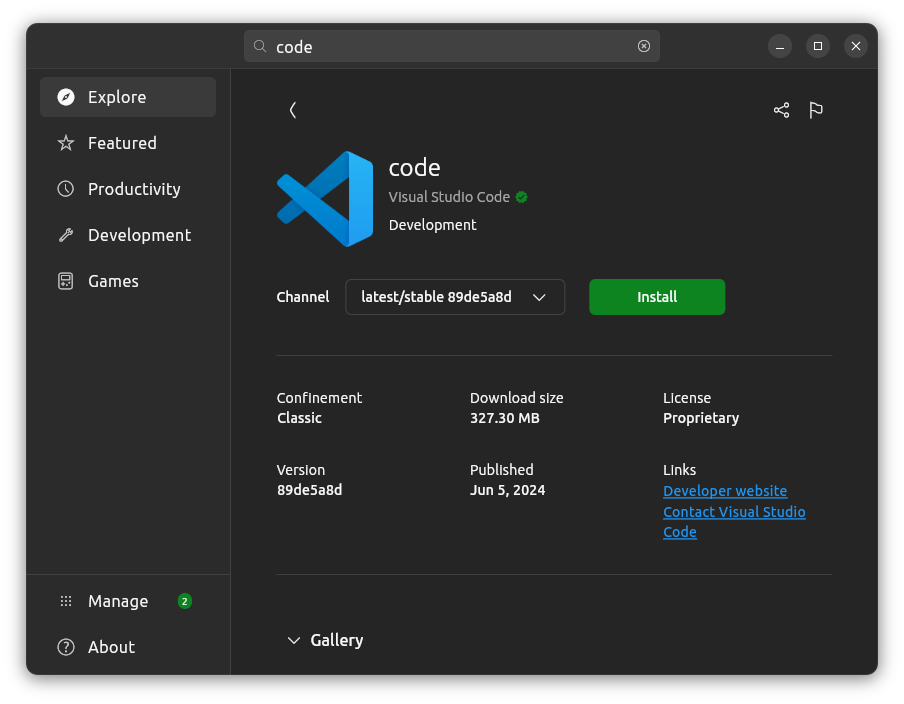
To install vscode via the App Center you just open it, press the search bar on the top and write ‘vscode’. It should appear an option named code like the one in this image, just press install and, when it’s finished, press open:
1.2 - Installing via the terminal
To download and install via the terminal we will use three commands, one to switch to the downloads directory, one to download vscode from the official website using wget and one last command to install it.
cd ~/Downloads
wget -v -O "vscode.deb" "https://code.visualstudio.com/sha/download?build=stable&os=linux-deb-x64"
sudo apt install ./vscode.deb
You can ignore this error if you get it, the app will still be installed:
N: Download is performed unsandboxed as root as file '/home/user/Downloads/vscode.deb' couldn't be accessed by user '_apt'. - pkgAcquire::Run (13: Permission denied)To open vscode you can either go to your apps menu in Ubuntu, or write this command in the terminal (‘.’ is the folder, you can remove it):
code .2 - Connecting to the server / remote machine
Before starting this part of the article, you need to have SSH enabled on your remote machine as you will be using it inside vscode.
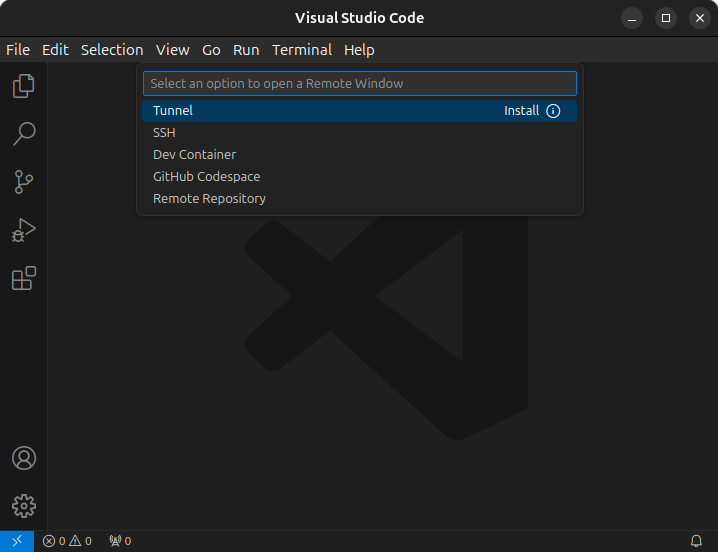
The first step is to press the blue button in the left bottom corner of the app, you then will choose SSH and an extension will automatically be installed.
You will then have to click on ‘Add new SSH Host’ if your remote machine’s address is not present.

You can then write the username you will use to connect and the address of the remote machine, separated by an ‘@’.
username@address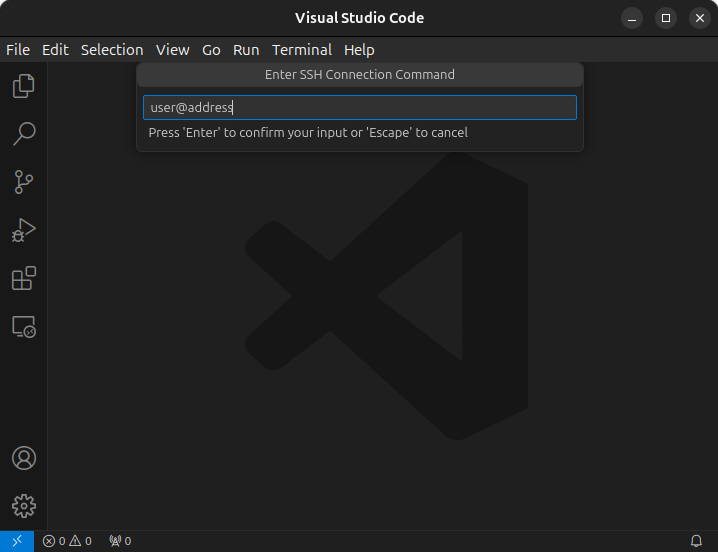
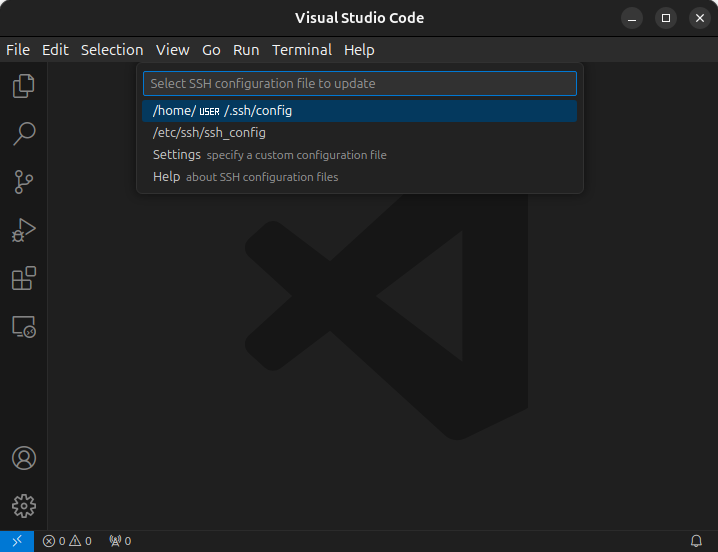
Now you need to choose the configuration in which to save. I recommend choosing your user’s config, so that other users on your machine don’t see them.
And finally press the corner button again and ‘Connect to Host’. From there you should see the recently added address, just click it and you are ready to code!
After being connected, you can change the remote folder by going to File, on the top left, and Open Folder. Also, you can install extensions both locally and remotely.

And that’s it, you should now have a setup where you can view and edit files while also being able to use the terminal to execute commands on the remote machine.
Thanks for reading and stay tuned for more tech insights and tutorials. Until next time, and keep exploring the world of tech!