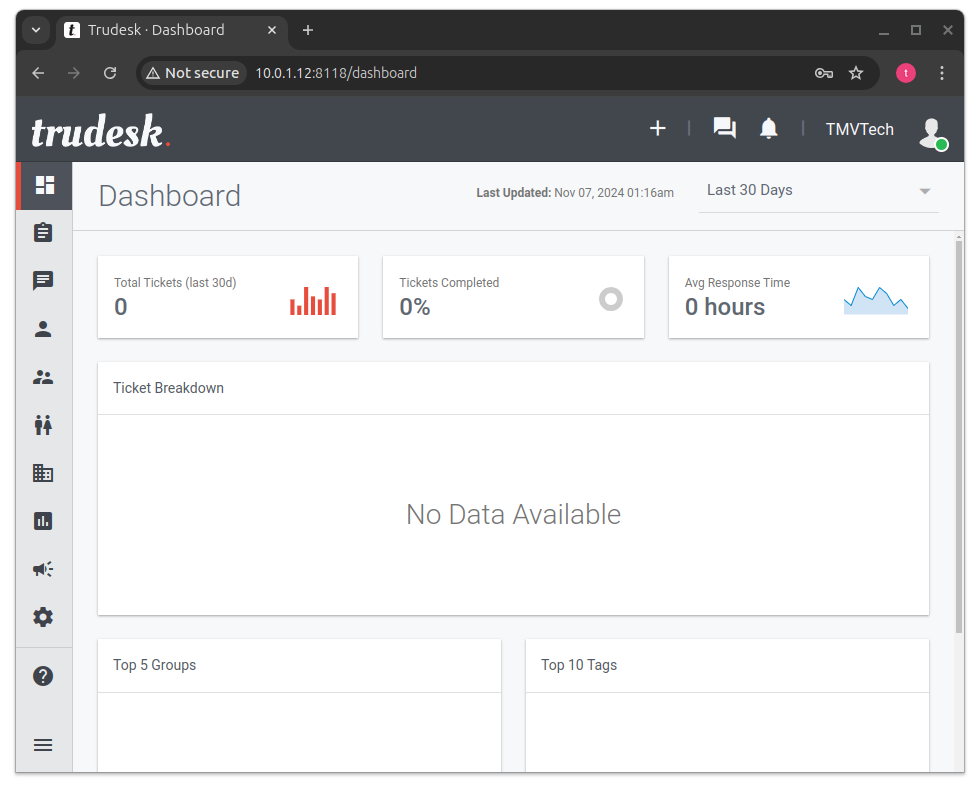
0 - Introduction
If you are starting a business, or already have one, you might want a way for your custummers to communincate with you and your team. Trudesk is an excelent ticketing system that is also open-source.
Besides the easy to use interface, you get a log of good features like user and team manegement, support for non-users to create tickets, notifications and alerts to your team, various levels of urgency, api for integrations with other tools and most importantly of all, self-hosted.
In this article we will use docker to host Trudesk, you can find an article on how to install docker here.
1 - Install
Let’s start by creating a folder for Trudesk and in it, create a file named ‘docker-compose.yml’
mkdir trudesk
cd trudesk
nano docker-compose.yml
This docker compose file will host Trudesk, a Mongo database and an ElesticSearch instance:
services:
  trudesk:
    image: polonel/trudesk:1
    restart: always
    ports:
      - "8118:8118"
    dns:
      - "1.1.1.1"
      - "8.8.8.8"
    environment:
      NODE_ENV: production
      TRUDESK_DOCKER: "true"
      TD_MONGODB_SERVER: mongo
      TD_MONGODB_DATABASE: trudesk
      USE_XFORWARDIP: "true"
    volumes:
      - ./data/trudesk/public/uploads:/usr/src/trudesk/public/uploads
      - ./data/trudesk/backups:/usr/src/trudesk/backups
  mongo:
    image: mongo:5.0-focal
    restart: always
    ports:
      - "27017:27017"
    volumes:
      - ./data/mongo/lib:/var/lib/mongo
      - ./data/mongo/data:/data/db:rw
  elasticsearch:
    image: elasticsearch:8.0.0
    restart: always
    environment:
      - xpack.security.enabled=false
      - xpack.security.http.ssl.enabled=false
      - discovery.type=single-node
      - bootstrap.memory_lock=true
    mem_limit: 1073741824
    ulimits:
      memlock:
        soft: -1
        hard: -1
    ports:
      - "9200:9200"
      - "9300:9300"
    volumes:
      - ./data/elasticsearch:/usr/share/elasticsearch/data
After saving the file, start your container by running:
docker compose up -d2 - Setup
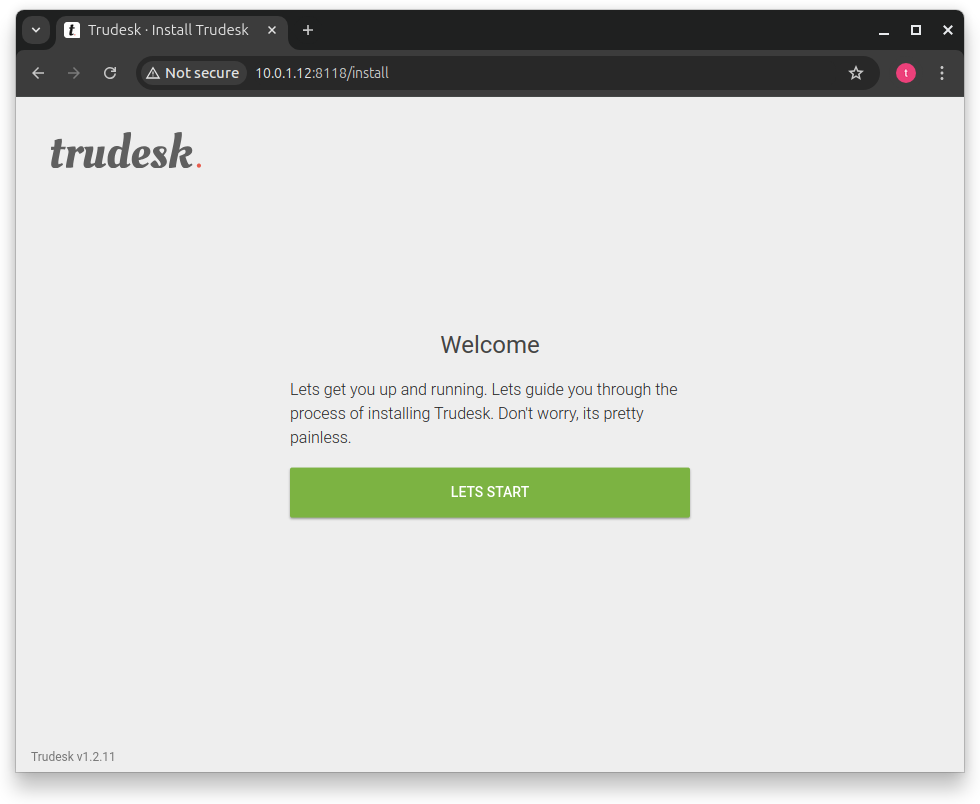
Once your container starts up you can go to ‘yourmachinesip:8118’ to access Trudesk. You will be greated with a ‘Welcome’ screen, click ‘let’s start’ to begin the first setup.
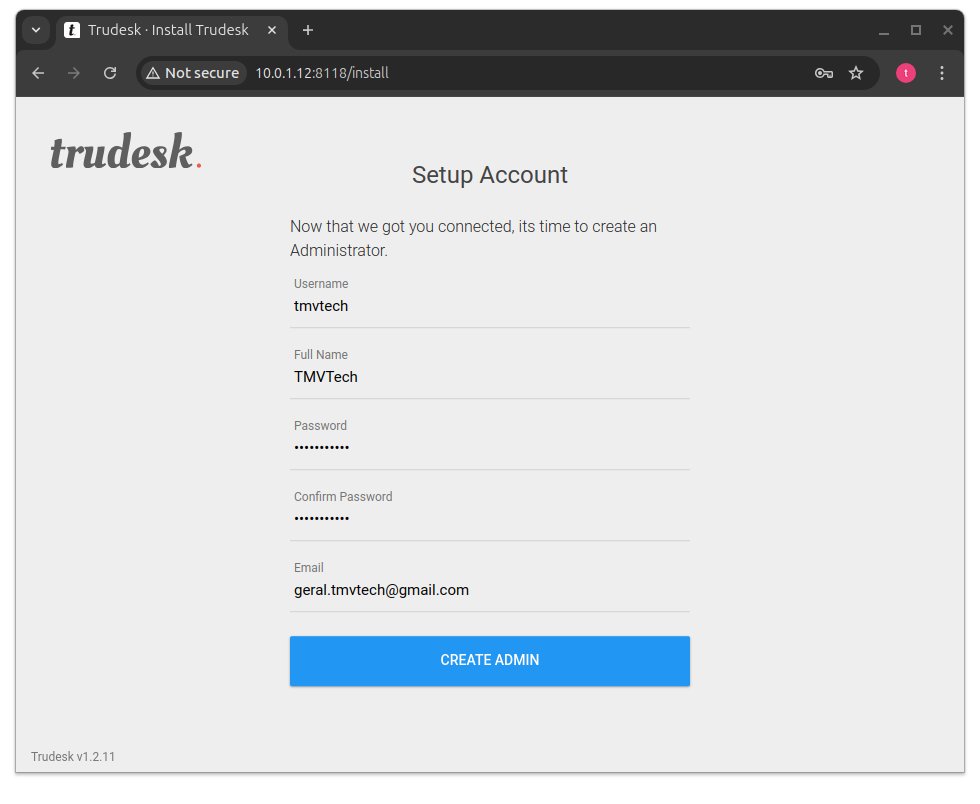
You will need to create the first user, which will be an admin. Input your username, full name, password and email and click ‘Create Admin’.
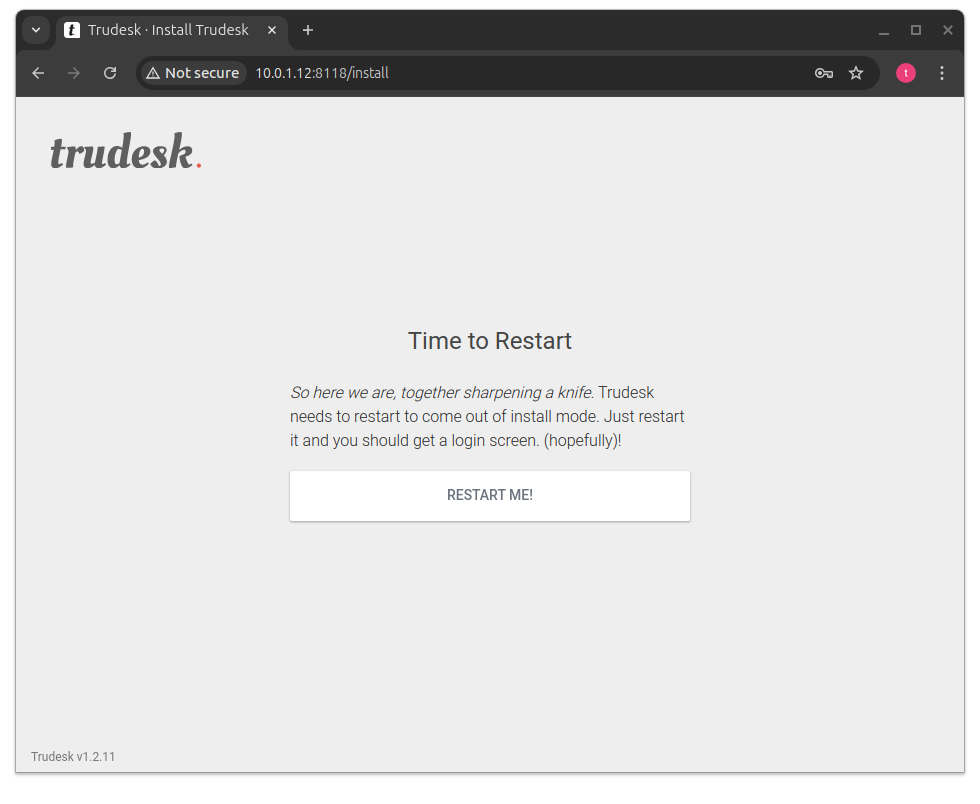
After creating the user you will be asked to restart Trudesk, click the button and wait a little, you should be automatically be redirected to the login page.
After the restart, you can login with the username and password you created before.
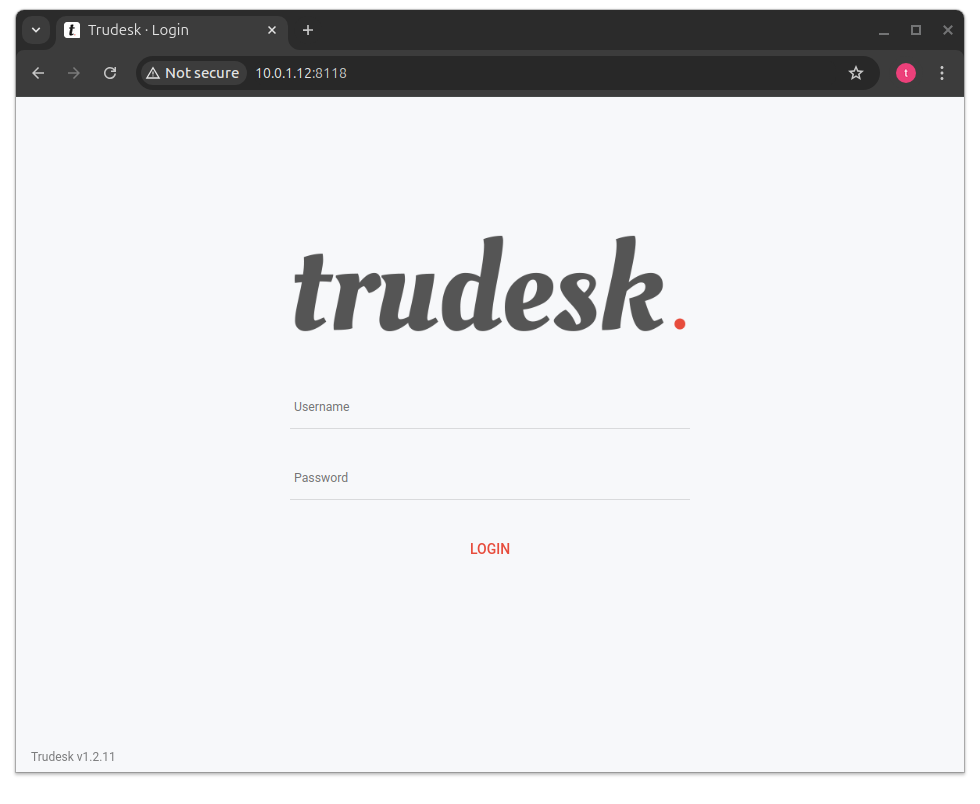
And that’s it, you should now be able to create accounts for your team and you can start using Trudesk.
To host this service in your homelab, but have it accessible from outside, we recommend you install NGINX Proxy Manager and enable SSL.
Thanks for reading and stay tuned for more tech insights and tutorials. Until next time, and keep exploring the world of tech!
