
0 - Introduction
When you have a lot of services in your homelab it can be annoying to remember in which port is git, in which is your streaming server, which is my game server? It’s a mess. And for that reason we will be setting up Nginx Proxy Manager!
It let’s us configure, in a clean and simple UI, which address goes to which service in our network. And it even let’s you redirect ports, so for example you can host ssh on your pc in port 10101 but for people outside, it will be the default 22.
In this article we will be using docker. If you do not have it setup on your machine you can follow this article to install it.
1 - Setup
Start by creating a folder for Nginx Proxy Manager and create a file inside named ‘docker-compose.yml’. In there paste the following code:
services:
  nginx:
    container_name: nginx-manager
    image: 'jc21/nginx-proxy-manager:latest'
    restart: unless-stopped
    ports:
      - '80:80' # http
      - '81:81' # panel port
      - '443:443' # https
    volumes:
      - ./data/nginx:/data
      - ./data/letsencrypt:/etc/letsencrypt
Once you have saved the docker compose file run:
docker compose up -dIf you need to change any file in the data folder, like any configuration, you can use the following command to be able to read and write:
sudo chmod go+rw path/to/fileorfolderDepending on what you changed, you might be required to restart the container, just do ‘docker compose down’ and then ‘up -d’ again.
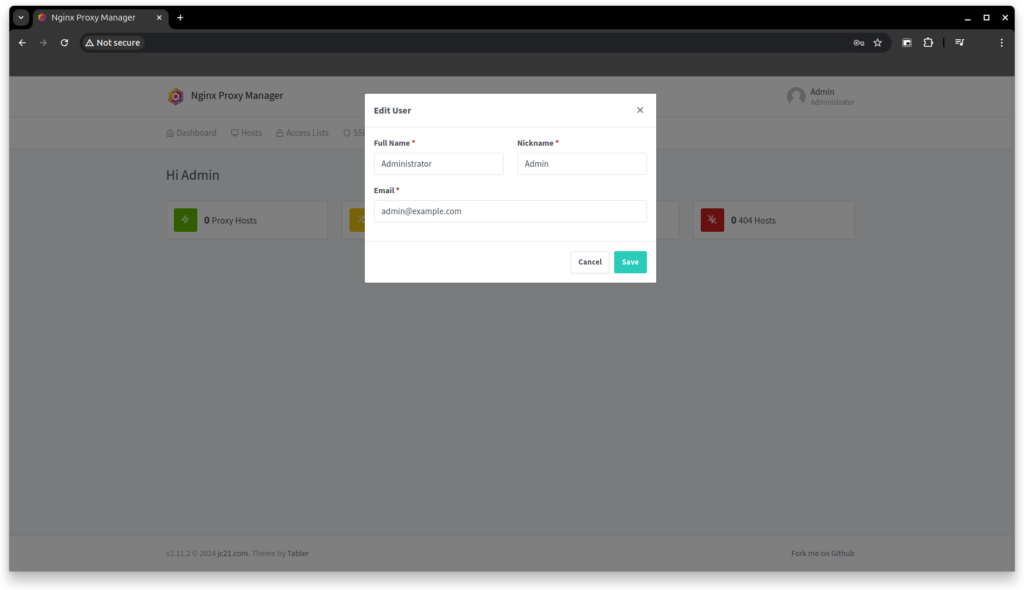
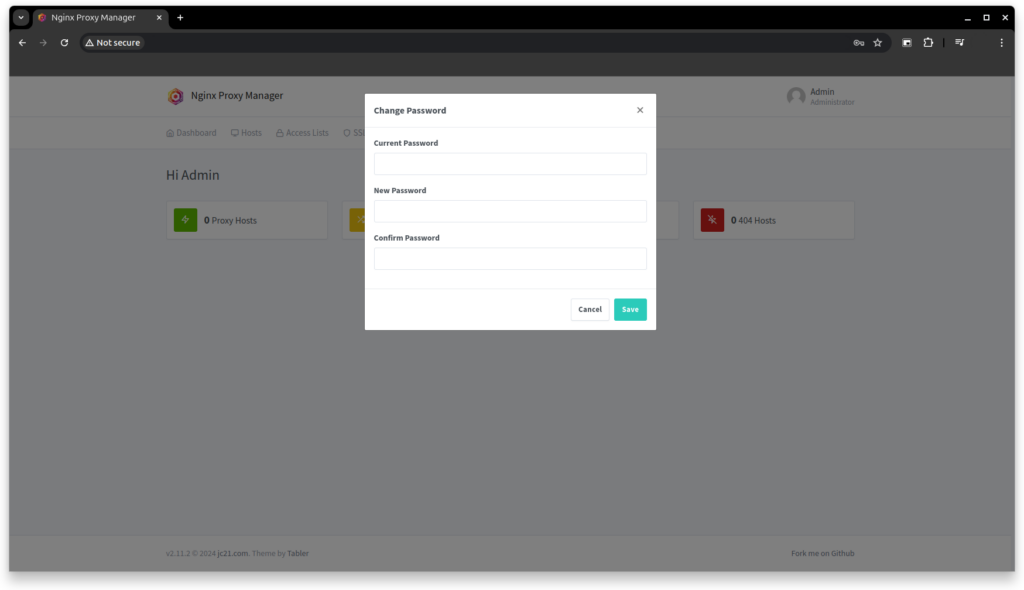
2 - First Step
Now that you have your proxy server running, you need to configure it. If you used the default port you can just go to your browser and go to ‘machineip:81’. When you do, you will asked for an email and password, the defaults are:
admin@example.com
changeme
After you login, nginx prompts you to change the default user, DO IT, it is a security risk to leave the default credentials, even if you do not expose your panel to the public.
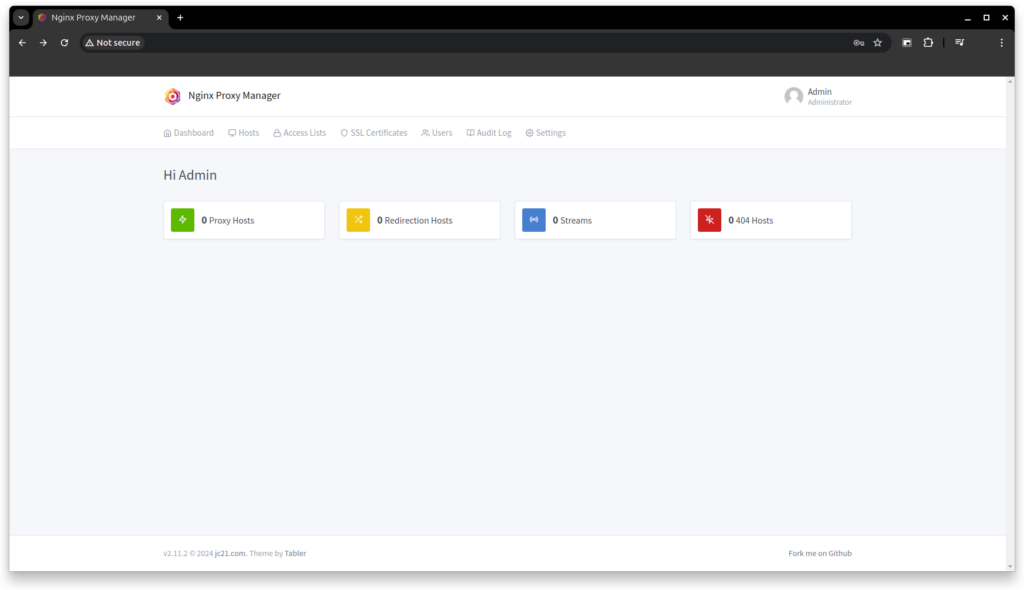
3 - Adding a proxy host
To best enjoy the benefits of a reverse proxy you need a domain. Domains are usually paid for, but there are some free dns providers like duckdns.org or dynu.com. You need to make sure that your dns provider allows wildcards, ‘*.yourdomain.com’, if it doesn’t, you need to add every subdomain you want to use and that varies, on how to do, by every provider.
To add a proxy host, you first need to go to the dashboard (the home icon):
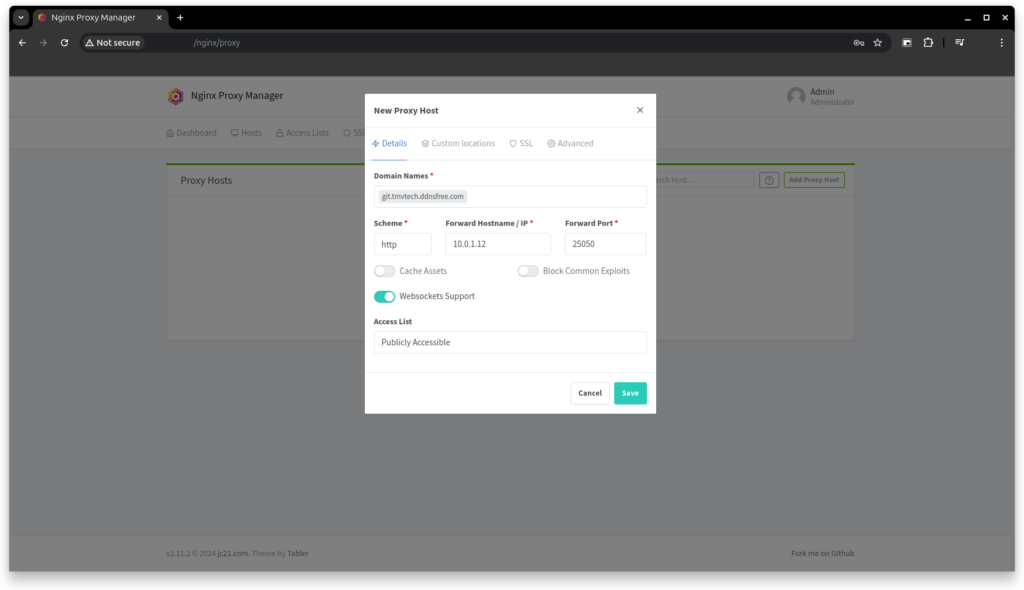
Then you press on ‘Proxy Hosts’ and ‘Add Proxy Host’. On ‘Domain Names’ you can write every name you want to use to access a certain service, for example, if you want to be able to access a service in multiple domains.
4 - SSL
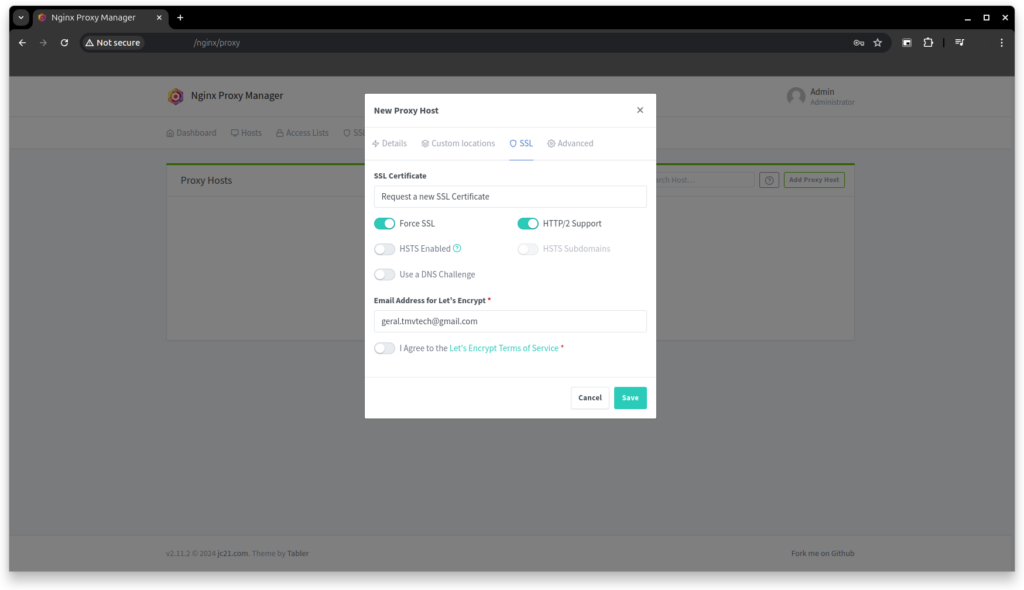
With the help of Let’s Encrypt, you can add a ssl certificate to your service that does not have ssl. This feature is very good for people that host some old services, but that still want to protect their users, or at least, make them feel safer while using it. While creating or editing a proxy host you can go to the SSL tab and request a new ssl certificate, just make sure that ‘Force SSL’ is enabled.
Be advised that to use this feature your service need to be acessible outside your network!
5 - Streams
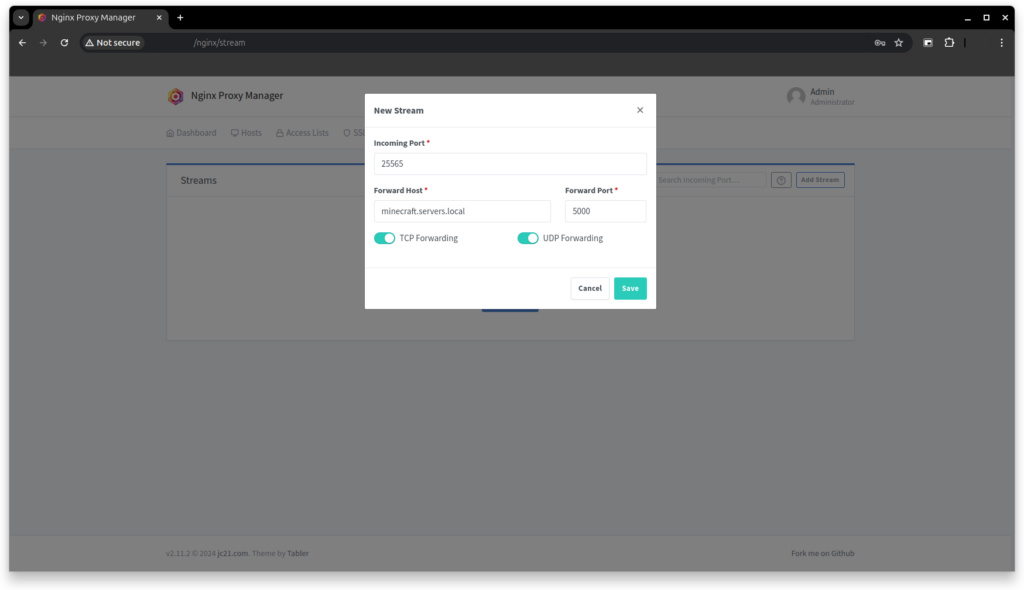
Streams are a very simple feature that let’s you redirect a port to another port. For this feature to be able to be used you need to add the incoming ports to the docker compose file of nginx.
To add a stream go to the ‘Dashboard’, then click ‘Streams’ and ‘Add Stream’. In here type your incoming port, then the IP of the machine that is hosting the service, and finally the port where it is hosted.
And that’s it, you should now be able to add your other services and use them with the hostname you gave them!
Thanks for reading and stay tuned for more tech insights and tutorials. Until next time, keep exploring the world of tech!