
0 - Introduction
If you want to use a specific AI model there is no better way than to setup Open WebUI, it has a very good looking UI, while also providing a lot of functionality, and, in this article we will install it along with a ollama server where you can then install any model you want.
To follow this tutorial, you will need docker. Instructions for AMD users will have to be published later, as currently they are only at preview.
1 - For Nvidia GPU users
Users that wish to use their Nvidia GPUs to get faster response from the LLMs will need to install the ‘Nvidia container kit‘. If you do not use Ubuntu, or any distro that has ‘apt’, go to their website and see the instructions for your package manager.
Let’s start by adding the repository to your sources:
curl -fsSL https://nvidia.github.io/libnvidia-container/gpgkey | sudo gpg --dearmor -o /usr/share/keyrings/nvidia-container-toolkit-keyring.gpg \
  && curl -s -L https://nvidia.github.io/libnvidia-container/stable/deb/nvidia-container-toolkit.list | \
    sed 's#deb https://#deb [signed-by=/usr/share/keyrings/nvidia-container-toolkit-keyring.gpg] https://#g' | \
    sudo tee /etc/apt/sources.list.d/nvidia-container-toolkit.list
Then, run update and install the toolkit:
sudo apt-get update
sudo apt-get install -y nvidia-container-toolkit
And finally we configure docker to use the toolkit and restart it:
sudo nvidia-ctk runtime configure --runtime=docker
sudo systemctl restart docker
2 - Installation
The installation method we will use is pretty easy to follow, simply, create a folder where the models and data will be stored, then create a file named ‘docker-compose.yml’ and paste the following into it:
services:
    ollama:
        image: ollama/ollama
        container_name: ollama
        restart: unless-stopped
        ports:
            - "11434:11434"
        volumes:
            - ./data/ollama:/root/.ollama
        # remove for CPU only
        ####################################################
        deploy:
            resources:
                reservations:
                    devices:
                        - driver: nvidia
                          count: all
                          capabilities: [gpu]
        runtime: nvidia
        ####################################################
    ollama-webui:
        image: ghcr.io/open-webui/open-webui:main
        container_name: ollama-webui
        restart: unless-stopped
        ports:
            - "11435:8080"
        volumes:
            - ./data/www:/app/backend/data
        extra_hosts:
            - "host.docker.internal:host-gateway"
Then, to start it, run:
docker compose up # add '-d' to run dethatched3 - First Setup
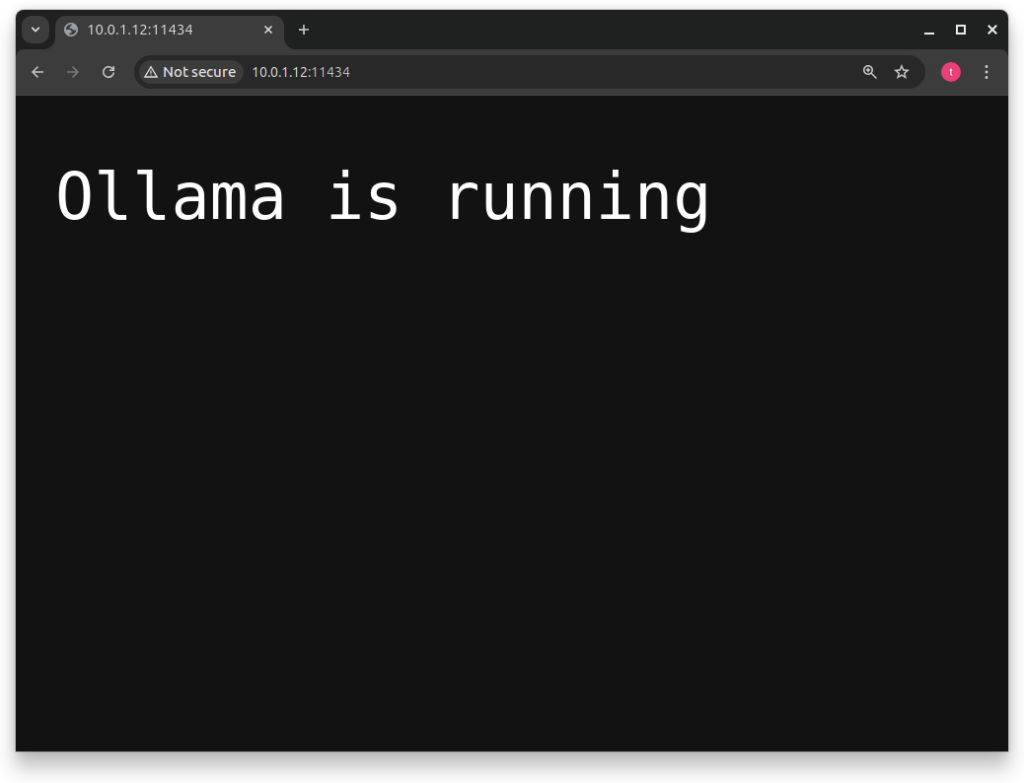
After the containers are up and running, you can go to ‘yourip:11434’ and you will get a message telling you that ollama is running.
If you don’t get this message, check the logs, as most of errors are logged.
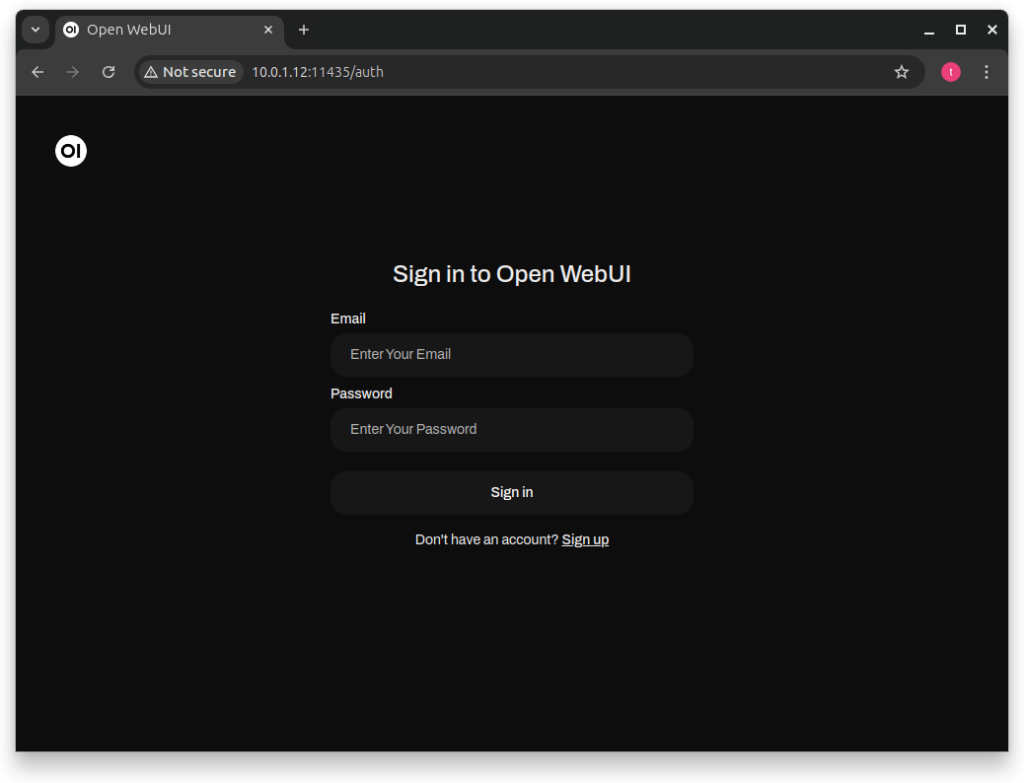
If you got the running message from ollama, you can now access Open WebUI with ‘yourip:11435’.
In it you will see a login form.
You will need to create an account to login though, you can do it by pressing ‘Sign up’.
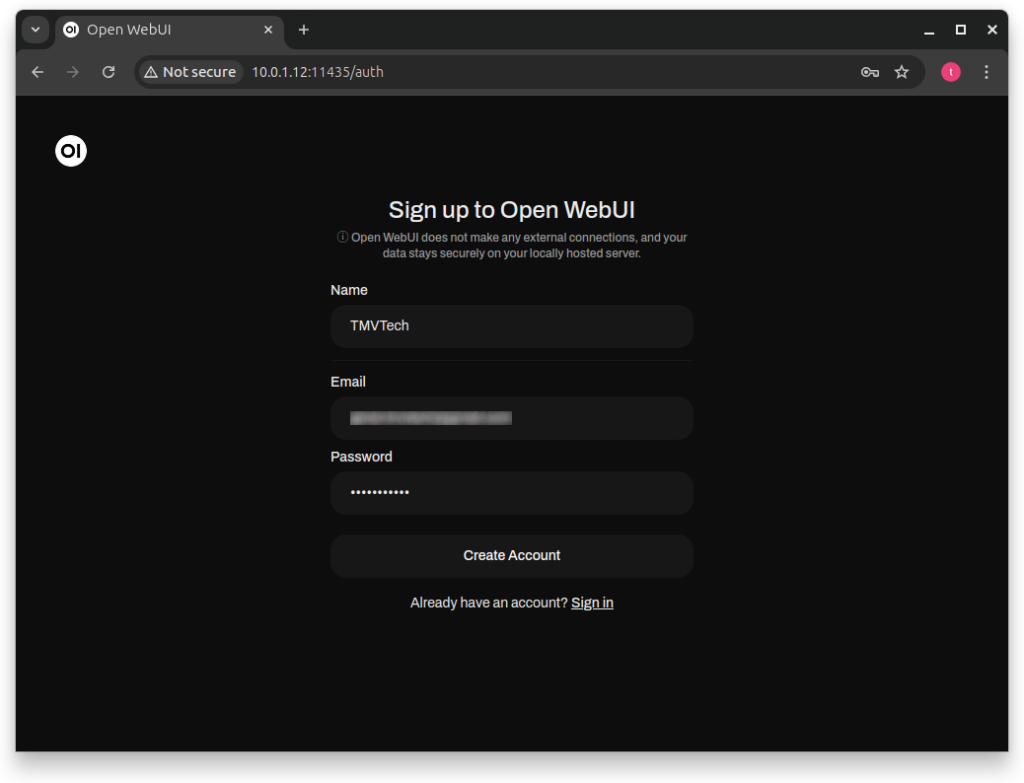
The first account you create will automatically be an admin account, and, the ones after, will be pending accounts, which an admin will need to aprove.
To create an account you will need to input your name, an email and a password.
Be carefull when typing the password, as the sign up form does not have a ‘Confirm Password’ field.
When all is filled, click on ‘Create Account’.
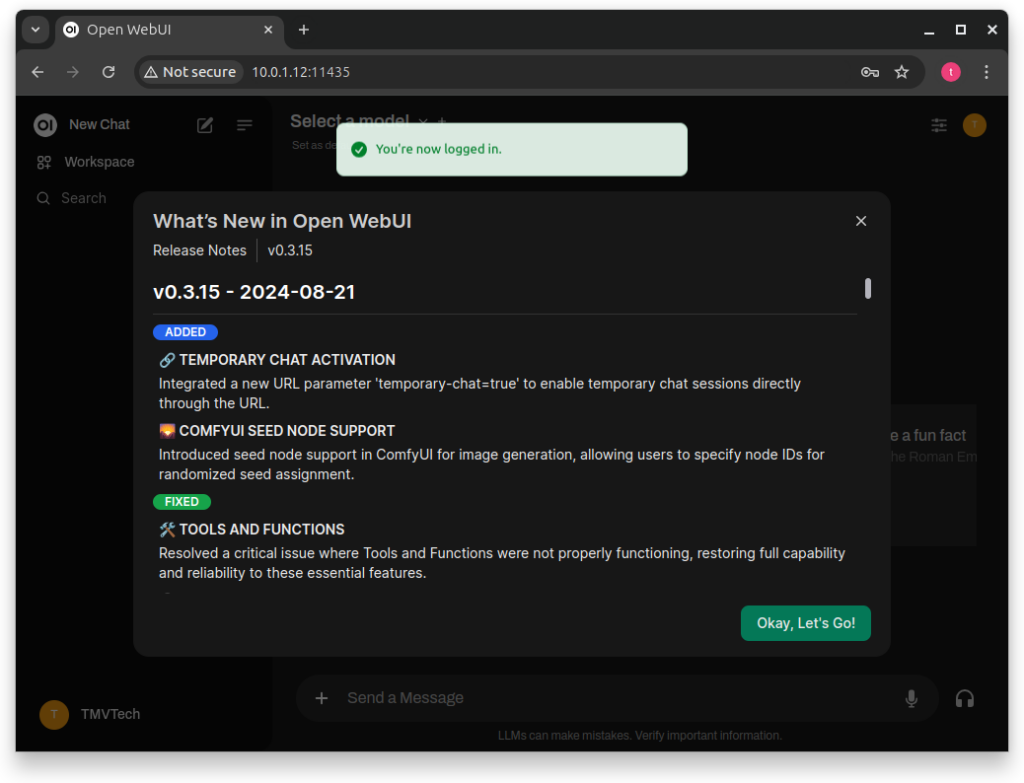
After logging in you will get the Release Notes (Only the first time you login).
You can safely press ‘Okay, let’s Go!’.
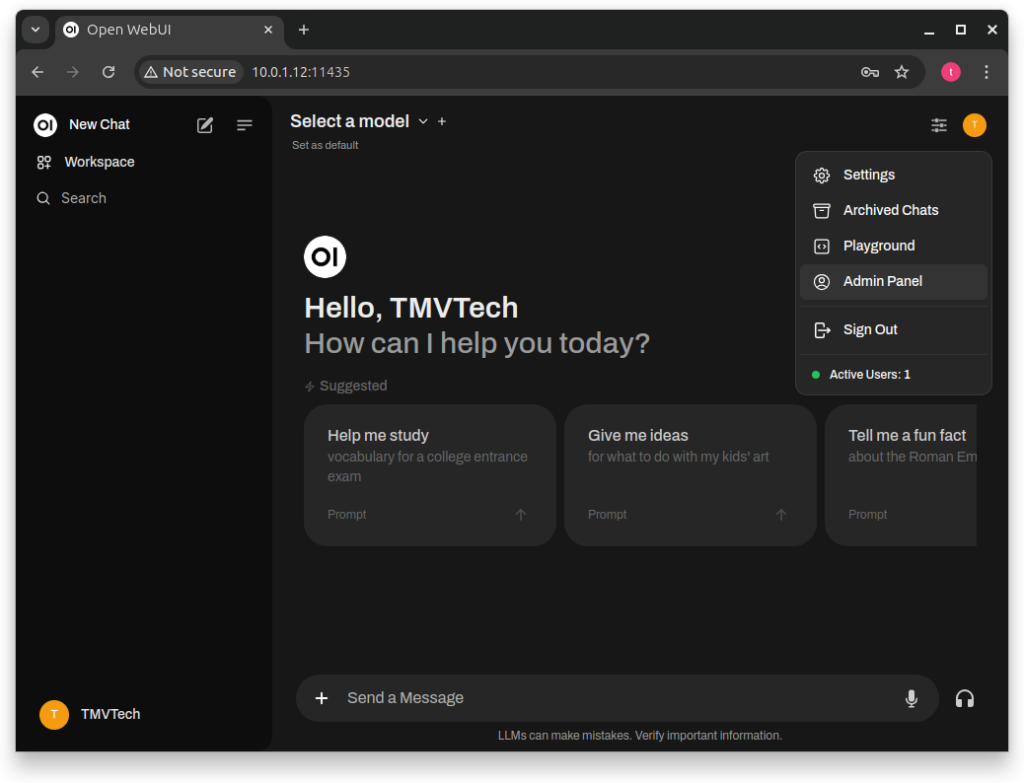
You can press your icon on the top right to see your ‘Settings’, ‘Archived Chats’ and more, but the setting we are interested in is the ‘Admin Panel’.
We can go to this panel to aprove sign up requests, but also to download new models to use.
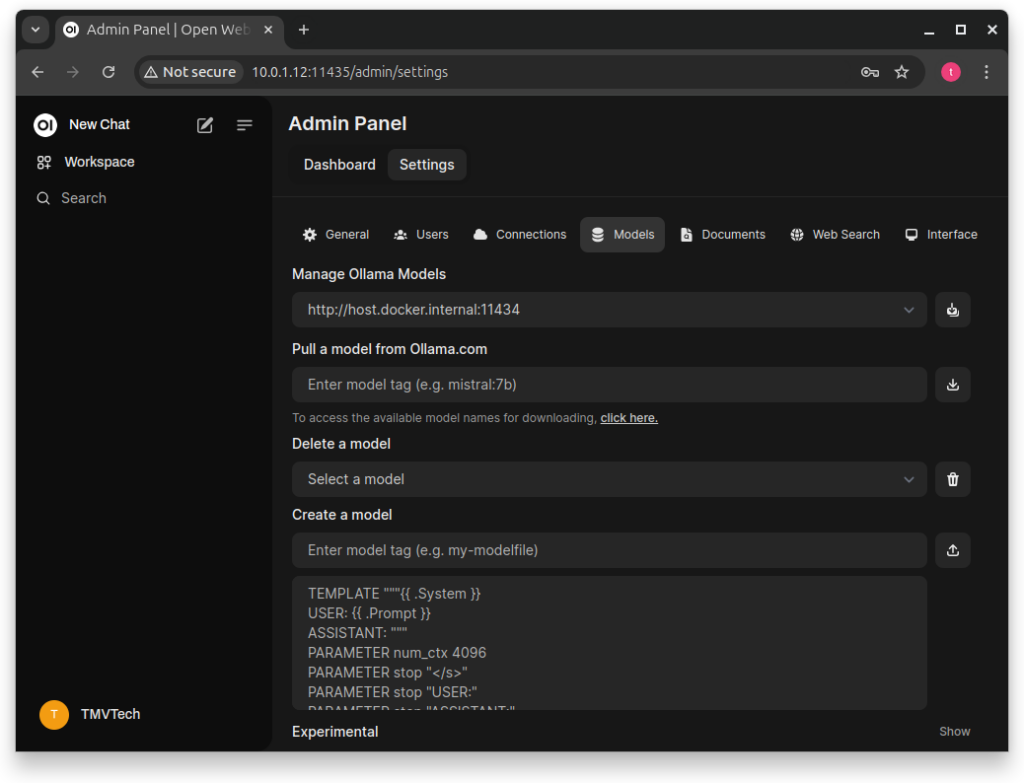
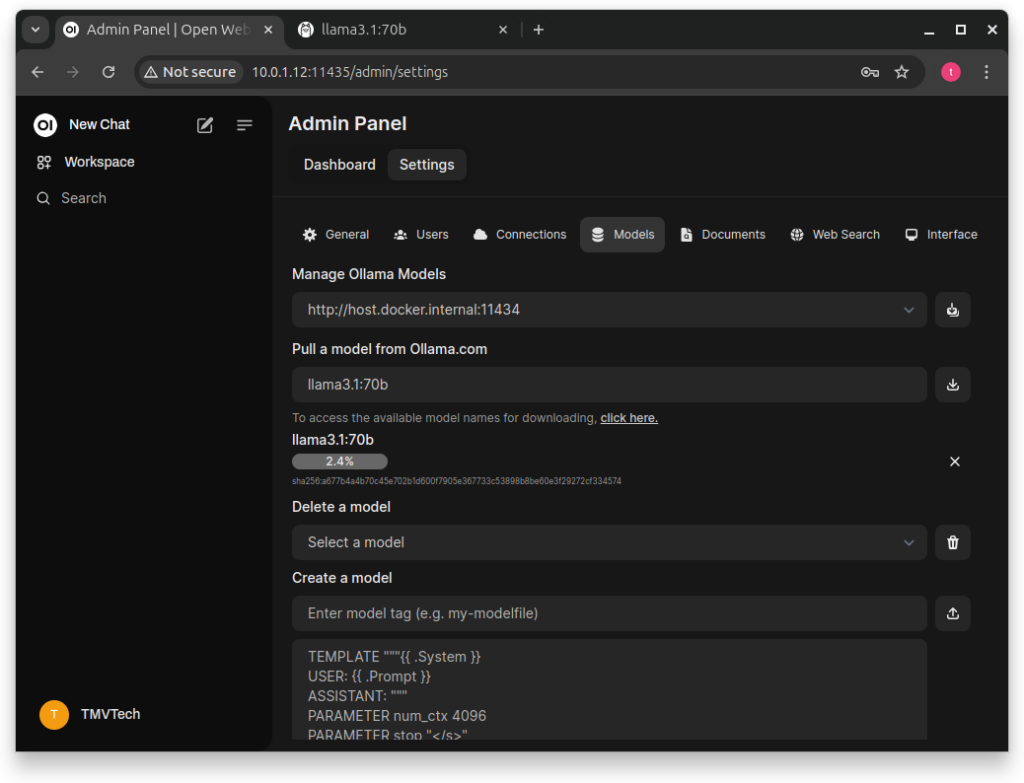
In the ‘Admin Panel’ click on ‘Settings’ and then ‘Models’.
In here, set the ‘Manage Ollama Models’ url to your own (ex: ‘http://192.168.1.10:11434’).
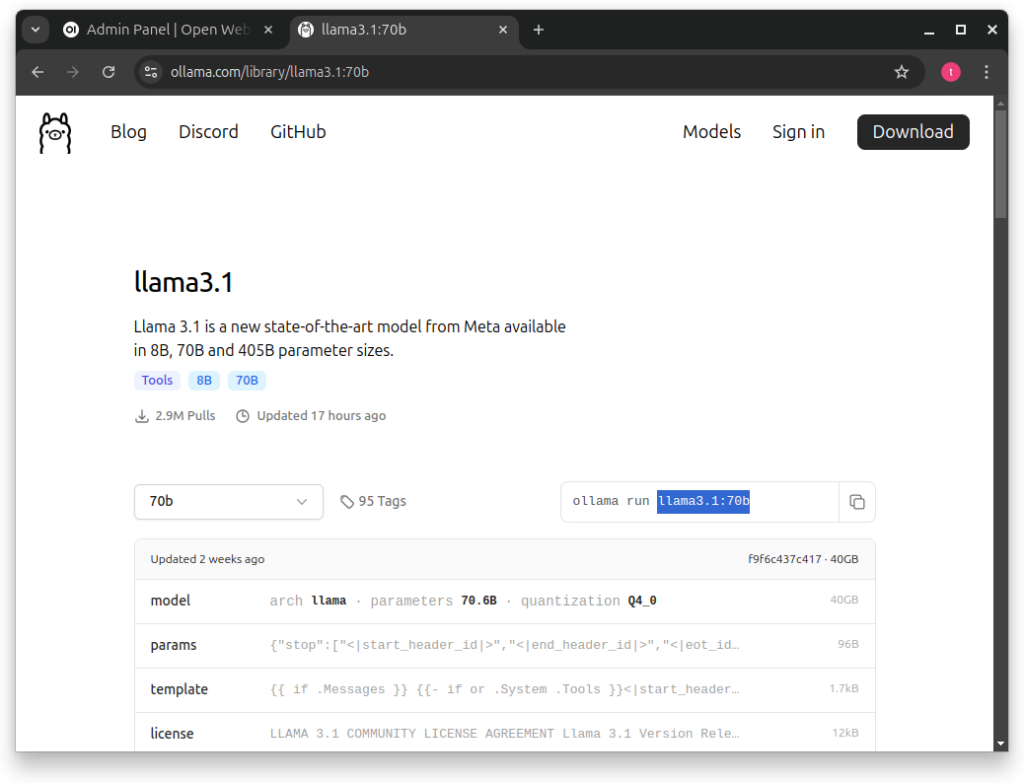
And then, below ‘Pull a model from Ollama.com’, click on ‘click here’.
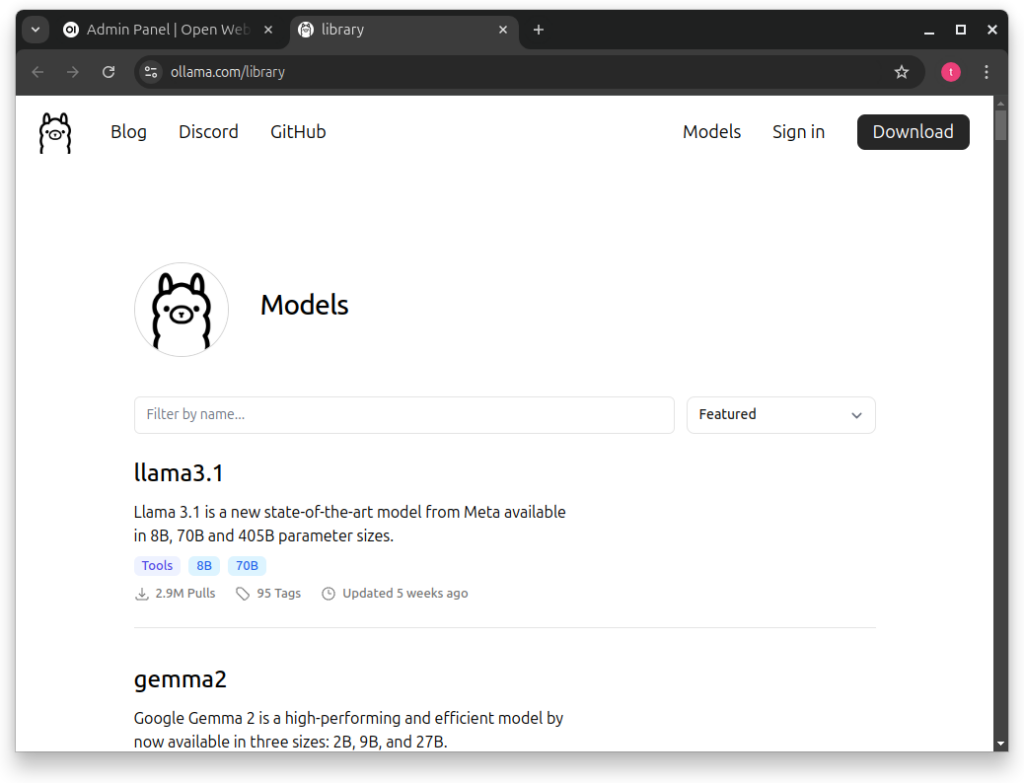
In this website, you can choose which model you would like to use.
For this tutorial I downloaded ‘llama3.1’ 8b and 70b. In the screenshots you will notice me using the 70b version, but only the 8b version was usable to me.
After choosing which model you would like to use, copy the highlighted part of the ‘ollama run’ command.
Using a 3060 with 12 Gbs of VRam and 32Gbs of Ram on my machine, I could not run the 70b model decently.
After typing the model and tag, press the download icon and it will start downloading.
Depending on the model it can take a while to download.
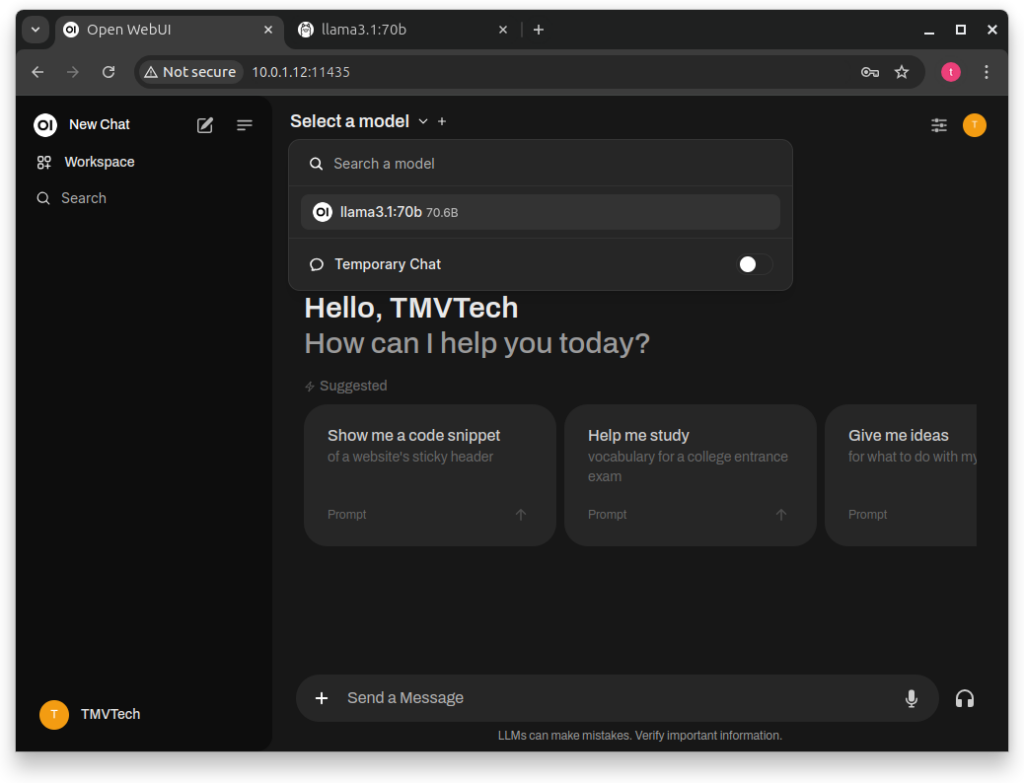
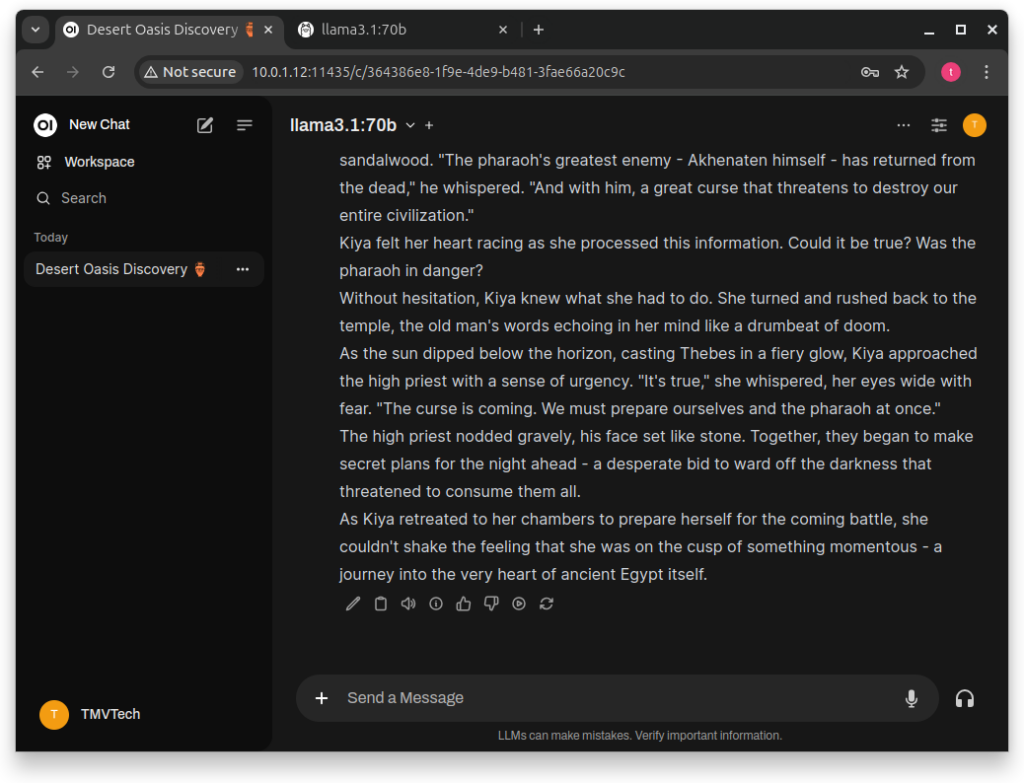
After downloading the models you want to use, go back and click on ‘Select a model’ at the top-center of the page.
And then, just type in the ‘Send a Message’ box!
You can also ask a model a question and, in the same chat, continue the conversation with another model.
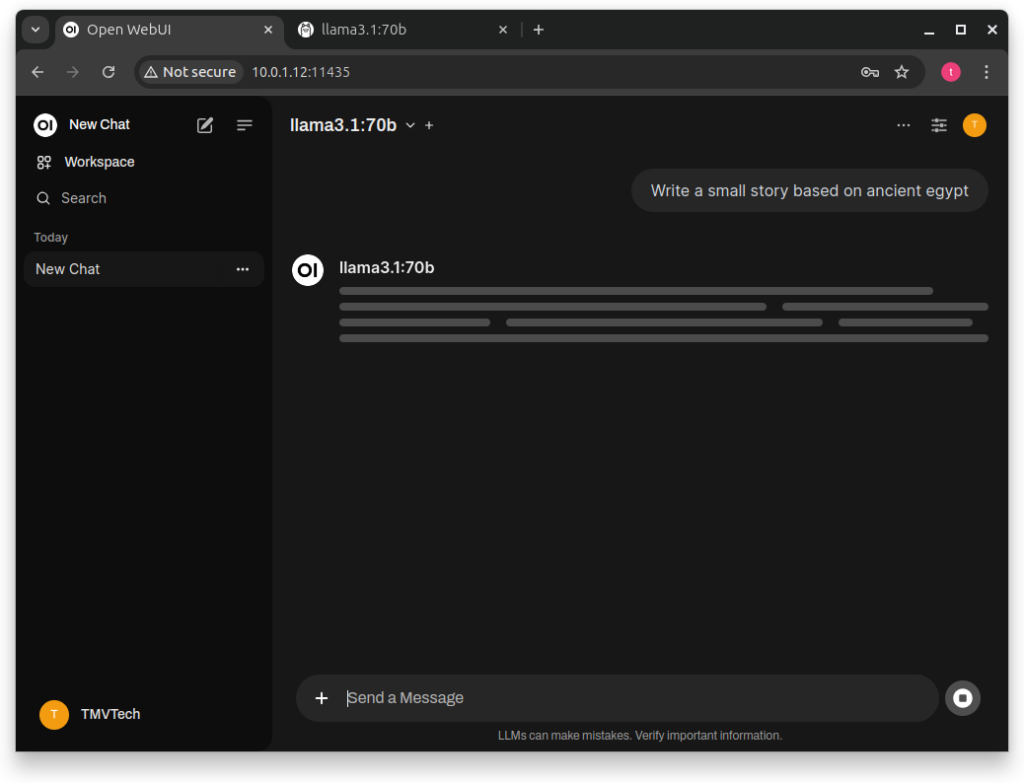
And that’s it! Here you can see me asking a question, and getting a very long answer. The 8b version of llama3.1 took seconds to reply, but the 70b version took almost an hour. I think the two main bottlenecks for me are both Ram and VRam.
Thanks for reading and stay tuned for more tech insights and tutorials. Until next time, keep exploring the world of tech!