
0 - Introduction
There are lots of notetaking apps and services out there but, if you want to stay in charge of your data, not all of them can be trusted, and that is why, in this article, we will be self-hosting NoteMark. This Webapp was the one that cought my eye the most, in the Awesome Selfhosted list, because not only it supports markdown, but it also has accounts, that way, multiple users can have their own notes. One huge plus that a lot of other options did not have, was a way to separate notes into folders, which helps a lot with organization.
In this article you will need docker installed on your machine, you can learn how to install it in this article.
1 - Install
Let’s start by creating a folder for the app’s data, in it also create a file named ‘docker-compose.yml’:
mkdir notemark
cd notemark
nano docker-compose.yml
In the docker compose file, paste the following, but replace the JWT Secret and the Cors origins.
Scurity tip: After creating your account, you can then stop the app, set Allow Signup to false, and start it again.
services:
  note-mark:
    image: ghcr.io/enchant97/note-mark-aio:0.14.1

    restart: unless-stopped
    volumes:
      - ./data:/data
    environment:
      # !!! REPLACE These !!!
      JWT_SECRET: "abcdefghijklmnopqrstuvwxyz321"
      CORS_ORIGINS: "http://10.0.1.12:8000"
      ALLOW_SIGNUP: true
    ports:
      - 8000:8000
Once you save the file, run the following command:
docker compose up -dAfter container starts, you can then go to ‘yourip:8000’, create an account and you are ready to start taking notes!
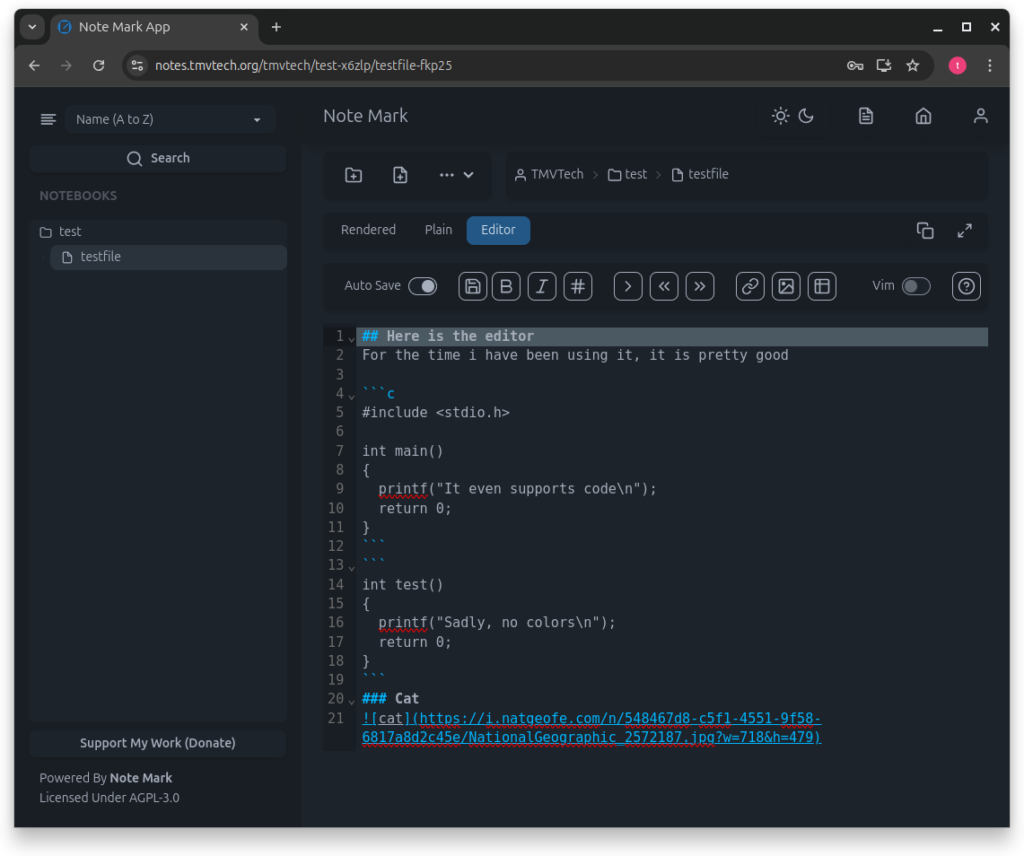
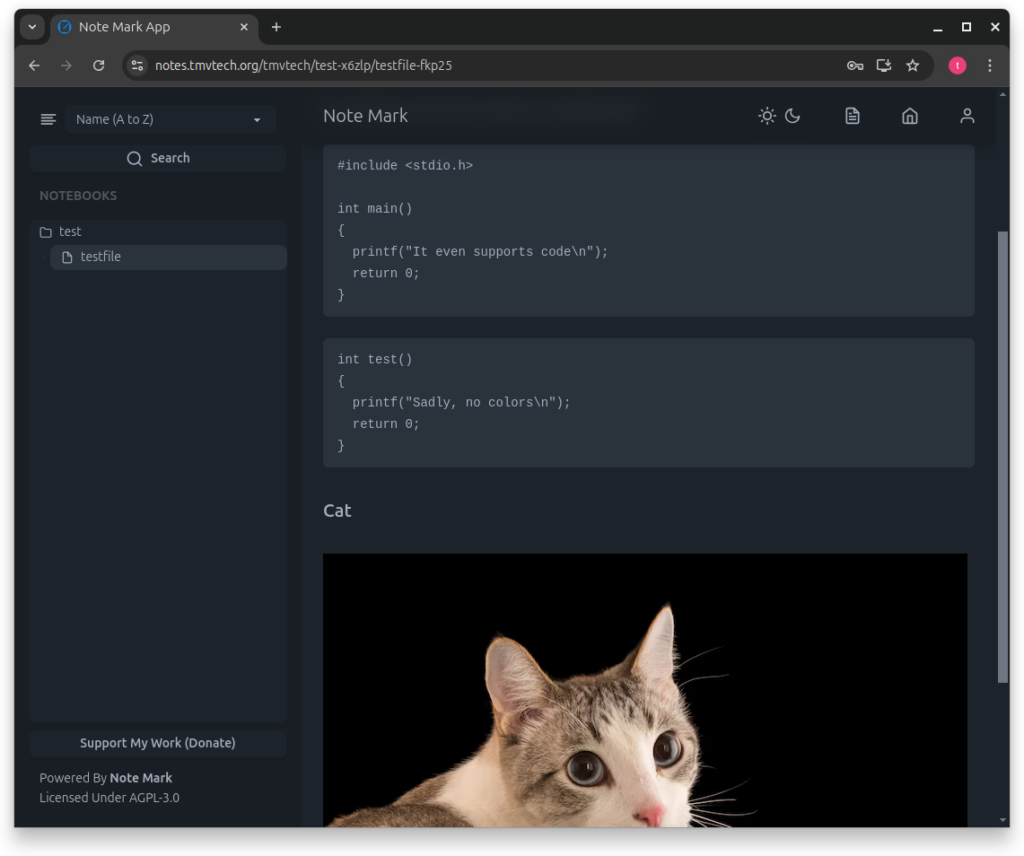
Here is an example of some code blocks and an image:
Thanks for reading and stay tuned for more tech insights and tutorials. Until next time, keep exploring the world of tech!