0 - Introduction
If you’re looking to implement a CI/CD workflow and optimize your testing environment, there is no better open-source tool than Jenkins. In this article we will use Jenkins alongside Gitea to automate the building, testing, and deploying of applications.
With Gitea as a lightweight, self-hosted, Git service and Jenkins as our go-to for continuous integration, this setup is ideal for homelabs, personal projects or even small development teams.
Before starting the setup, ensure Docker is installed, as it’s necessary for hosting Gitea and Jenkins. You can learn how to setup Docker on this article. Note that this tutorial will be a little longer than usual, as we will setup two services and also an example application repository.
1 - Setup Gitea
Make a folder for gitea and, in it, create a docker compose file:
mkdir gitea
cd gitea
nano docker-compose.yml
In this file, we give Gitea a data folder, timezone and localtime and expose ports 3000 (Webpage) and 8022 (SSH):
networks:
  gitea:
    external: false

services:
  server:
    image: gitea/gitea:latest
    container_name: gitea
    environment:
      - USER_UID=1000
      - USER_GID=1000
    restart: always
    networks:
      - gitea
    volumes:
      - ./data/gitea:/data
      - /etc/timezone:/etc/timezone:ro
      - /etc/localtime:/etc/localtime:ro
    ports:
      - "3000:3000"
      - "8022:22"
After saving the file (CTRL+O and CTRL+X on nano), start the container with:
docker compose upWait a little until the service starts up, should not take more than a minute or two, then press CTRL+C to exit and edit the config file:
sudo nano data/gitea/gitea/conf/app.iniIn this config you will need to allow webhooks from inside your network. You can either specify a computer or a network, just copy the one you want and paste it at the bottom of the config file and edit the IP or network to match your own:
# 10.0.1.12 - only one pc
[webhook]
ALLOWED_HOST_LIST = 10.0.1.12

# 10.0.x.x - all pcs in my house
[webhook]
ALLOWED_HOST_LIST = 10.0.0.0/16

# 10.0.1.x - all pcs in my homelab
[webhook]
ALLOWED_HOST_LIST = 10.0.1.0/24
Save the file (CTRL+O and CTRL+X on nano) and start the container again:
docker compose up -dOnce the container starts up, go to ‘yourip:3000’ and you will be greated with an installer, follow the instructions below and change the settings that matter to you. Be carefull to not change the URL or ports, as that can leave your server unaccessible:
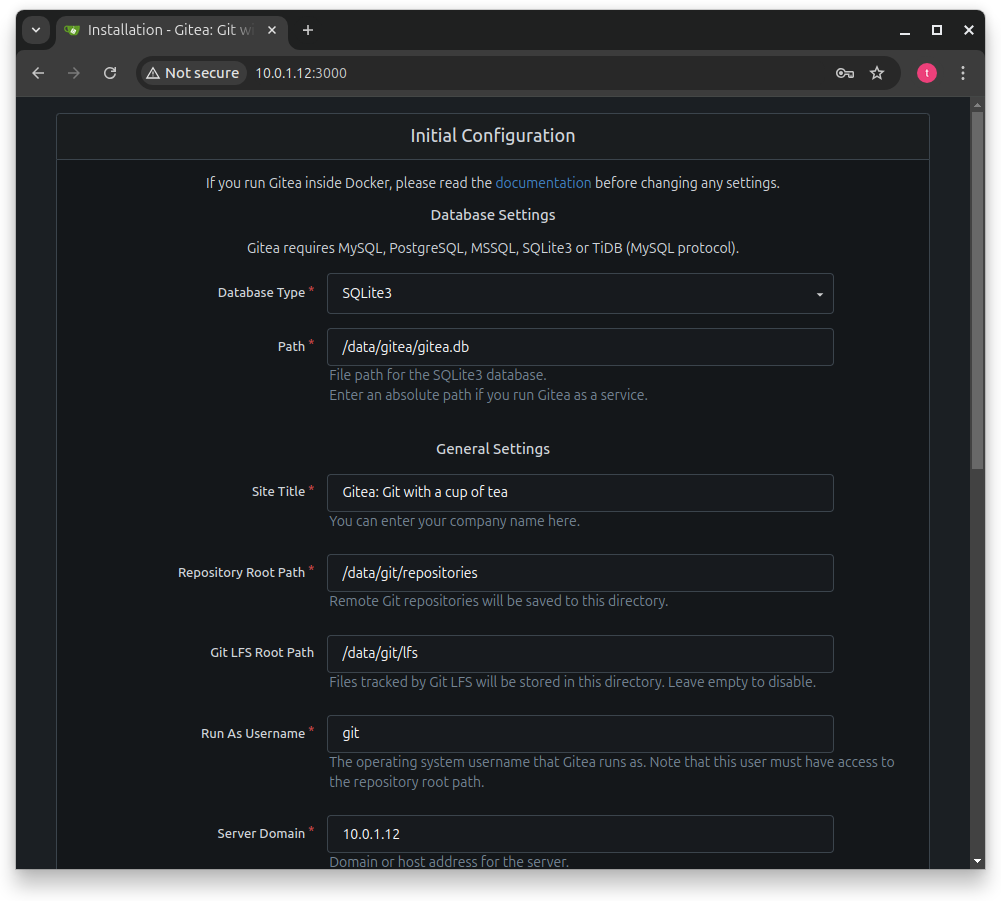
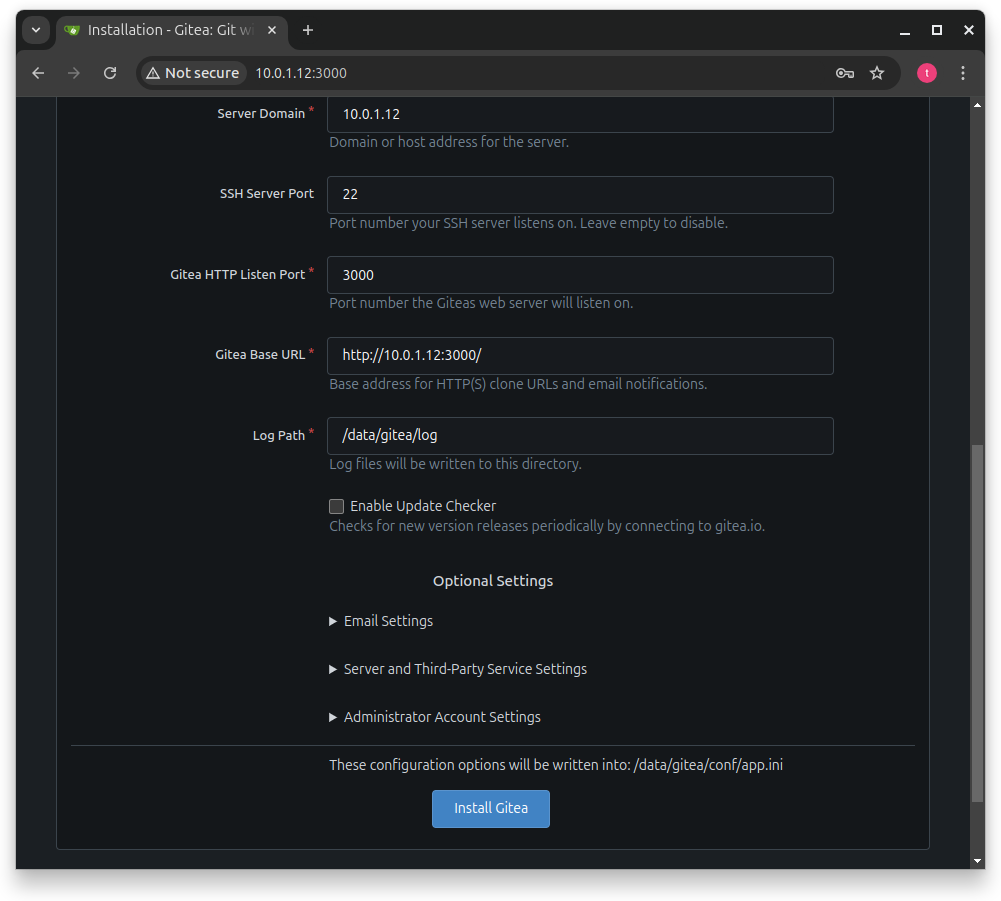
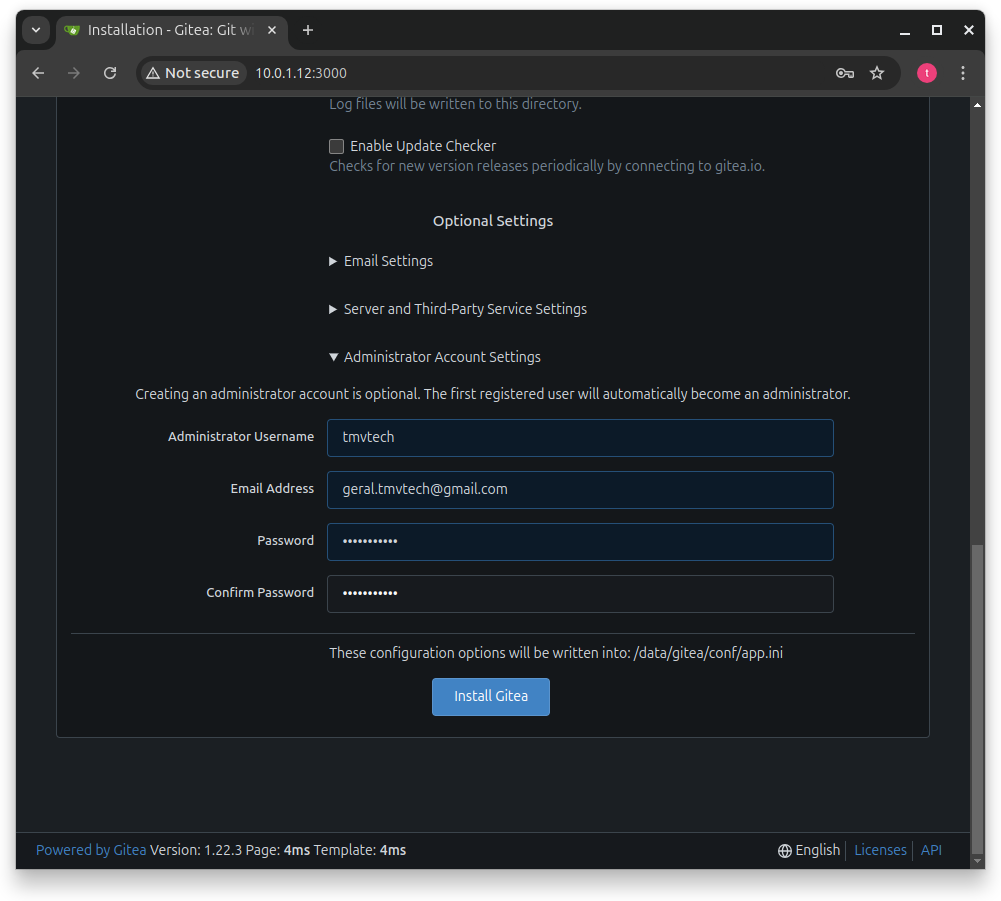
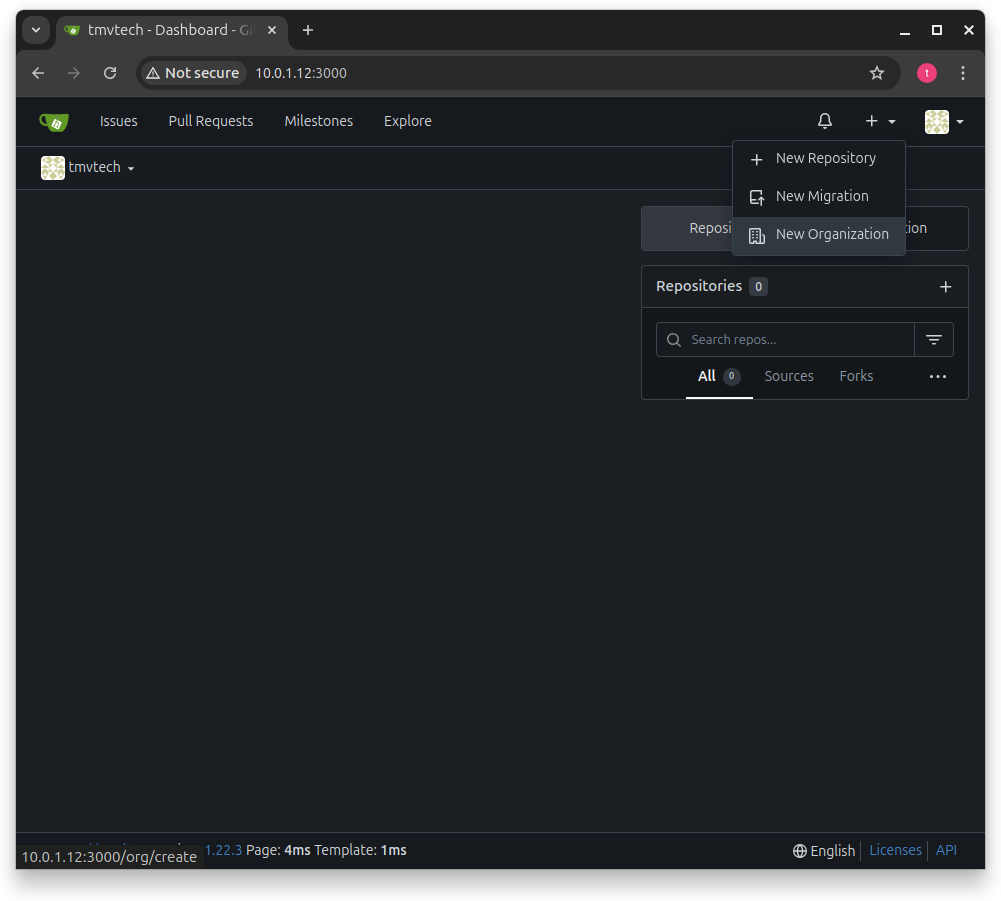
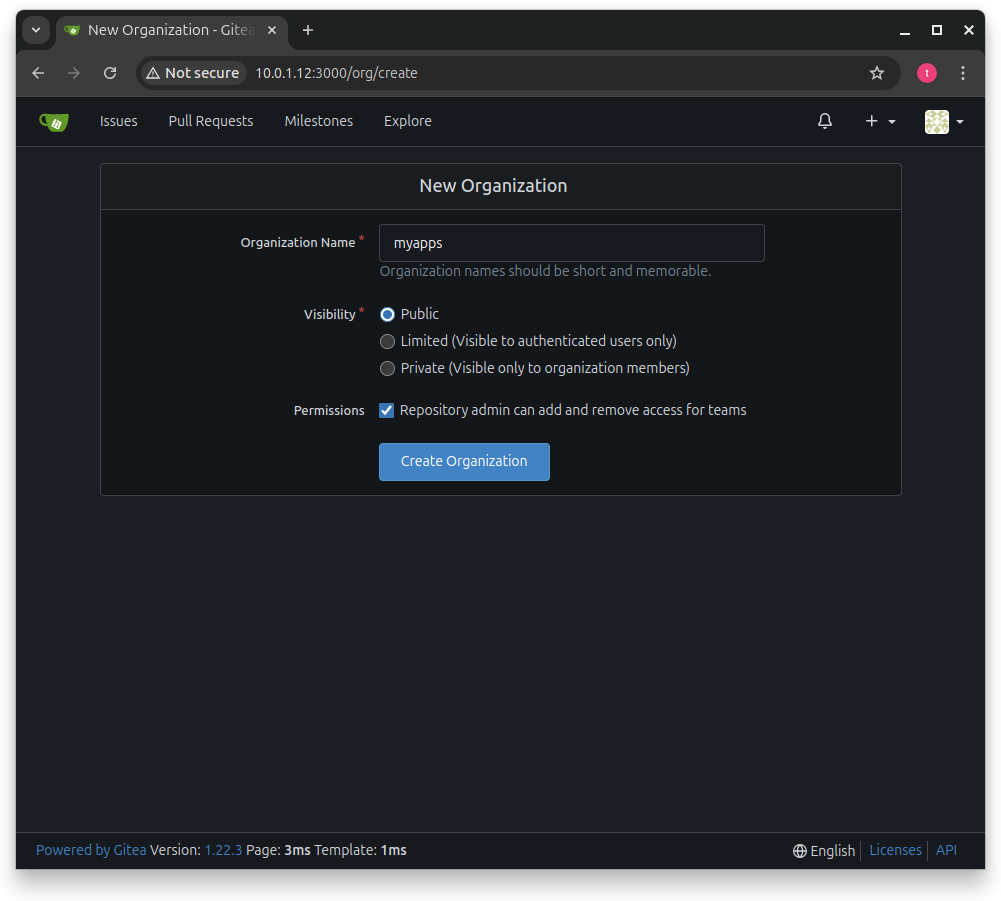
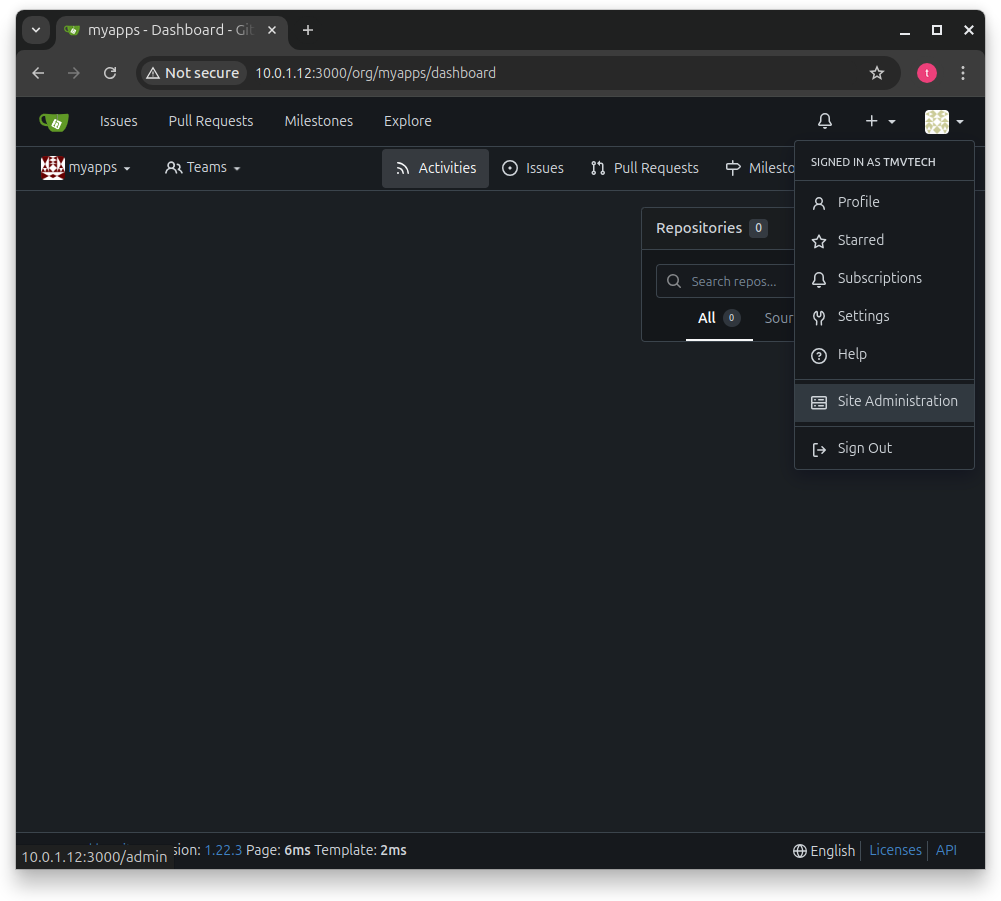
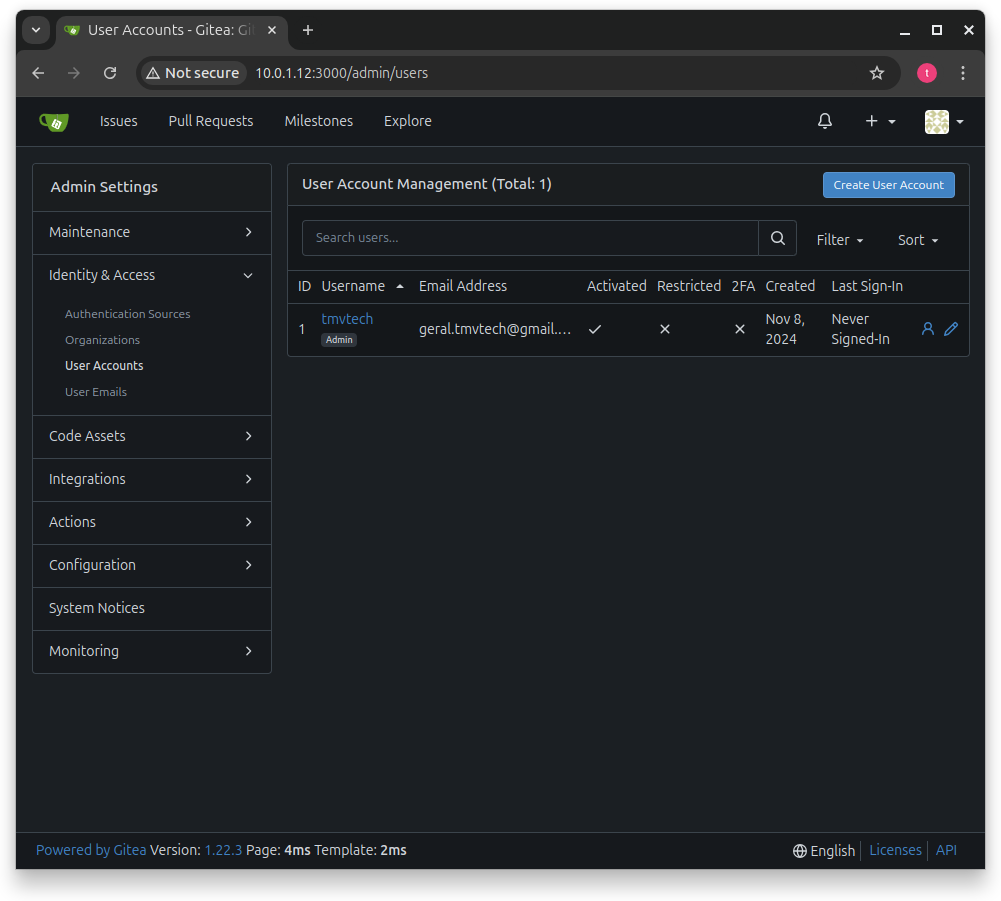
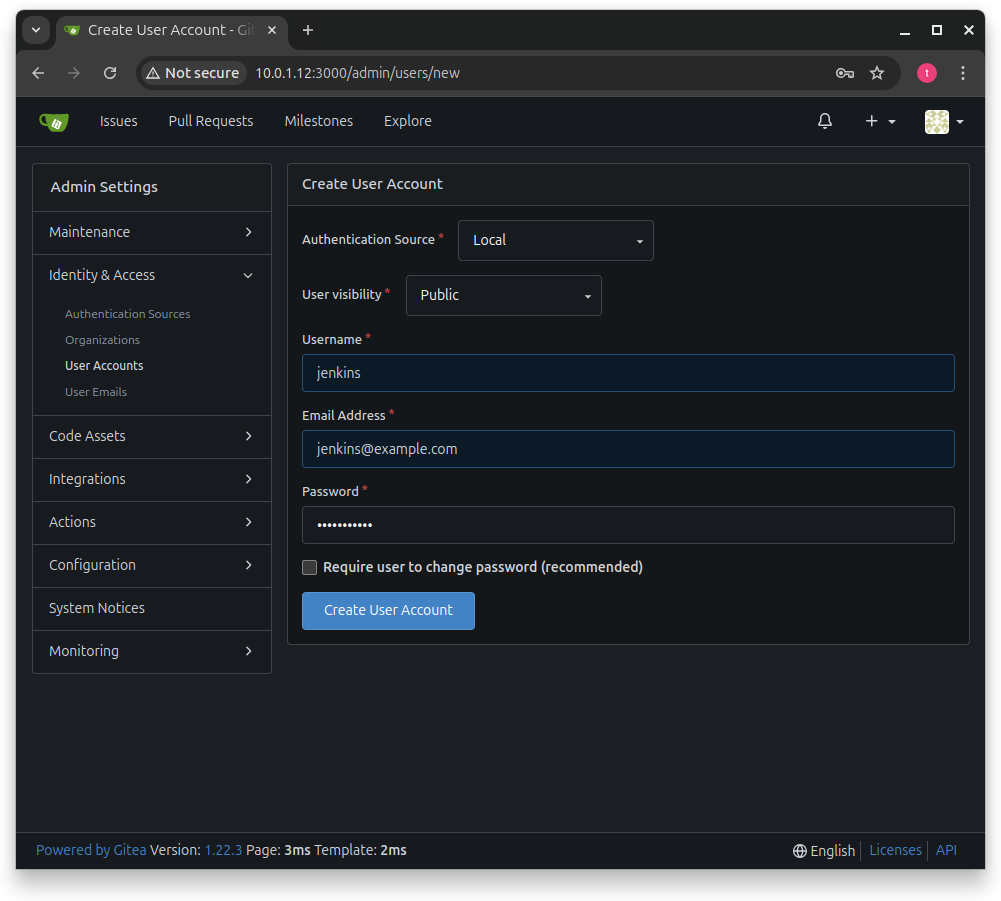
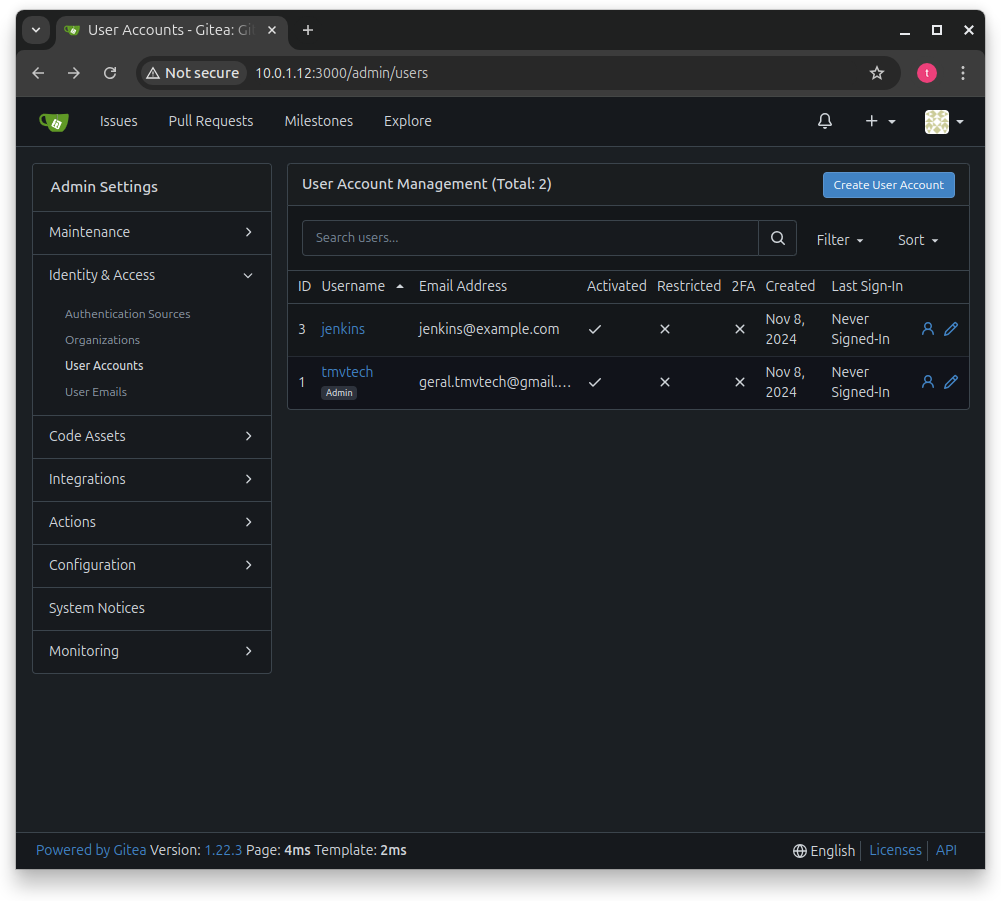
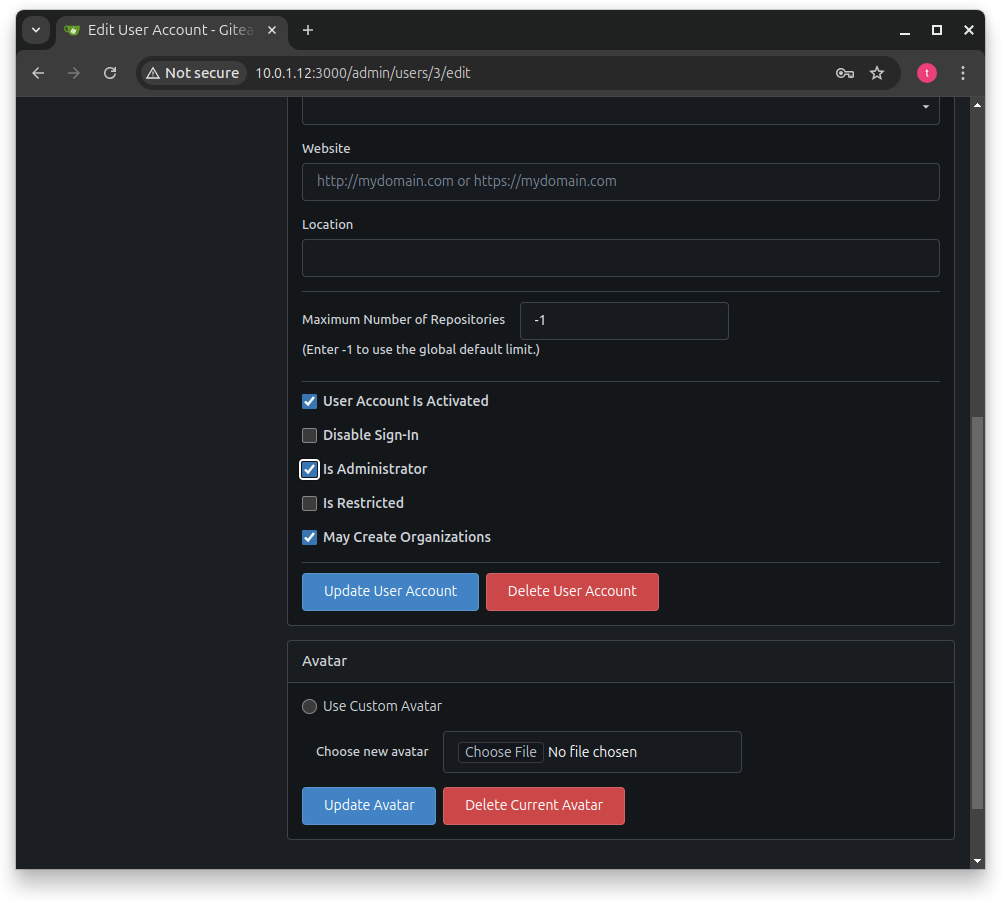
Security Tips: If you want better security, I recommend using App Credentials instead of User+Password and instead of making the jenkins user an admin, you should add it onto each organization manually.
2 - Setup Jenkins
Create a folder for jenkins with a docker compose file in it:
mkdir jenkins
cd jenkins
nano docker-compose.yml
In this docker compose file we will expose ports 9000 (Webpage) and 50000 (Agent TCP port). Because jenkins recommends pinning a version, we will use the most recent at the time of writing:
services:
  jenkins:
    image: jenkins/jenkins:2.484
    container_name: jenkins
    privileged: true
    user: root
    restart: always
    ports:
      - "9000:8080"
      - "50000:50000"
    volumes:
      - ./data:/var/jenkins_home
      - /home/server/.ssh/:/var/jenkins_home/.ssh/:ro
      - /var/run/docker.sock:/var/run/docker.sock
Once again, start the container by running:
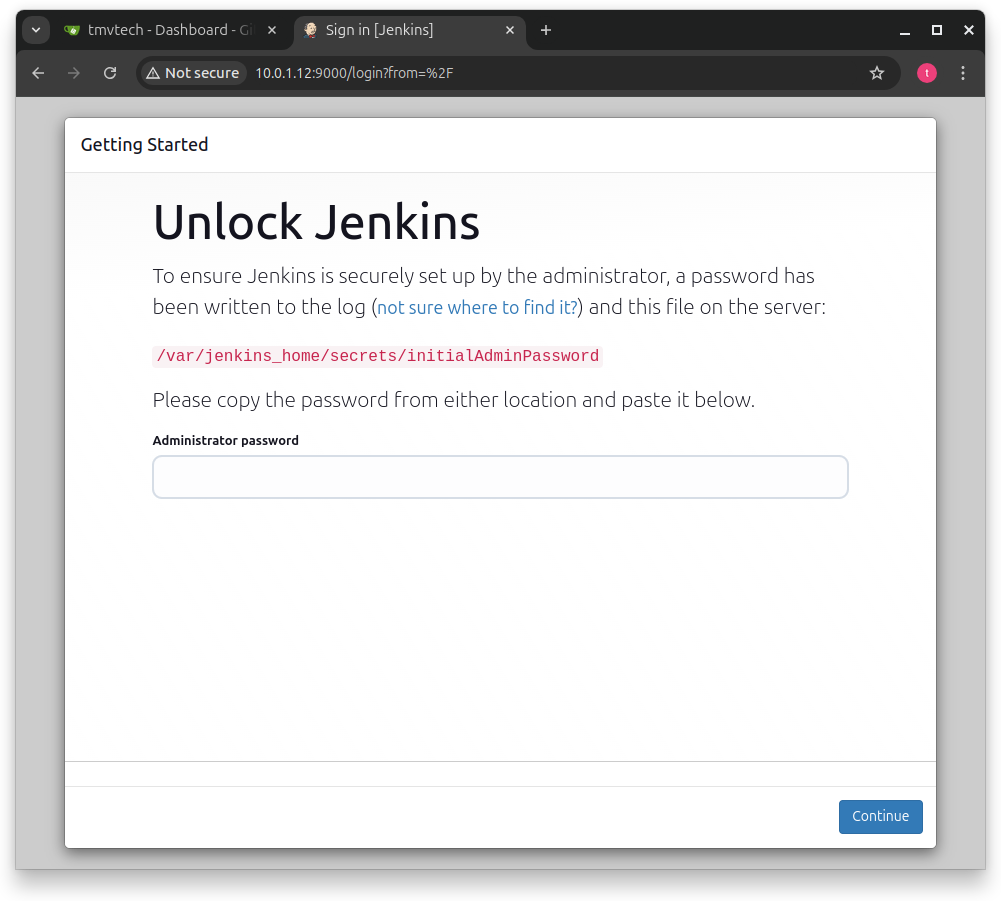
docker compose upIf for some reason, you do not see a password in your console, or you didn’t save it, you can get it back by starting the container with ‘-d’ and running the following command:
docker exec -it jenkins shAnd then, inside the container, run:
cat /var/jenkins_home/secrets/initialAdminPassword
On your browser go to ‘yourip:9000’ to start the setup:
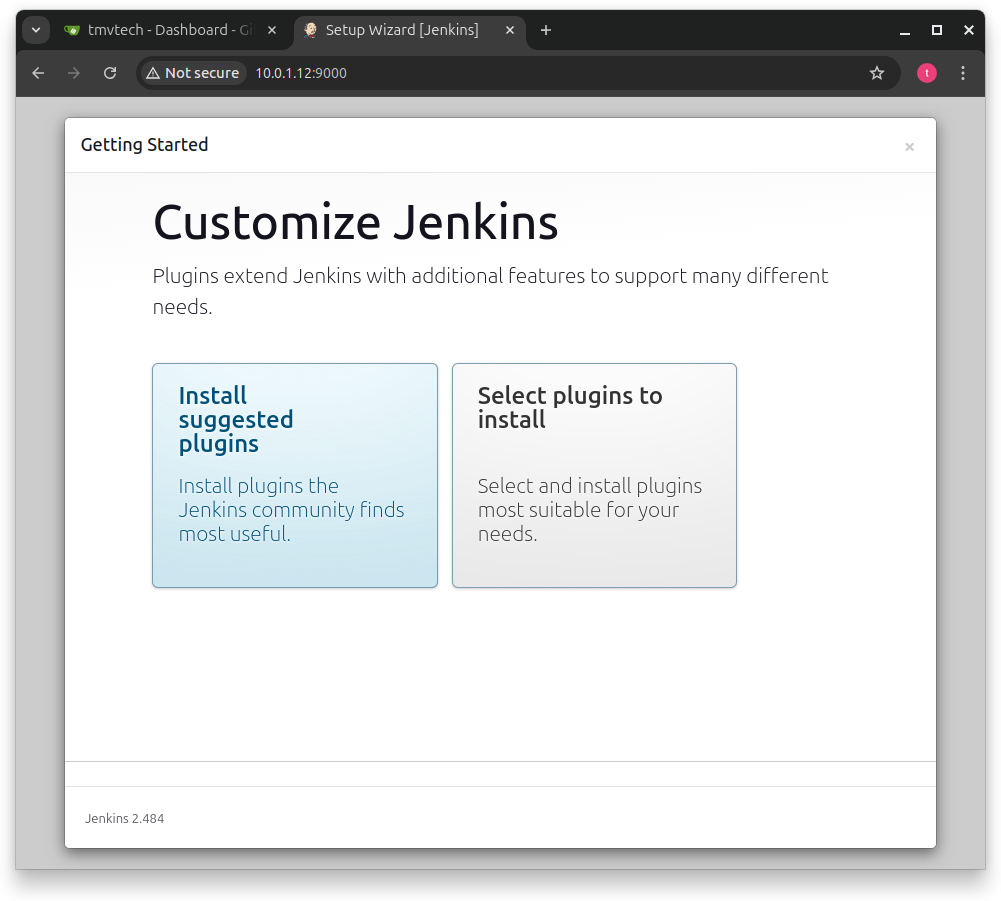
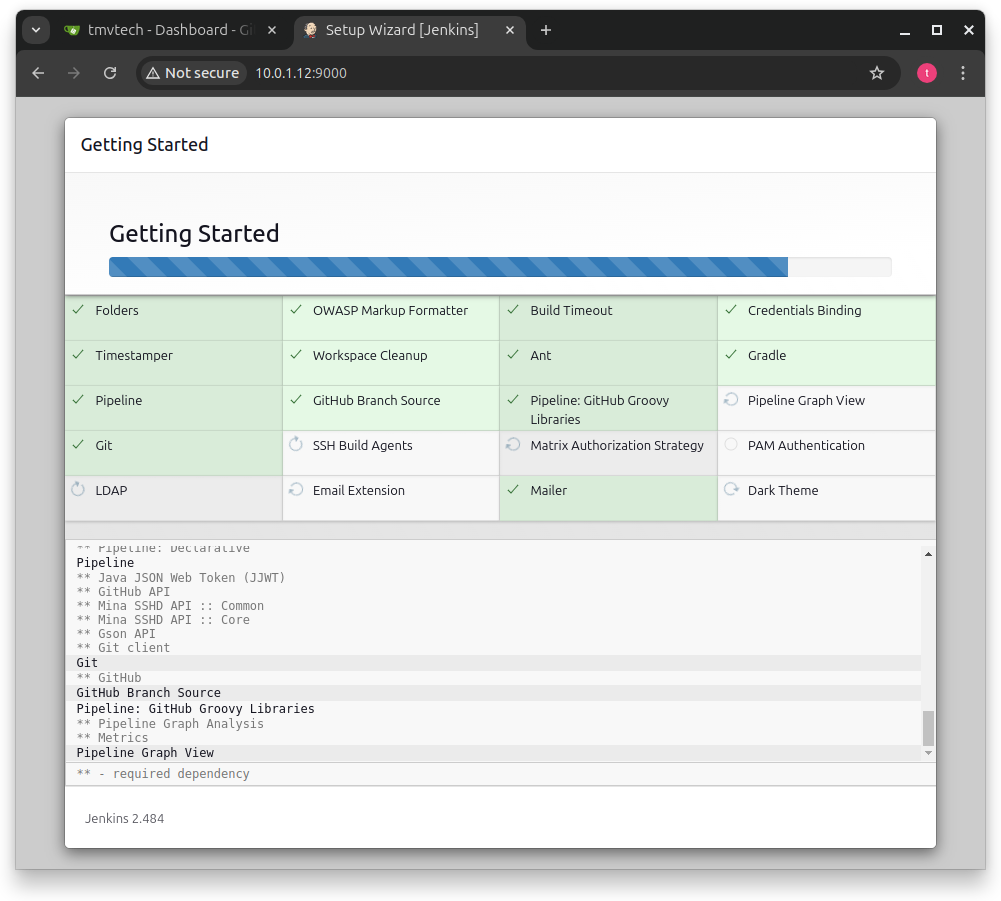
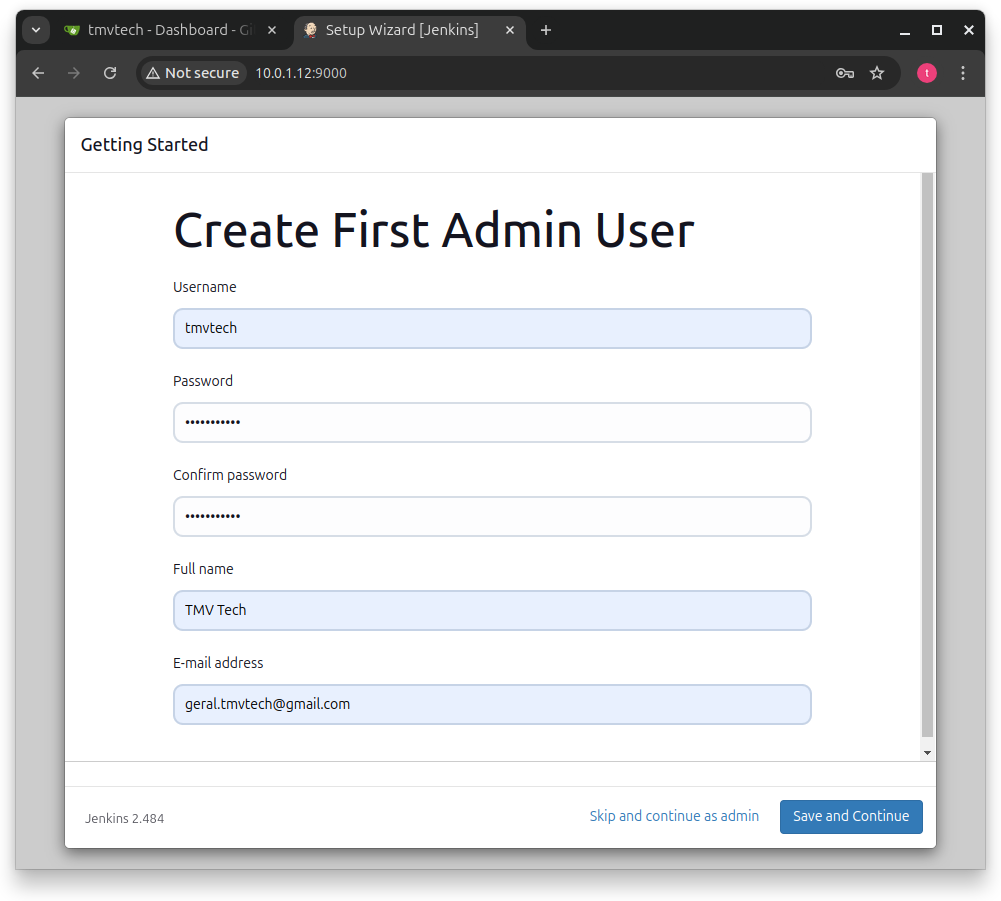
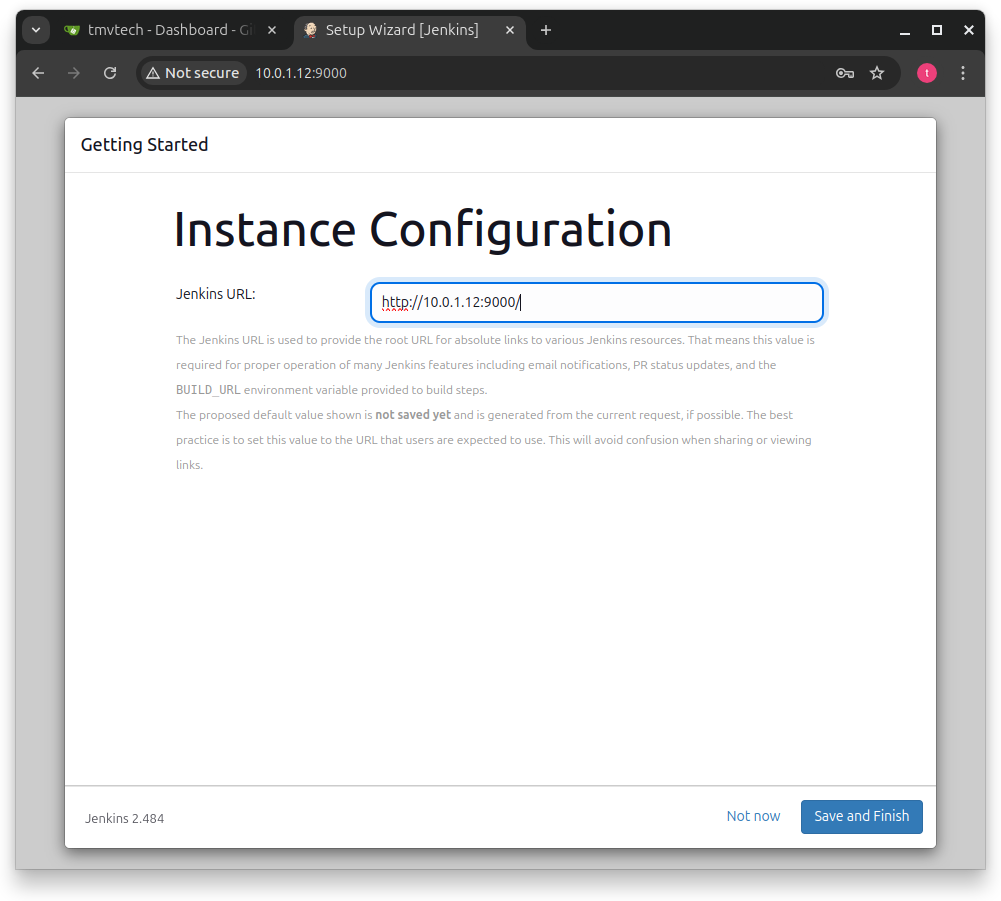
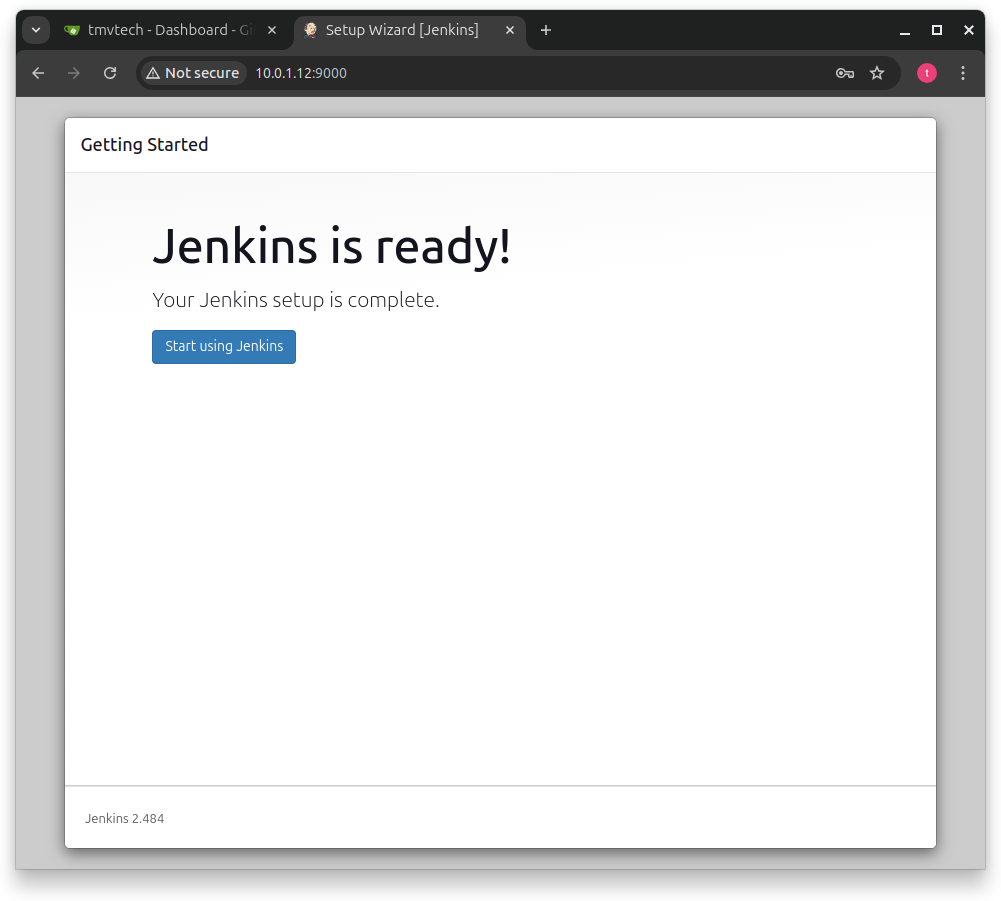
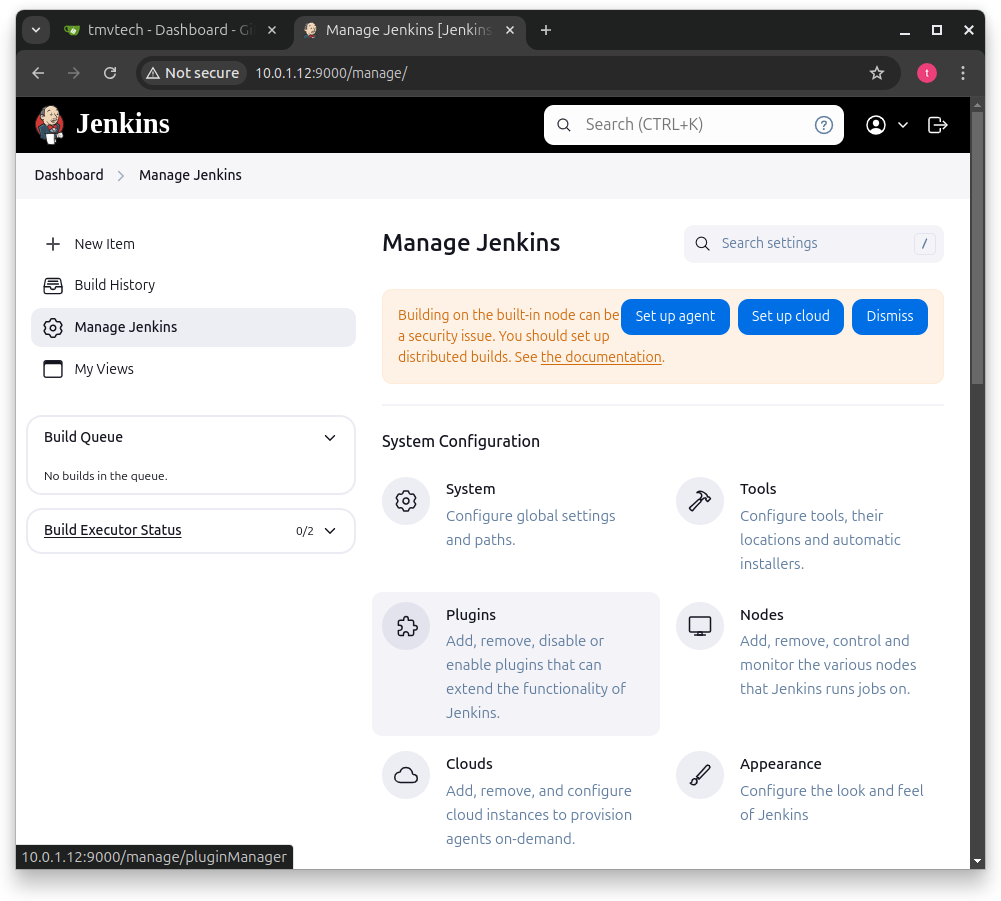
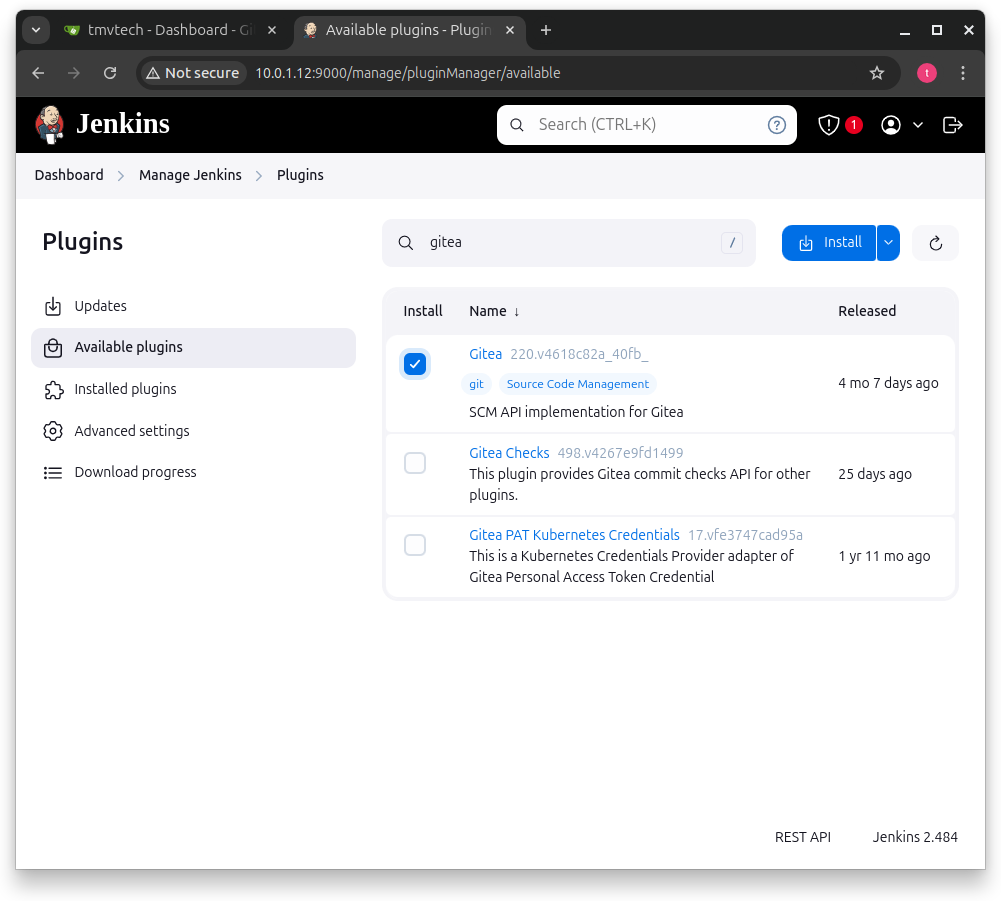
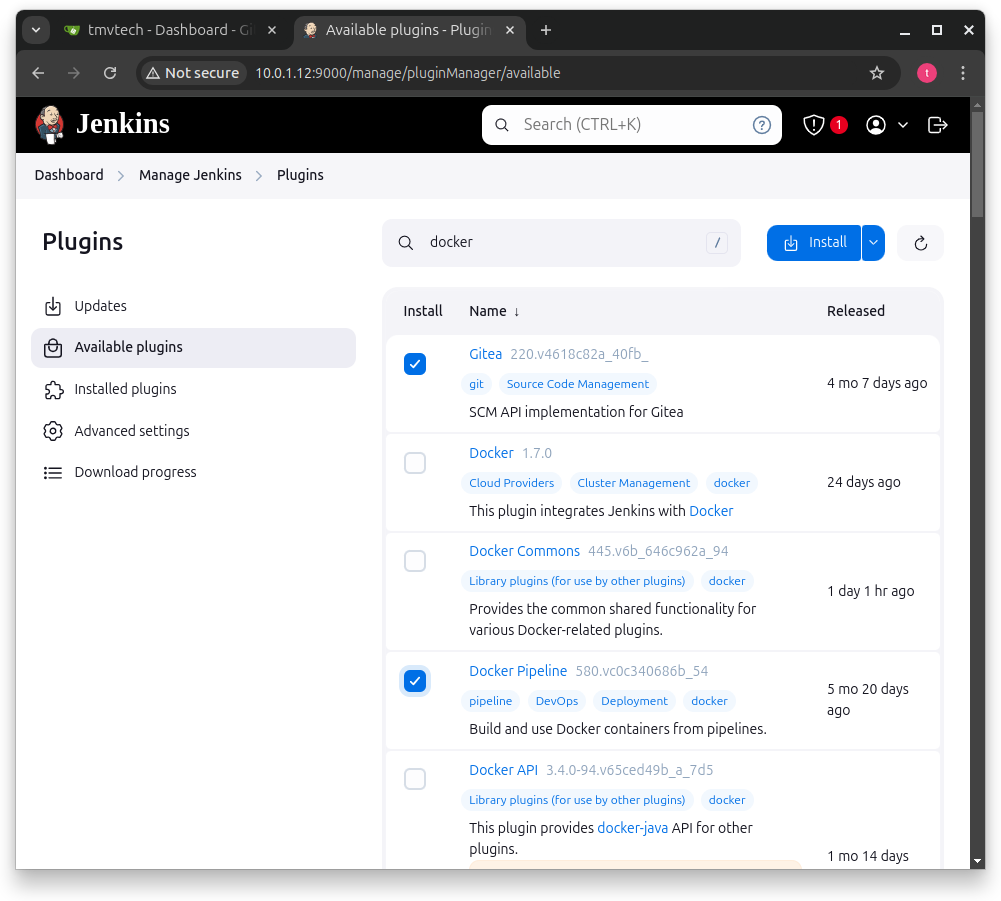
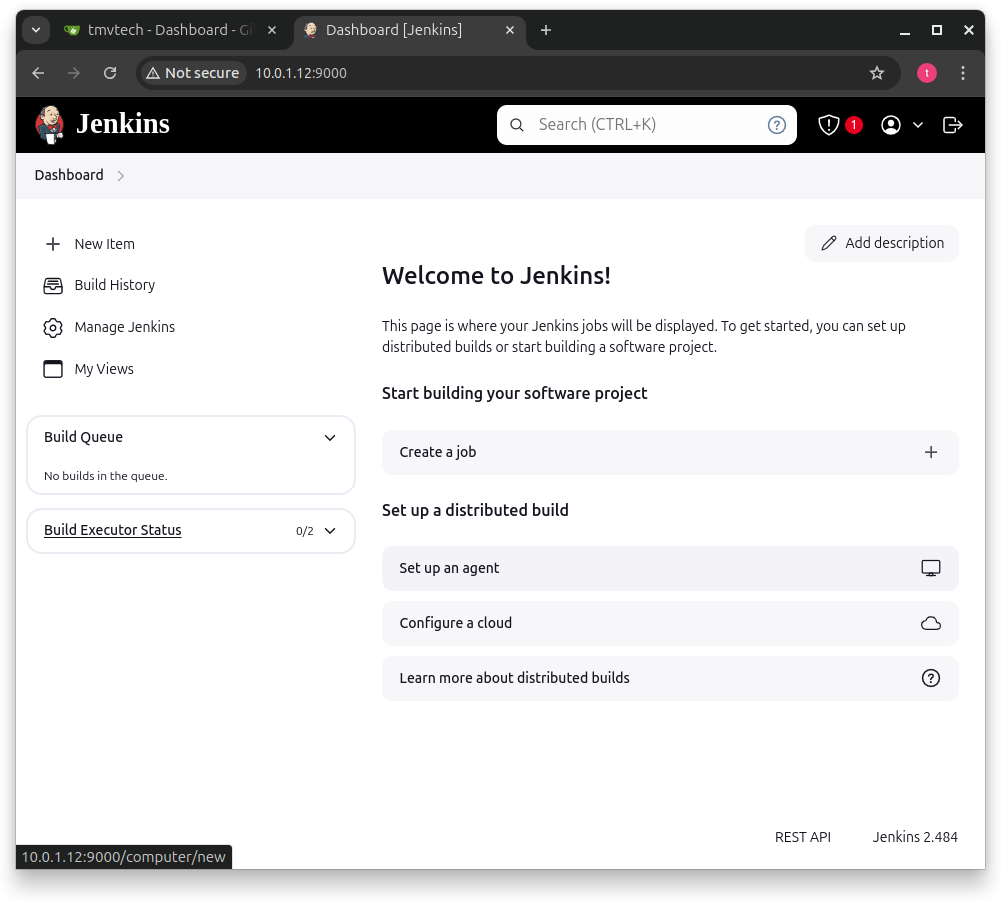
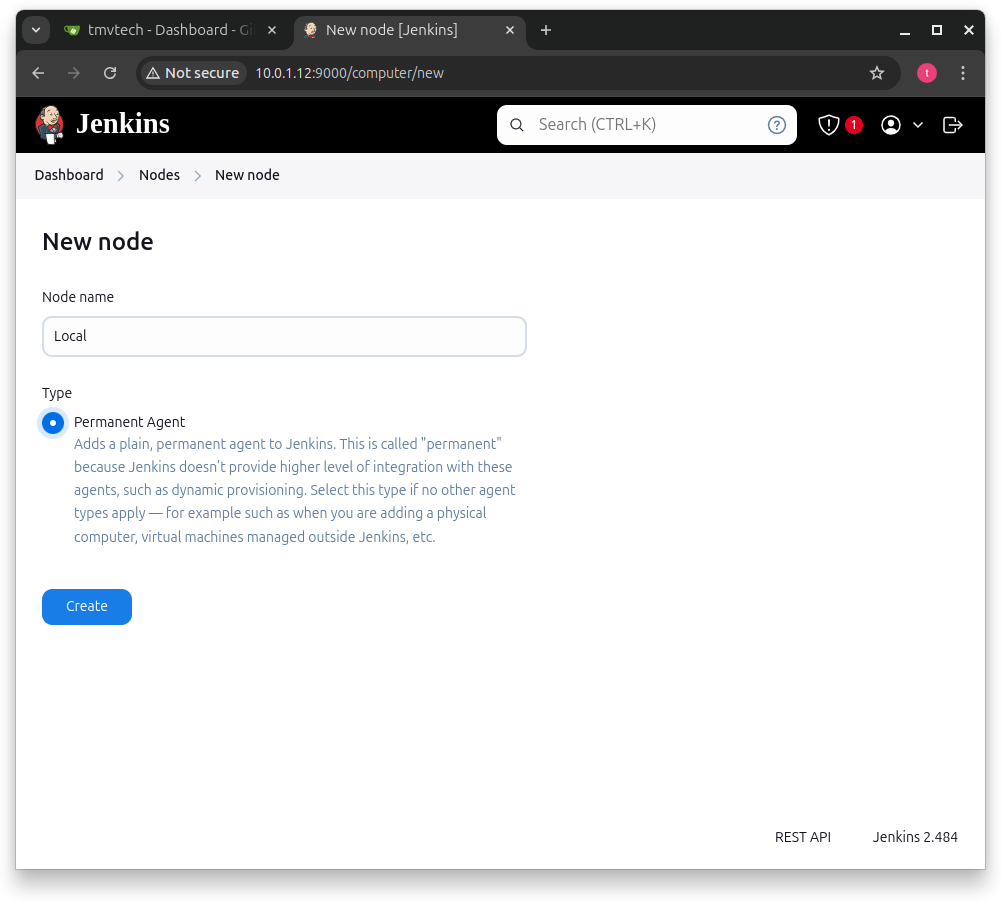
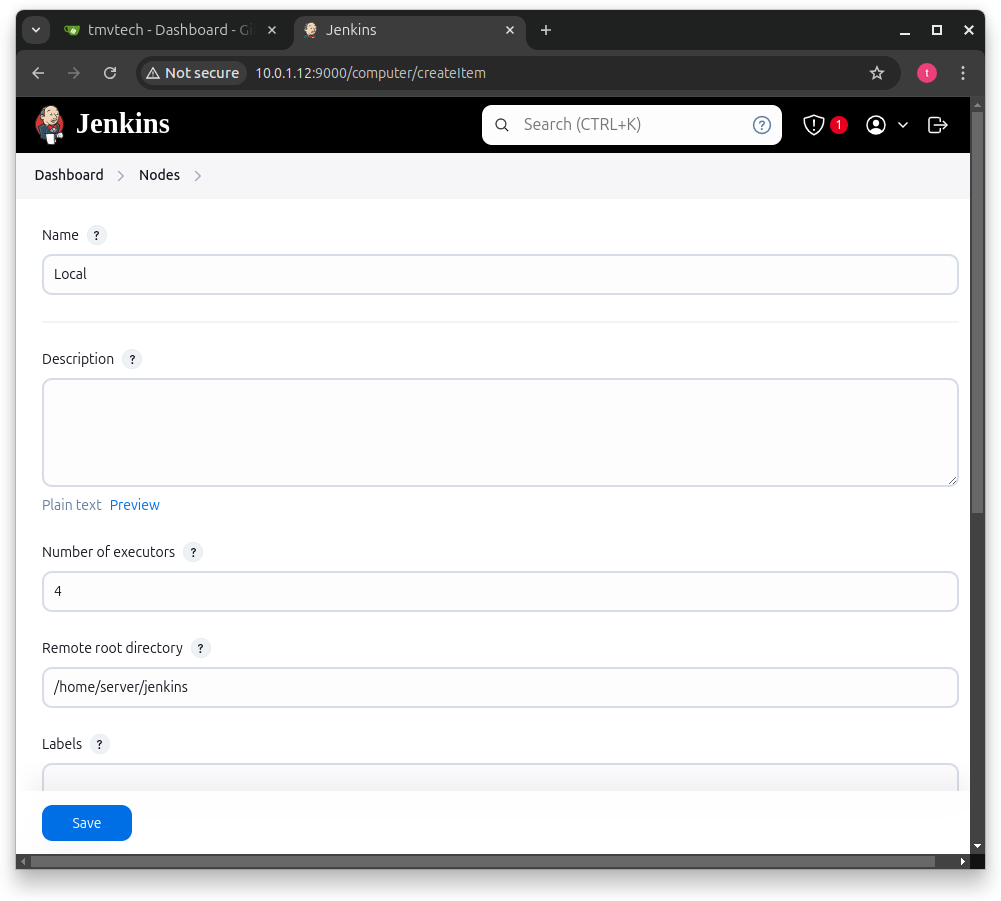
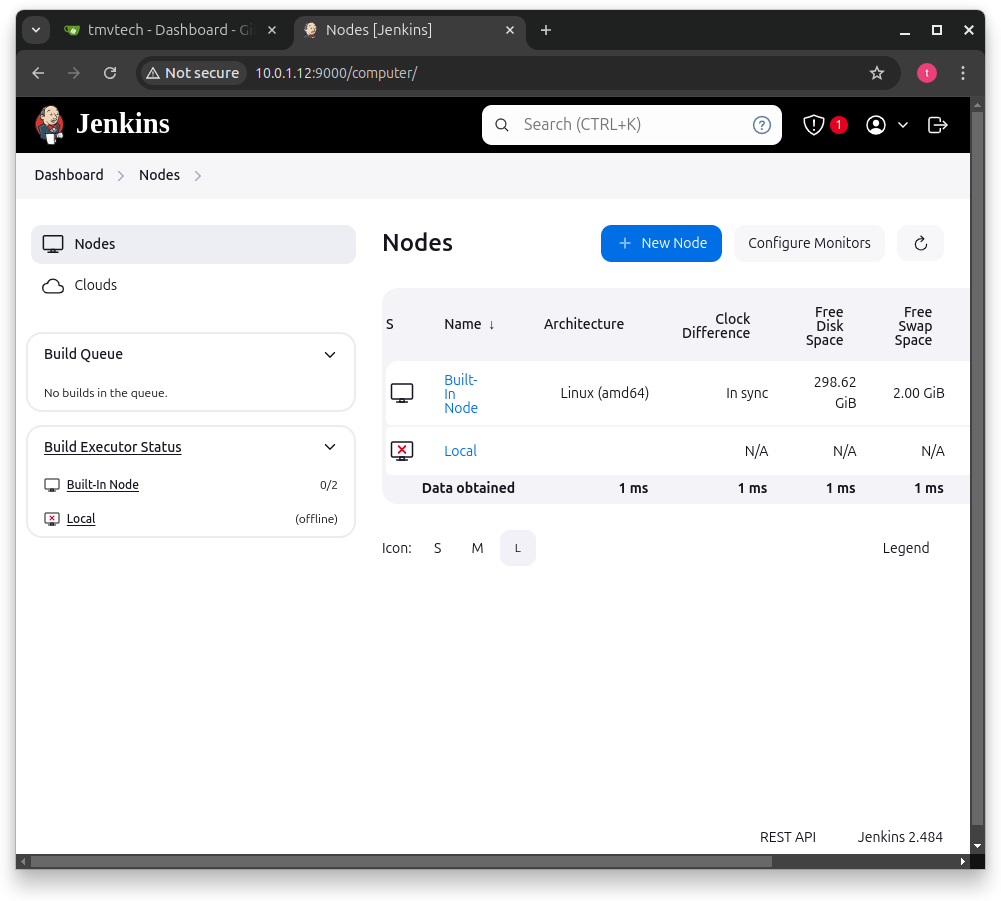
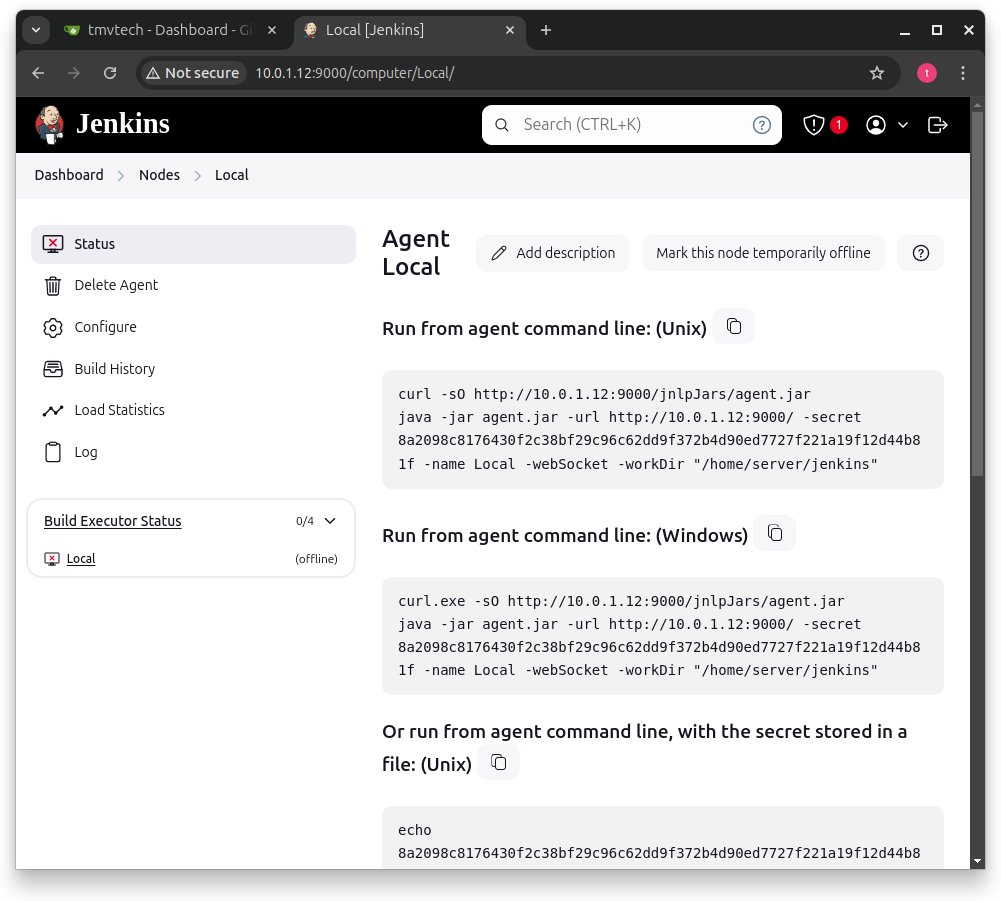
On a terminal in your agent (either the PC that is running jenkins or another PC that has docker) install openjdk 21:
sudo apt install openjdk-21-jdkCreate a folder for jenkins (same location you set while creating the agent):
mkdir ~/jenkins
cd ~/jenkins
Inside the jenkins folder, paste the command Jenkins gave you (first one for Unix), check if it connects, then press ‘CTRL+C’ to stop it and run:
sudo nano /etc/systemd/system/jenkins-agent.service
Inside, paste the following config but switch the URL, secret and java and work directories:
[Unit]
Description=Jenkins Agent
After=network.target

[Service]
User=server
WorkingDirectory=/home/server/jenkins
ExecStart=/usr/lib/jvm/java-21-openjdk-amd64/bin/java -jar /home/server/jenkins/agent.jar -url http://yoururl:9000/ -secret yoursecret -name Local -workDir /home/server/jenkins
Restart=always
RestartSec=10

[Install]
WantedBy=multi-user.target
Save the file and run:
sudo systemctl daemon-reload
sudo systemctl enable jenkins-agent.service
sudo systemctl start jenkins-agent.service
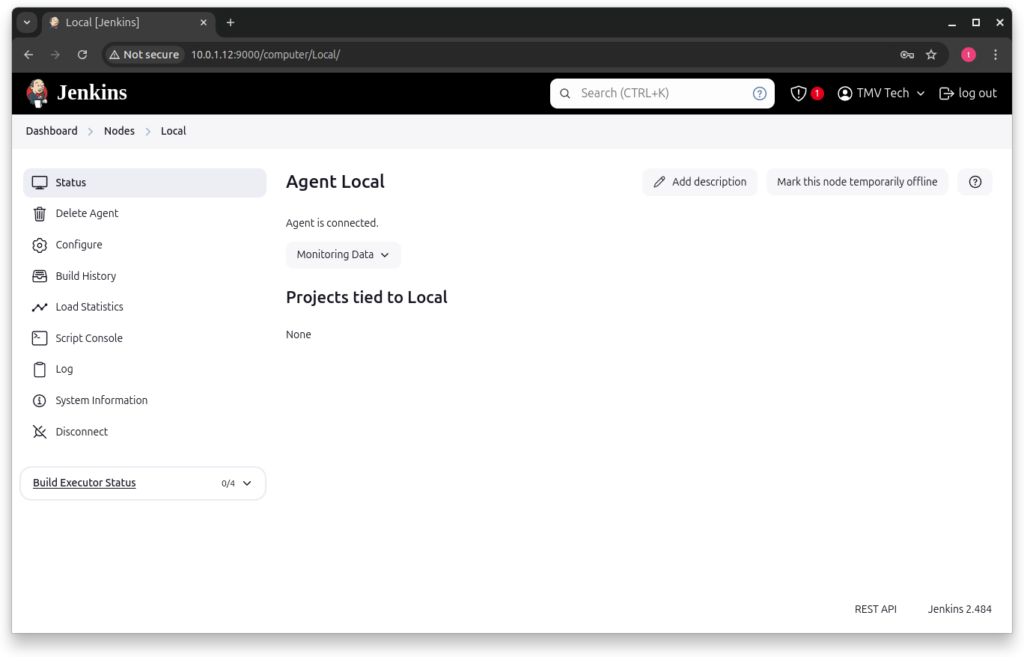
After a couple seconds, you should see the following page in status (refresh if needed):
3 - Connect to Gitea
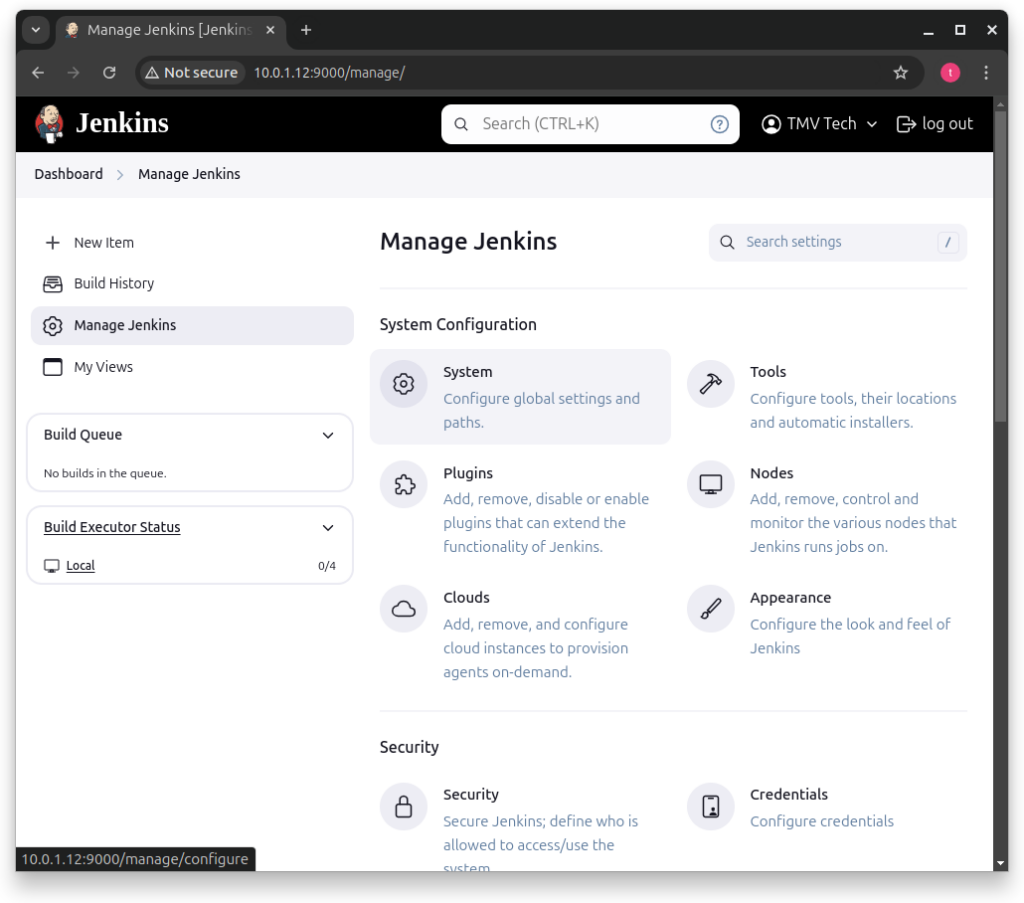
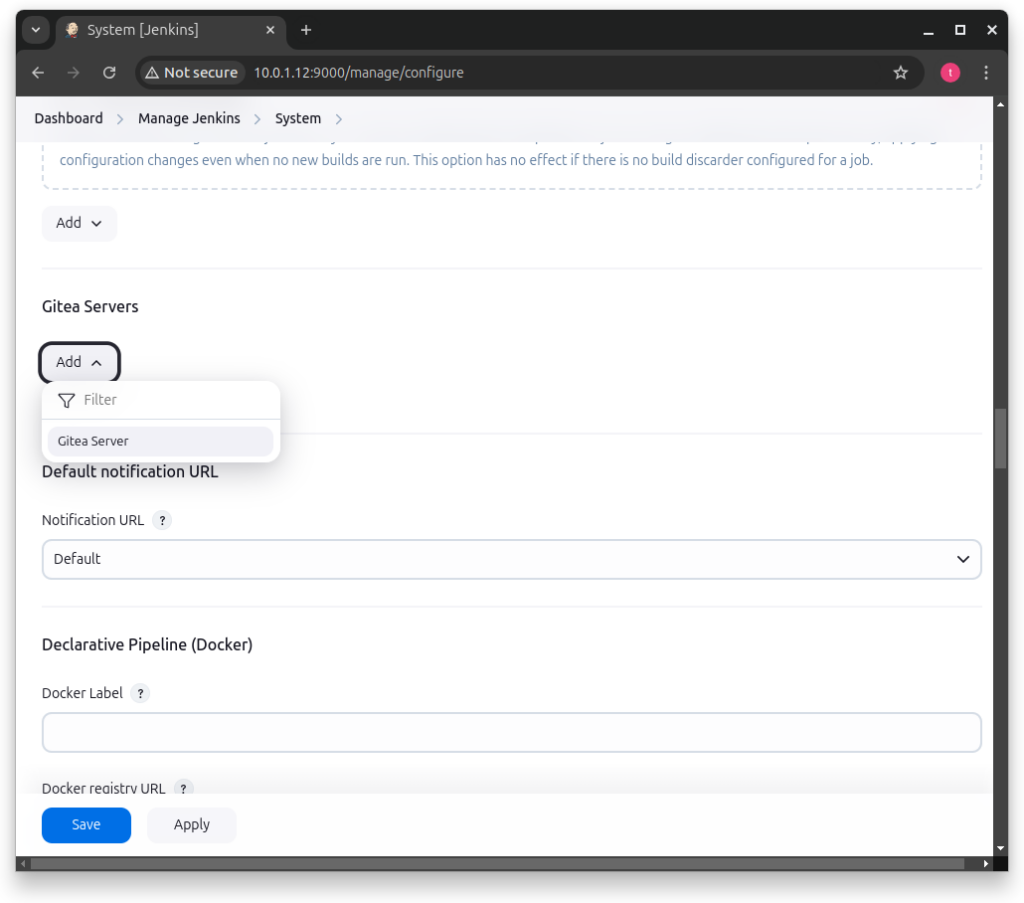
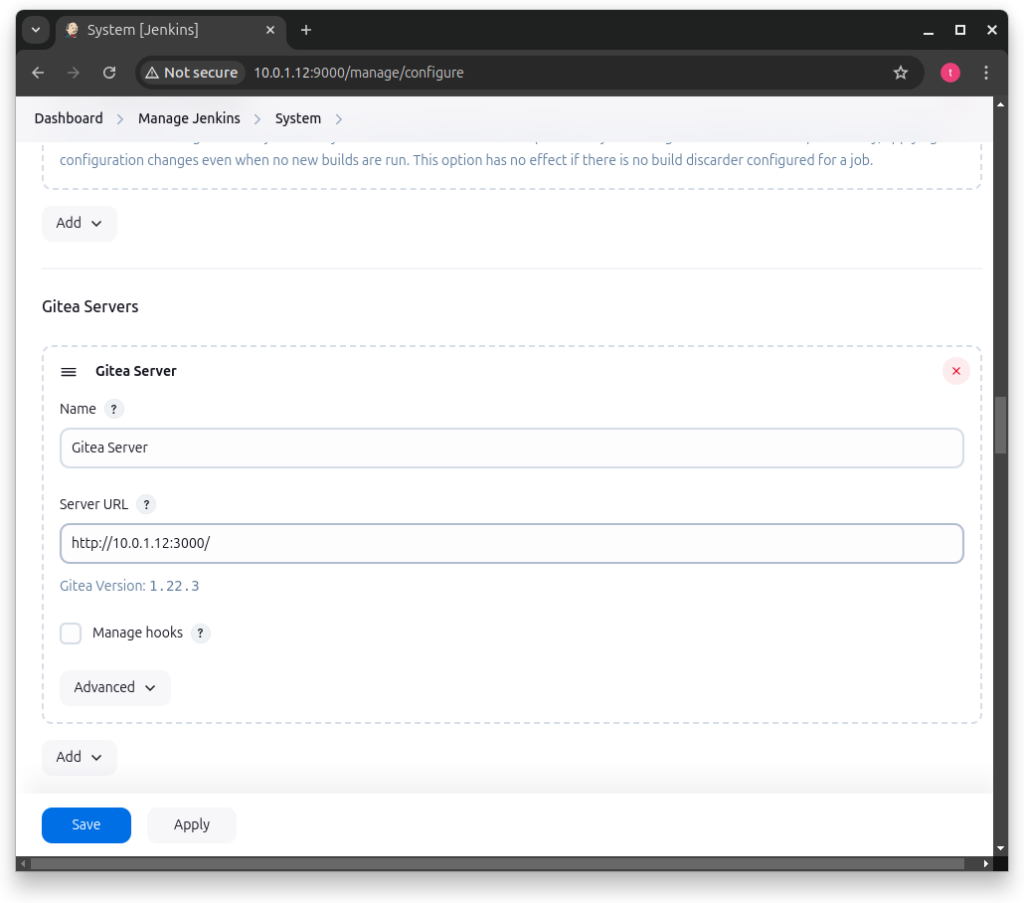
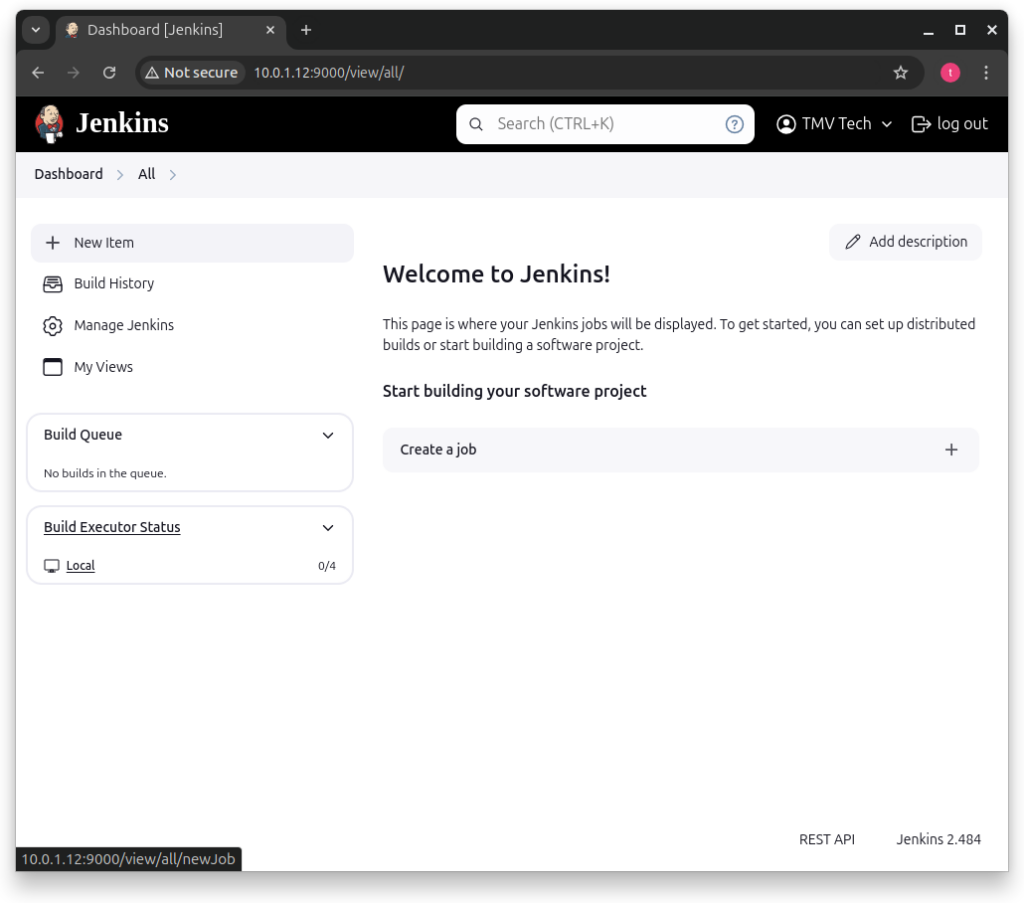
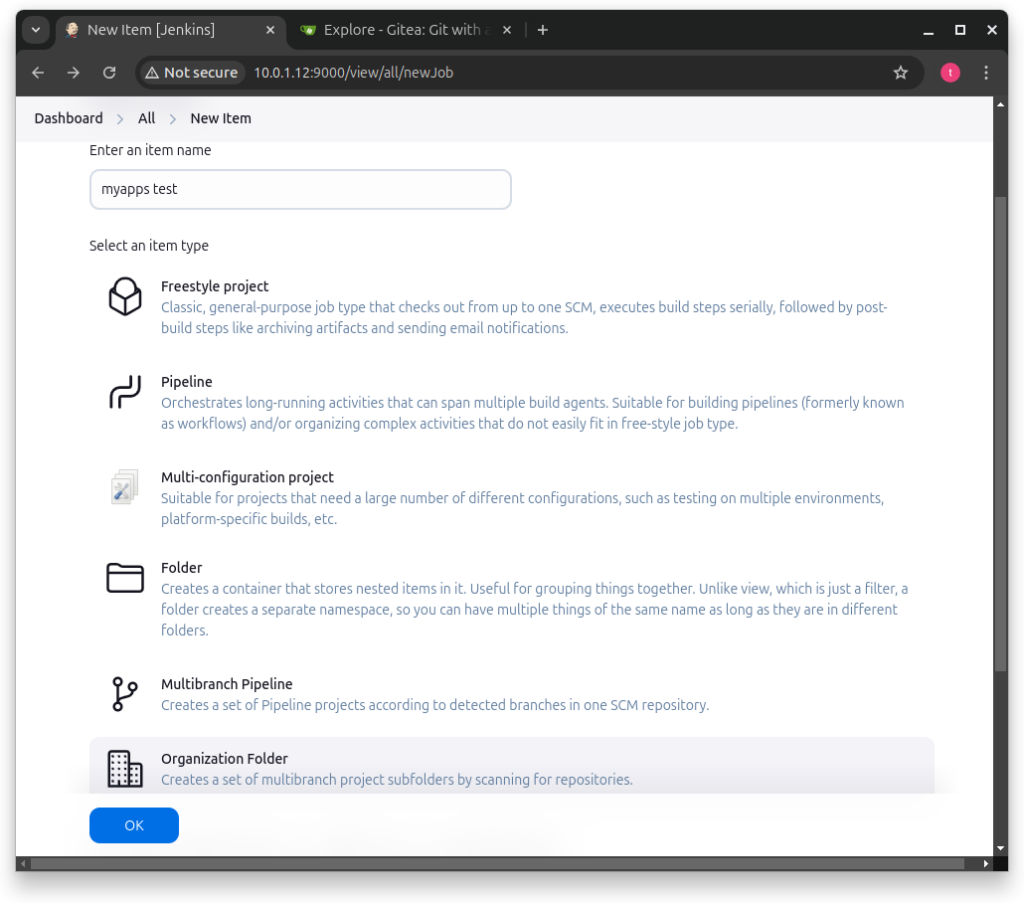
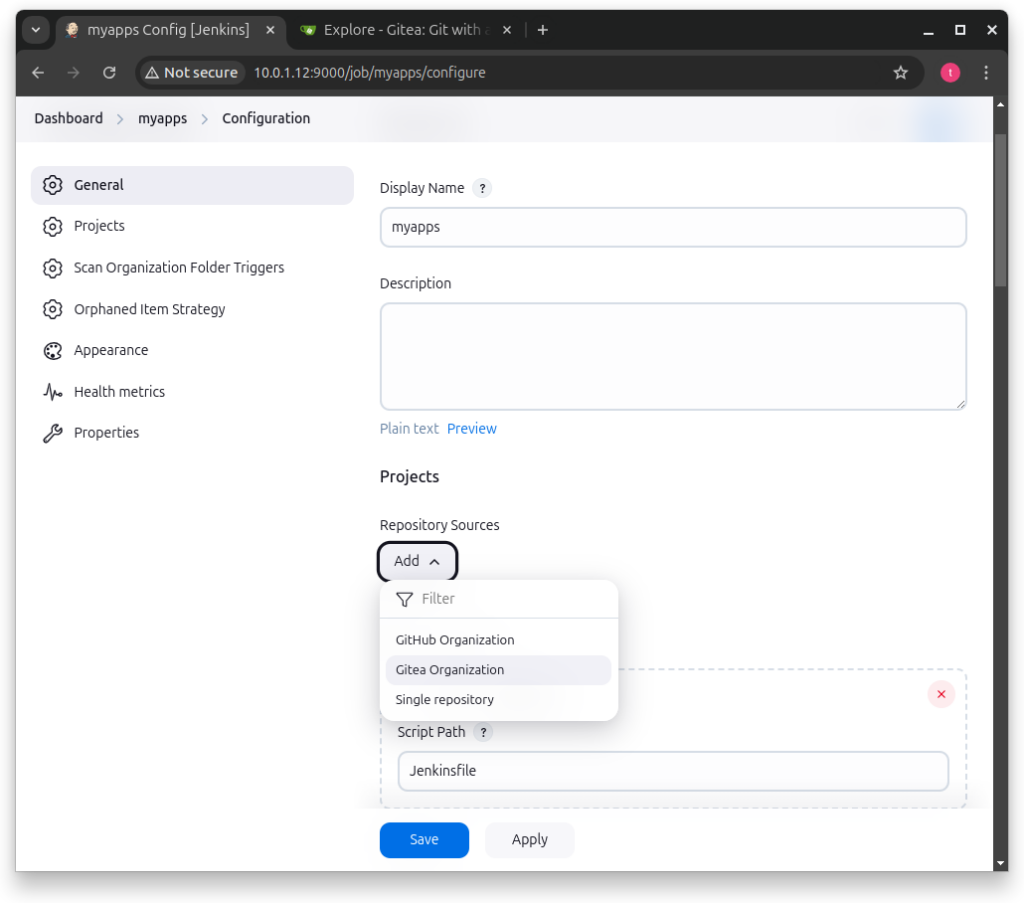
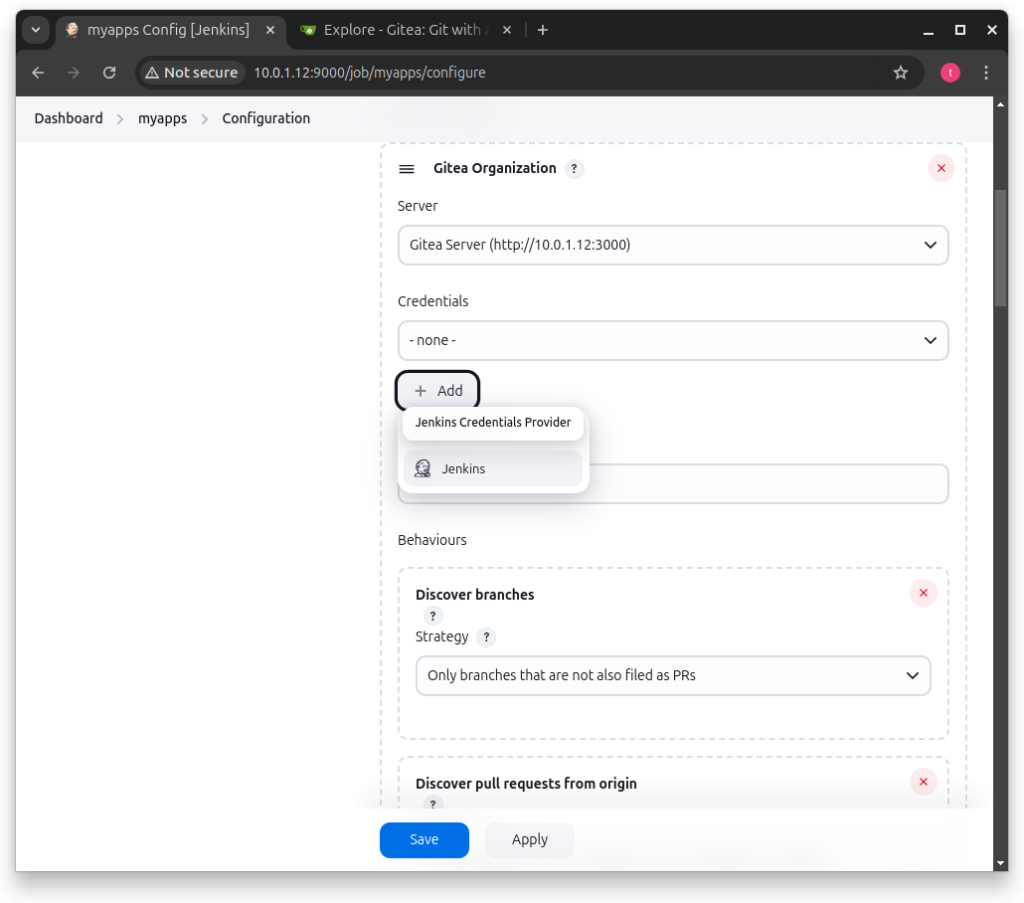
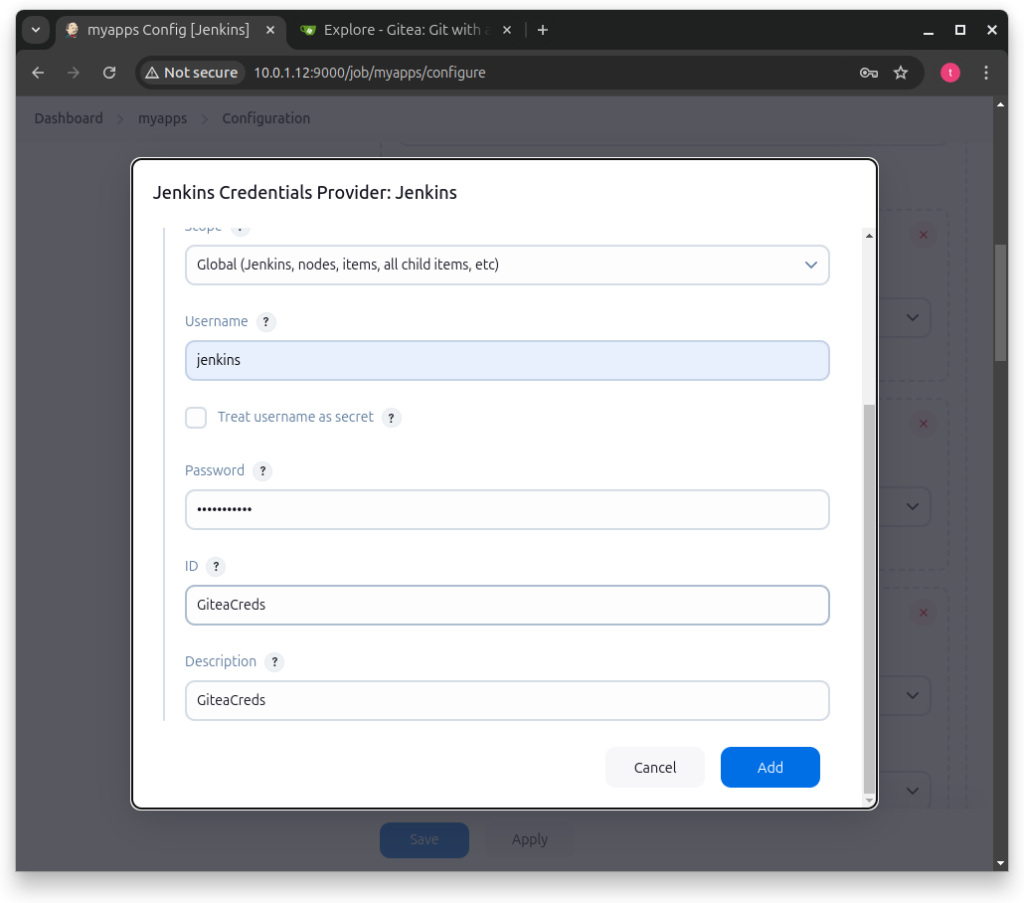
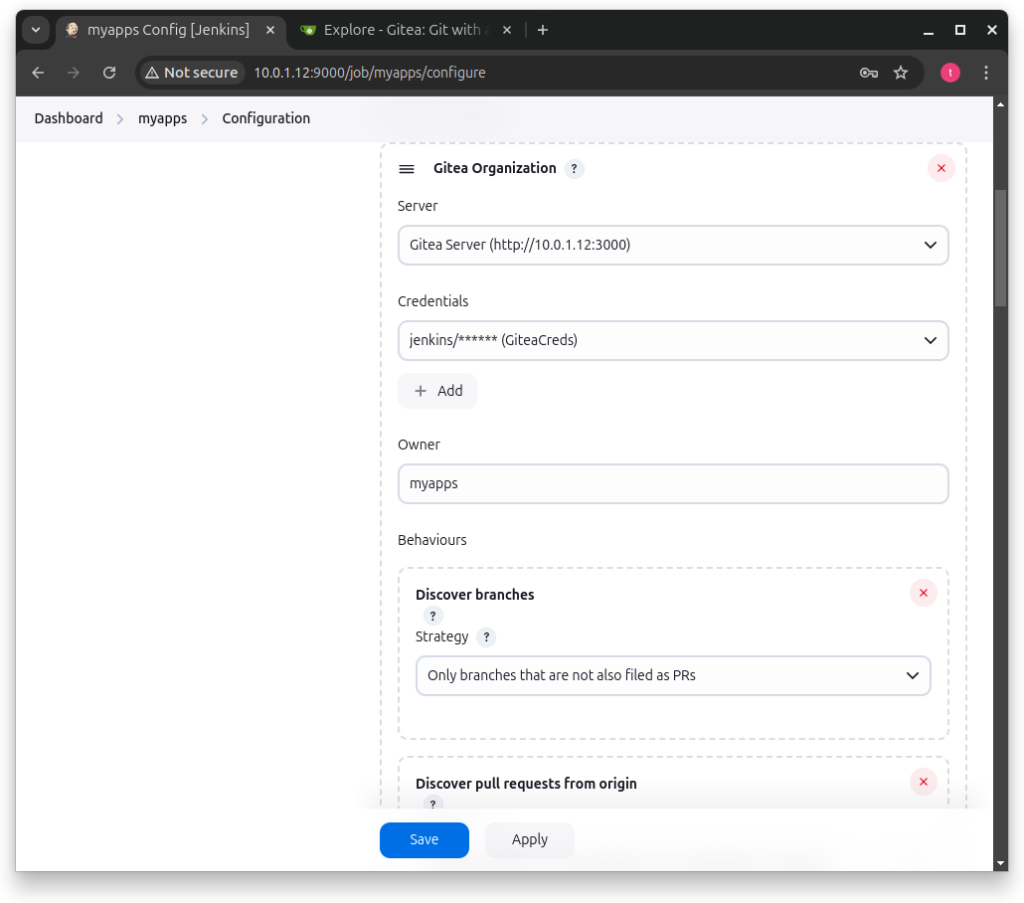
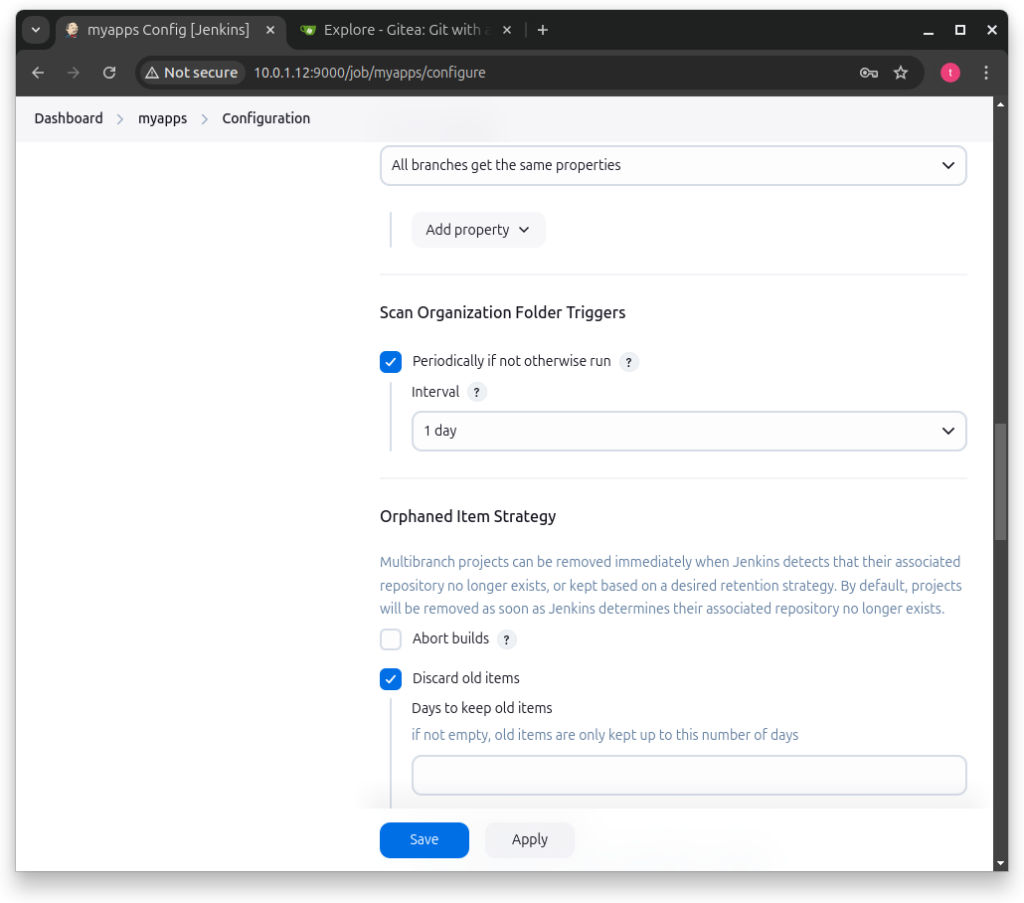
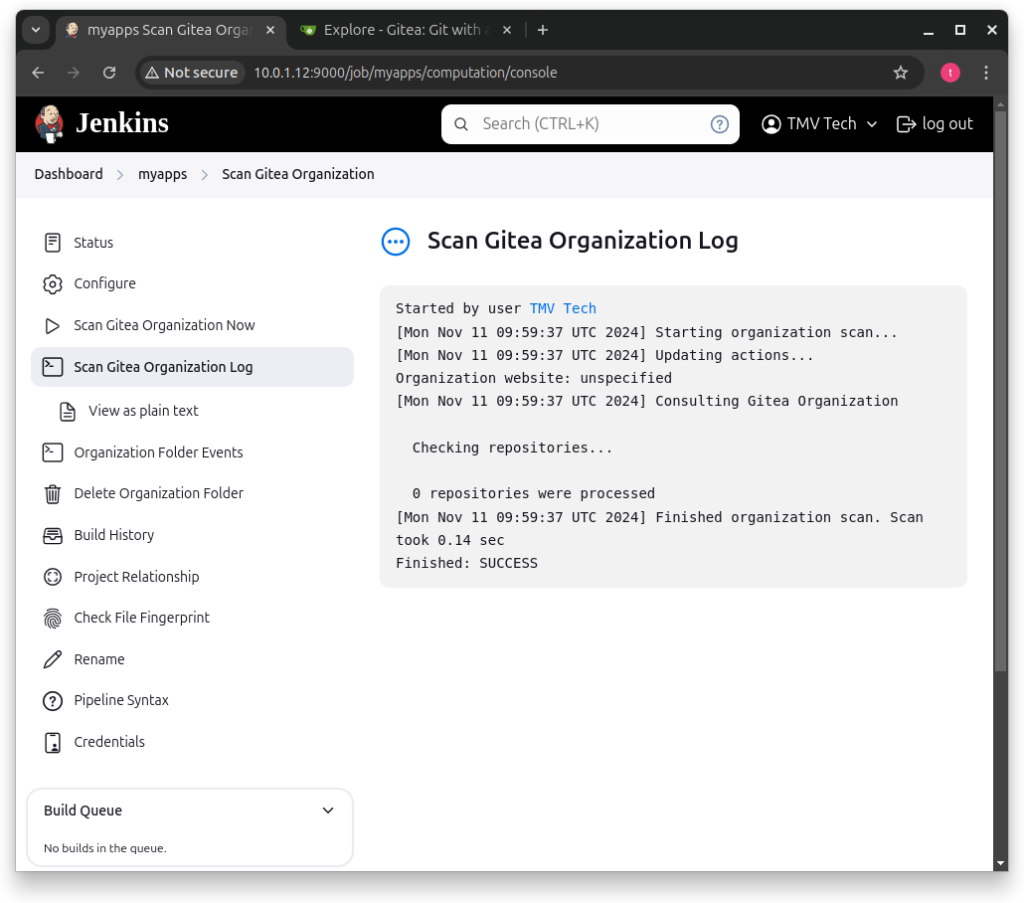
Now that we have both Gitea and Jenkins setup and running, we can now, in Jenkins, add our Gitea server:
4 - Example
With all this setup done, go to Gitea, create a repo in your Organization and clone it:
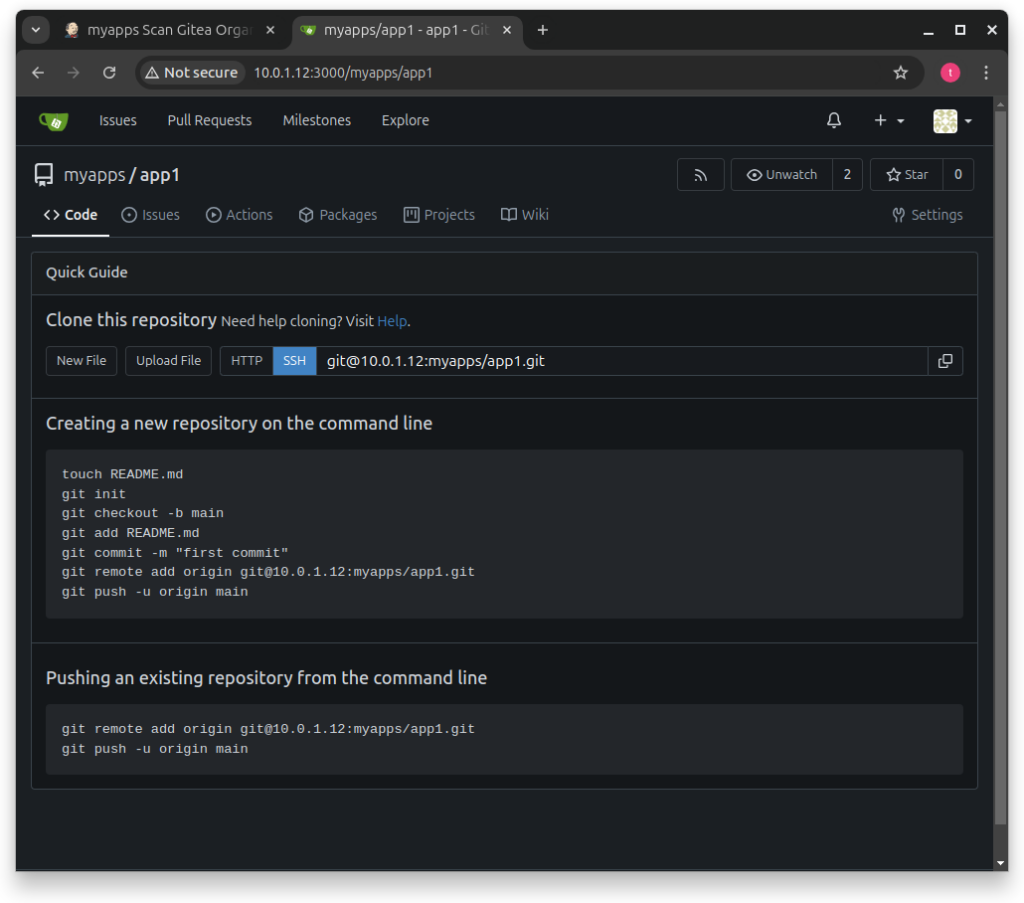
We will now need some files in our app repo, one being a Dockerfile that will be built and it is where our app will run on, and the other being the Jenkinsfile. Let’s start with the Dockerfile, we will use Ubuntu 24 and install gcc and build essentials:
# Base img
FROM ubuntu:noble

# Define maintainer
LABEL maintainer=TMVTech

# Update img with latest packages
RUN apt-get update && apt-get upgrade -y

# Install packages
RUN apt-get install -y gcc build-essential
For this example we will also use a very simple makefile, that compiles our main file:
all:
	gcc src/main.c -o out/main
Our main file will be placed into a folder named ‘src’ and will be as simple as the makefile that compiles it. Simly print ‘Hello’:
#include <stdio.h>

int main()
{
    printf("Hello From C App\n");
    return 0;
}
Finally we need to create our Jenkinsfile. In this file you can setup all the steps the agent will take to build and test your app, you can even publish it, if all tests pass. A small summary for this Jenkinsfile:
- ‘pipeline’: the root of our jenkinsfile
- ‘agent’: which machine will run the steps (in this case, the docker container built from the dockerfile)
- ‘stages’: a group of stages
- ‘stage’: a stage is a group of commands (steps) that execute a task (for example, build, test, publish)
- ‘steps’: what commands to run in that stage (for example, on build stage, run gcc, on test state, run app)
Let’s test our app by pasting the following in the Jenkinsfile:
pipeline
{
    agent { dockerfile true }
    stages
    {
        stage ('Build')
        {
            steps
            {
                echo 'Starting Build...'

                // Delete old and create new out folder
                sh 'rm -rf out && mkdir out -p'

                // Check if make is installed
                sh 'make --version'

                // Run make to build the C program (assuming Makefile is in the repository)
                sh 'make'
            }
        }
        stage ('Test')
        {
            steps
            {
                echo 'Running Test...'

                // Set as executable
                sh 'chmod +x ./out/main'

                // Run
                sh './out/main'
            }
        }
    }
}
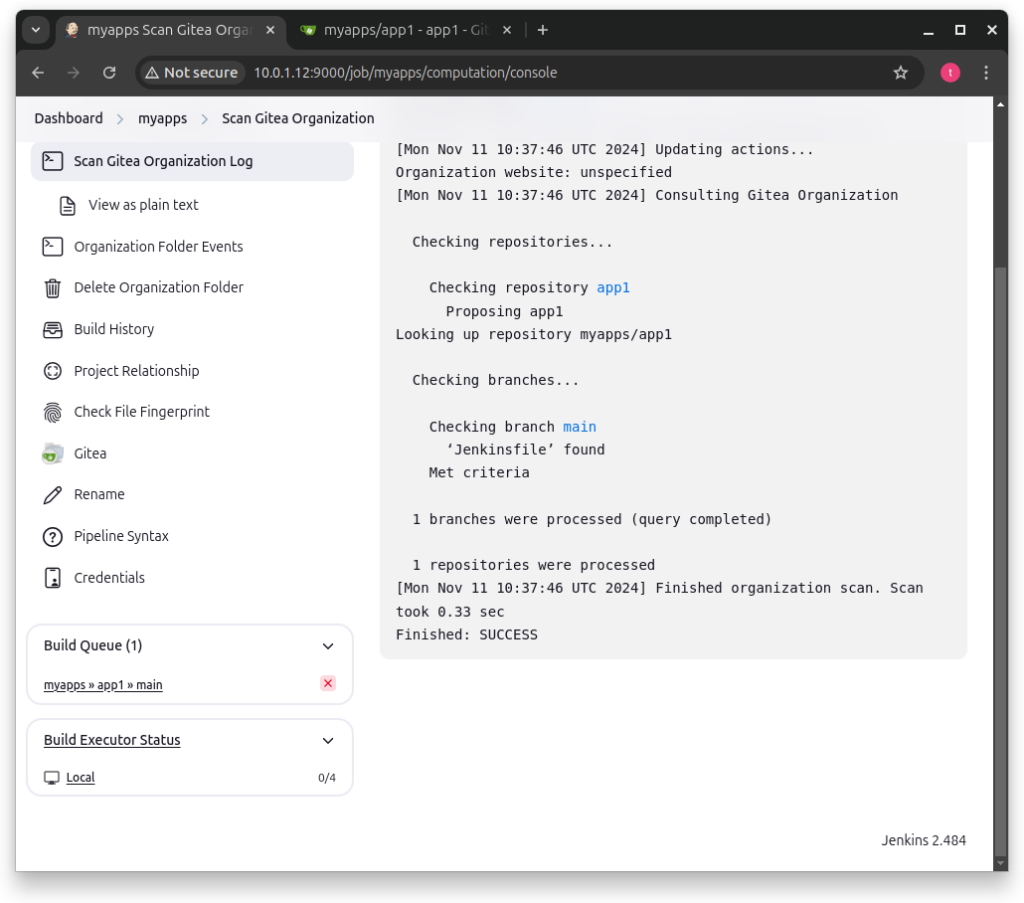
With all this ready, make a commit to your repo and go to Jenkins:
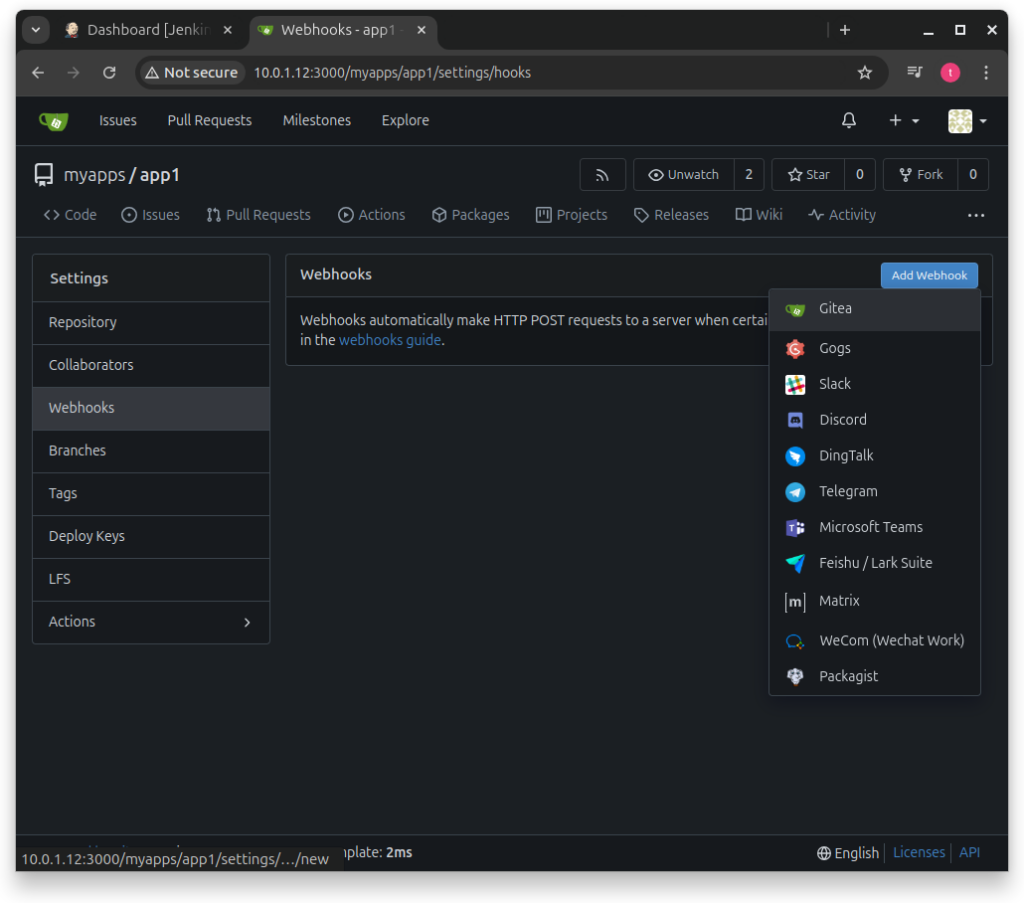
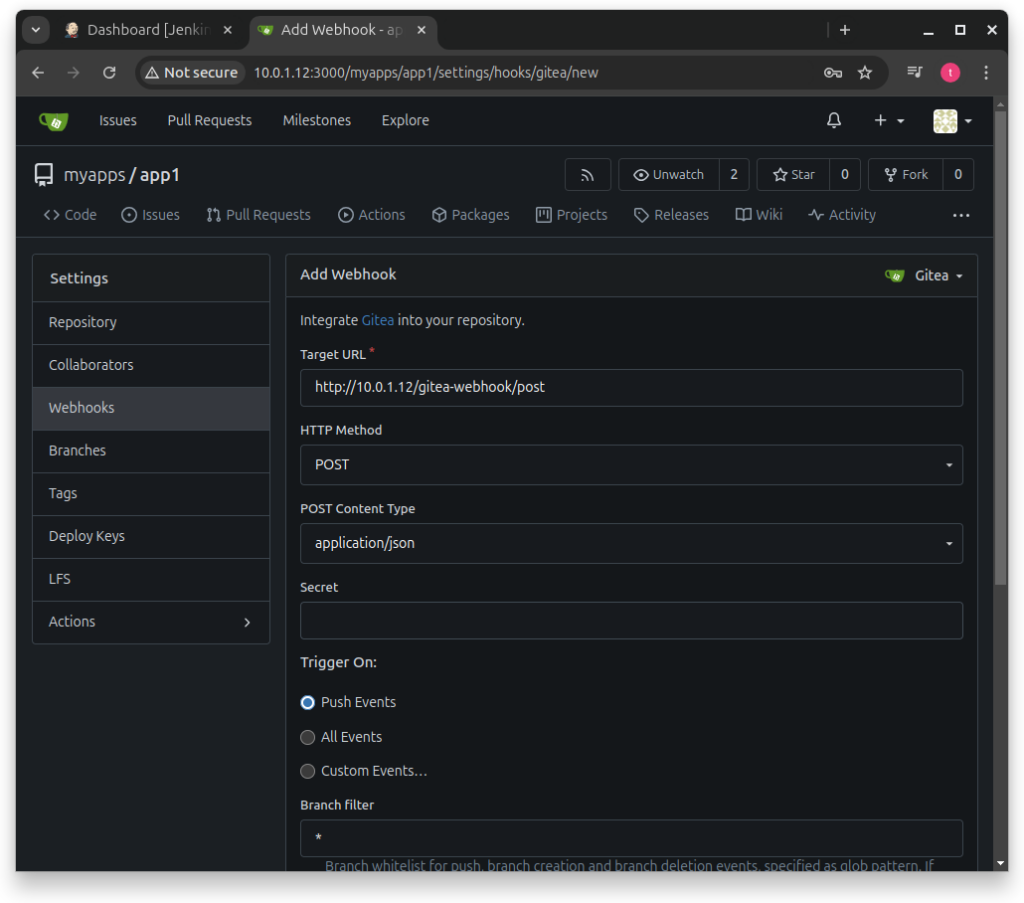
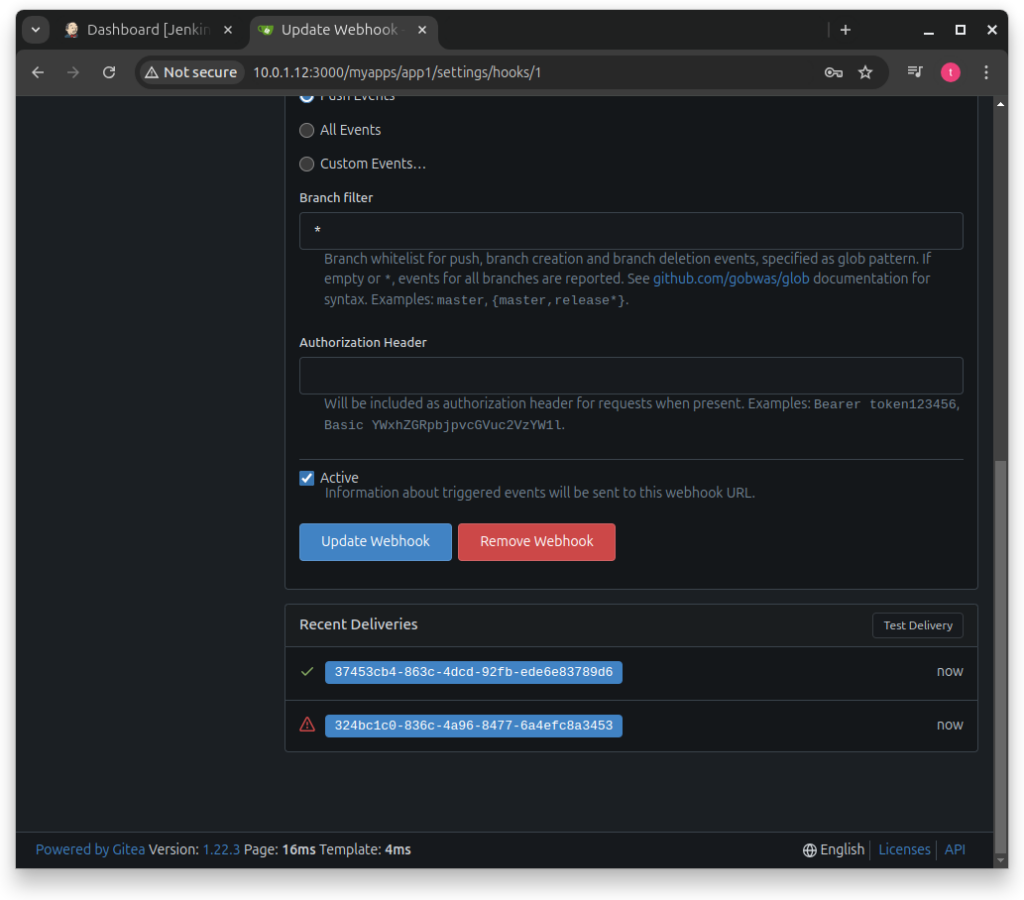
Back to your local pc, make some change to the main file, like add a new print or change the message, then create a new commit and watch the magic happen in front of your eyes!
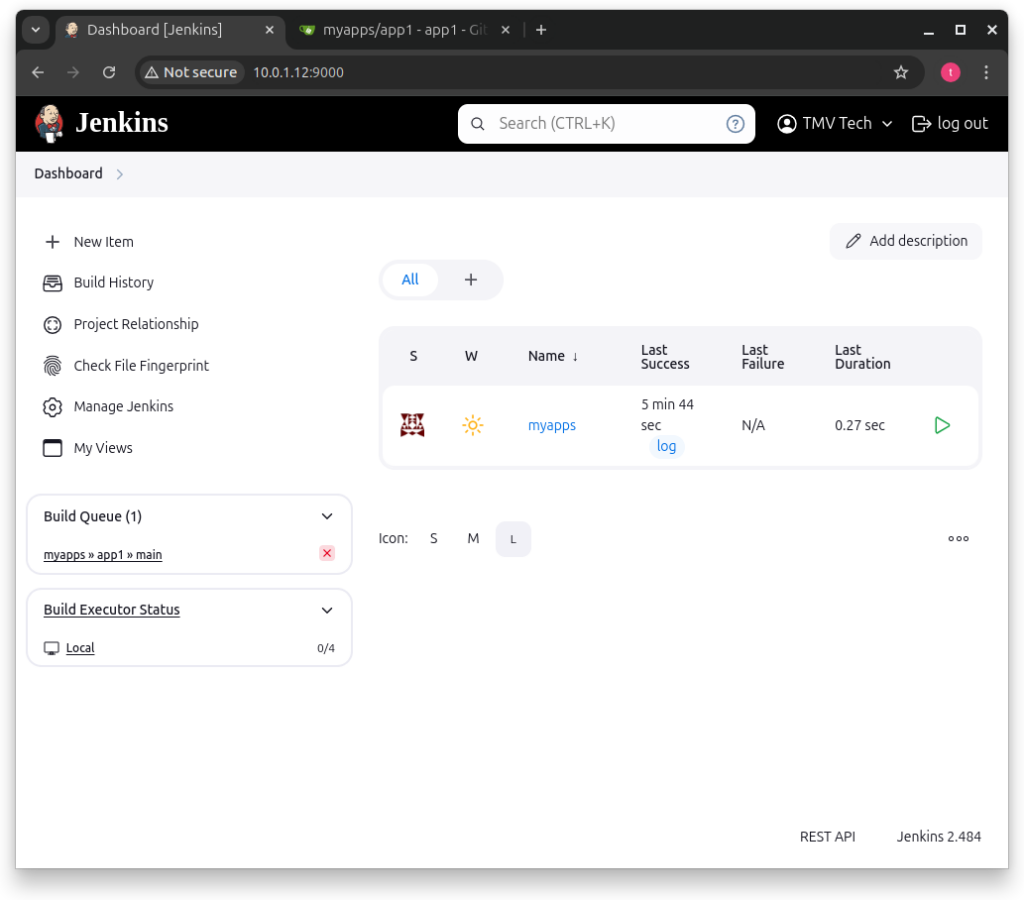
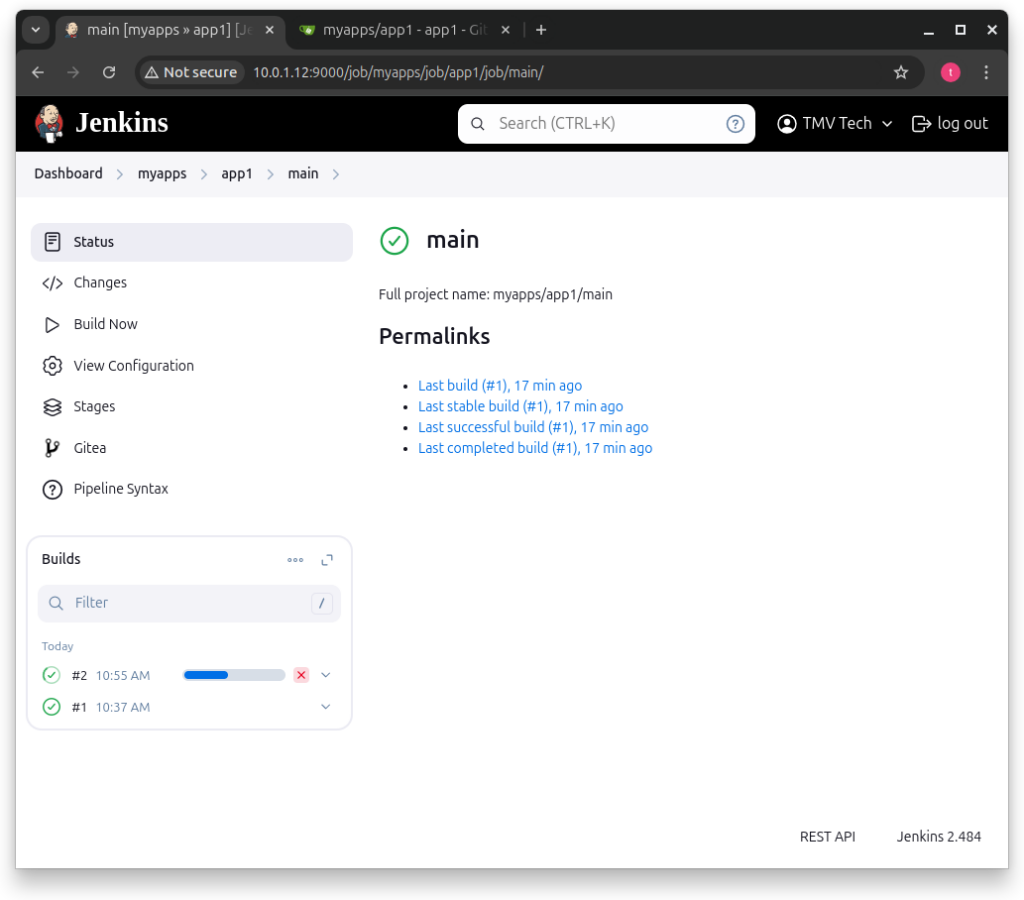
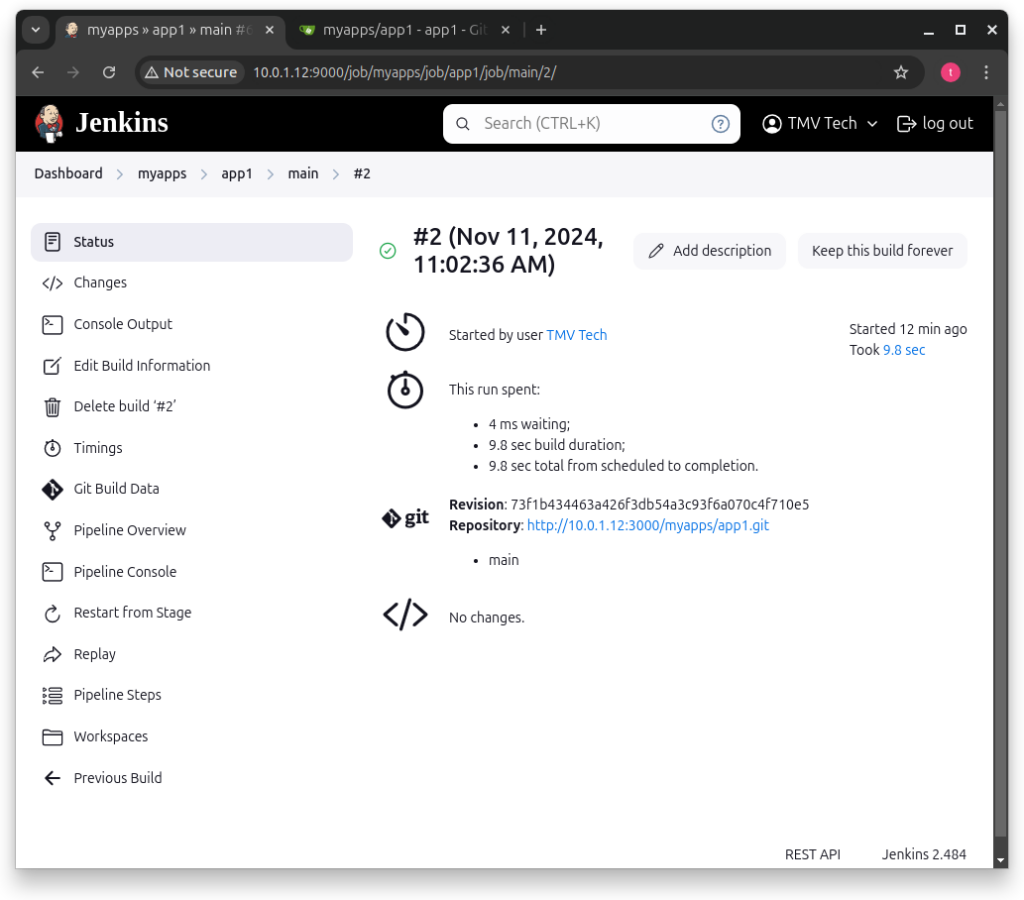
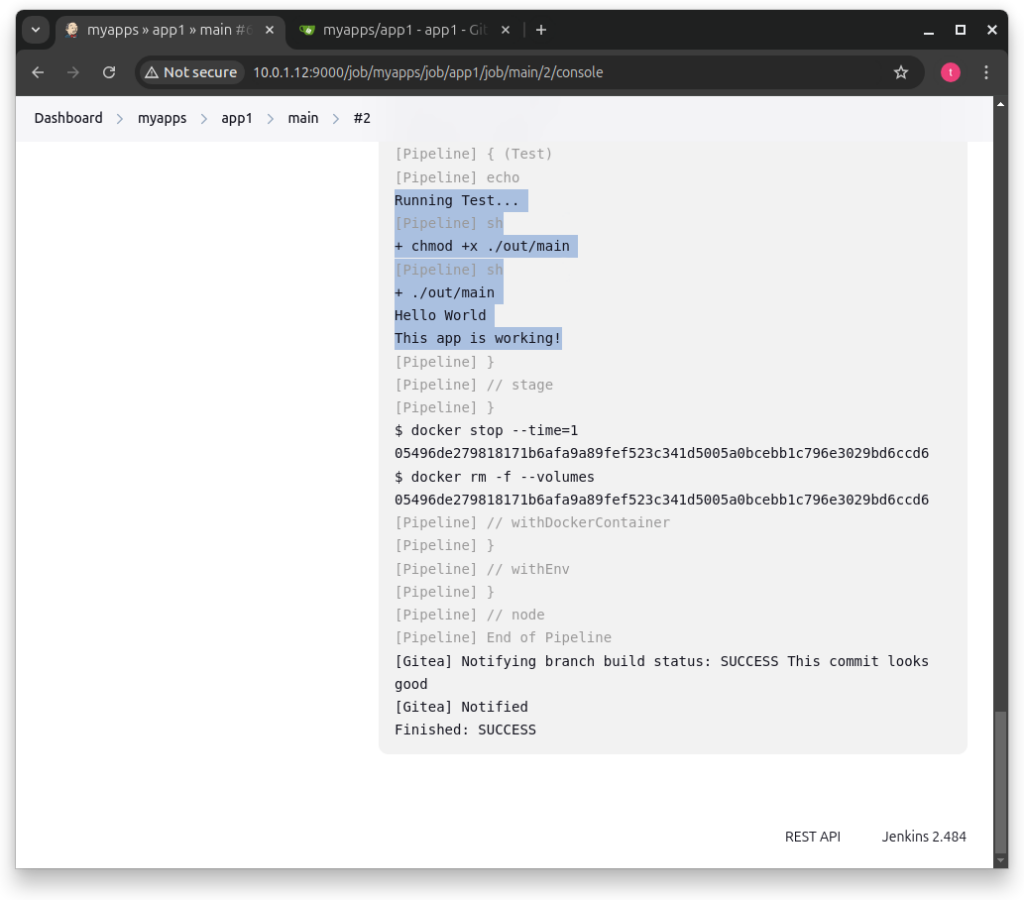
And that’s it! Now every time you push to a branch, a task should run to build and test your code! If you want to, you can also specify which branches should get built, for example, only branches with ‘release-*’ in the name or only main.
But that’s all for this article, thanks for reading until the end and stay tuned for more tech insights and tutorials. Until next time, and keep exploring the world of tech!
