If you have some experience with the Ubuntu command line and want to save a little extra power on your homelab server, then switching from Ubuntu Desktop to Server might be a good idea. Ubuntu Server uses the same kernel as the Desktop version and, ignoring the Desktop environment, it is the same system.
If you use your homelab’s server with only some game servers and some backup services, then there is no need to have a whole desktop environment. In my laptop, looking at the install size, after updates, Server uses 5.4 Gbs after updates and Desktop uses 8.9 GBs, in terms of ram we have 100MBs in Server and 700MBs in Desktop and, looking at the CPU, Server is almost always at 0% to 0.7% (remember, fresh install) and Desktop is always above 1% to 3.3%, but never 0%.
As you can see, Ubuntu Server should save you some power, ram and storage, even though it is just a little but that ‘little’ becomes significant if you use it in a less powerfull system, like a Raspberry Pi or some other SBC.
1 - Installing Ubuntu Server
Let’s start by downloading Ubuntu Server from the official website, after downloading it, you can either flash it onto a USB device, or use Ventoy, which i recommend.
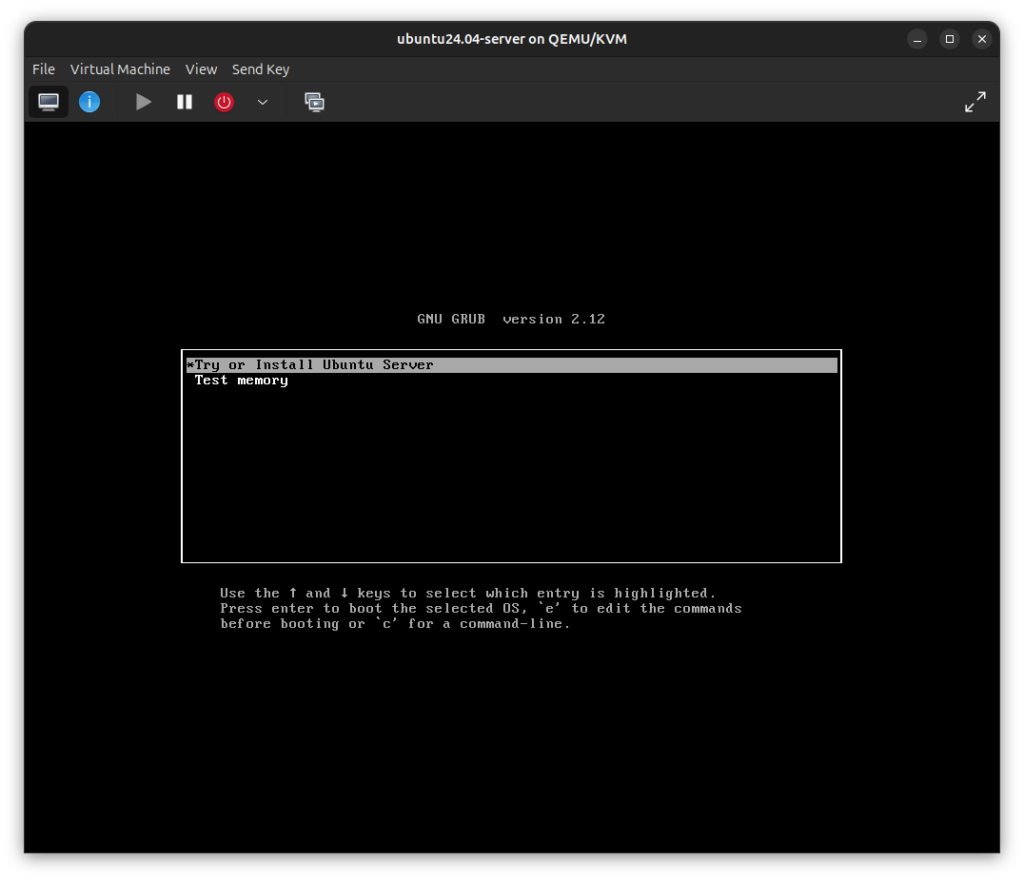
When booting your pc onto it you will see Grub, choose the ‘Try or install Ubuntu Server’ option (up and down arrow and enter).
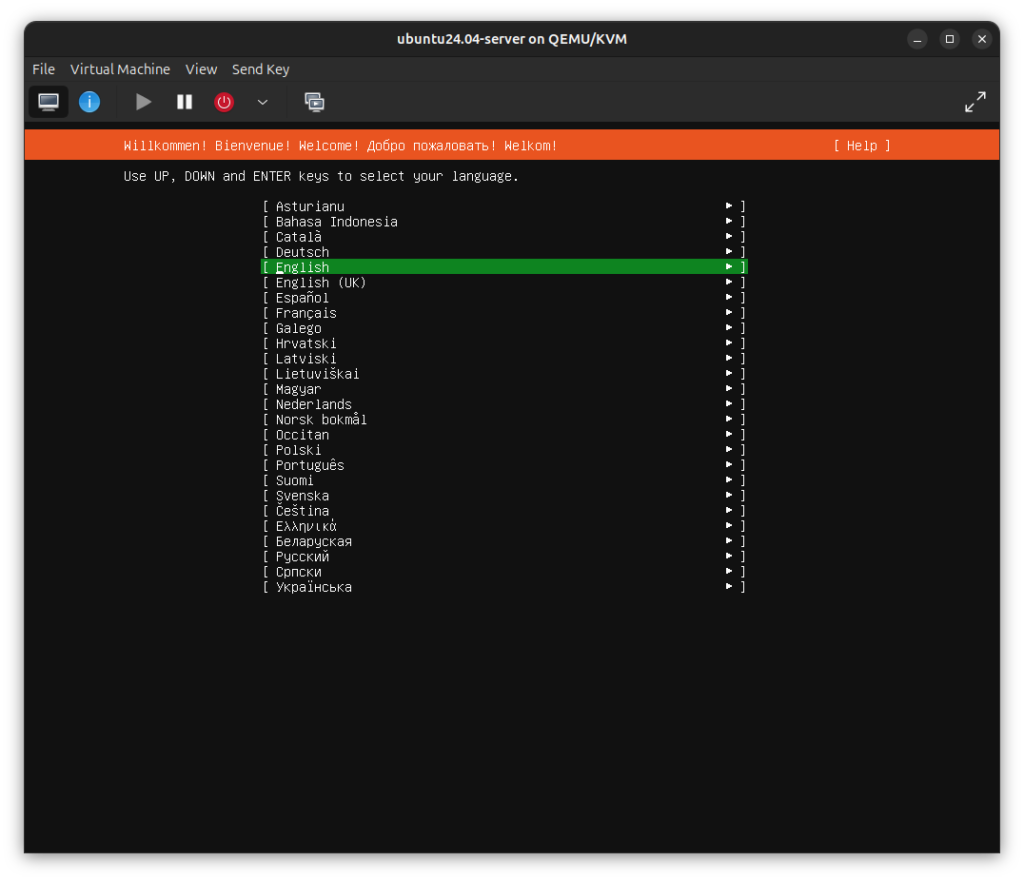
After booting into Ubuntu you can, again, use your up and down arrows and enter to navigate the menus, and in this first one you can choose the system language.
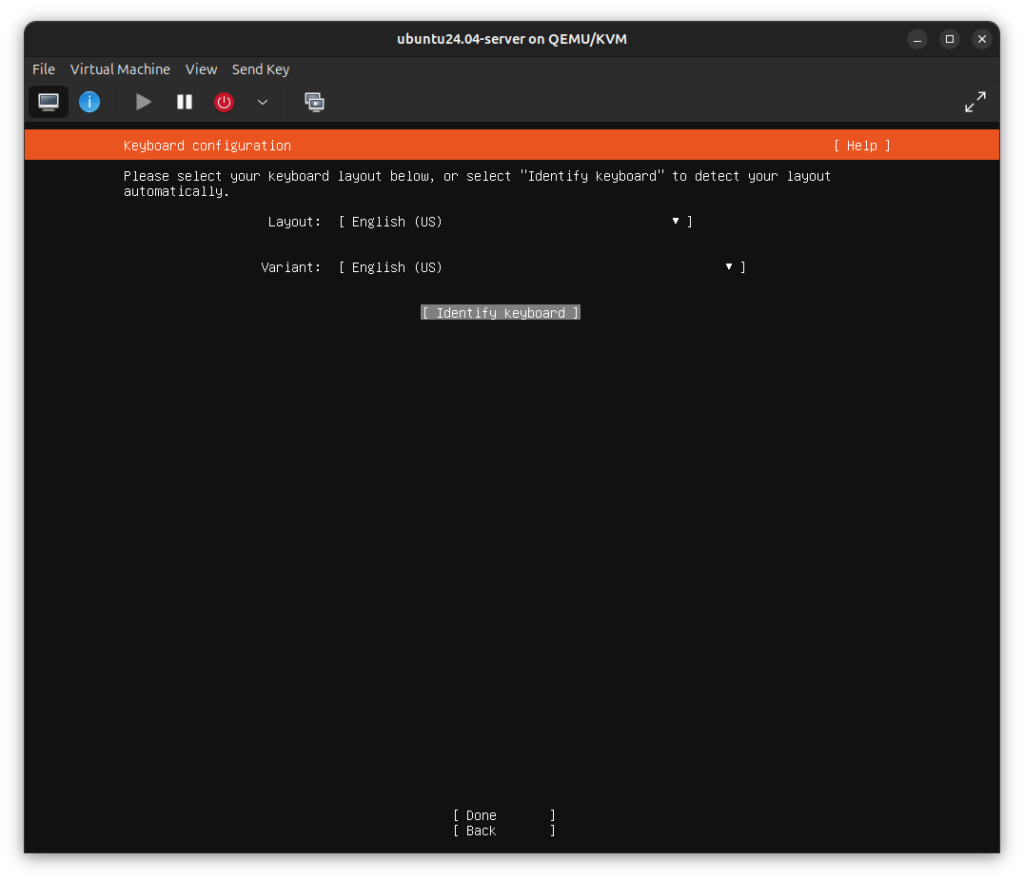
After choosing the system language you can now choose your keyboard layout, I normally use ‘Identify Keyboard’ as it is faster than looking in the huge list of options.
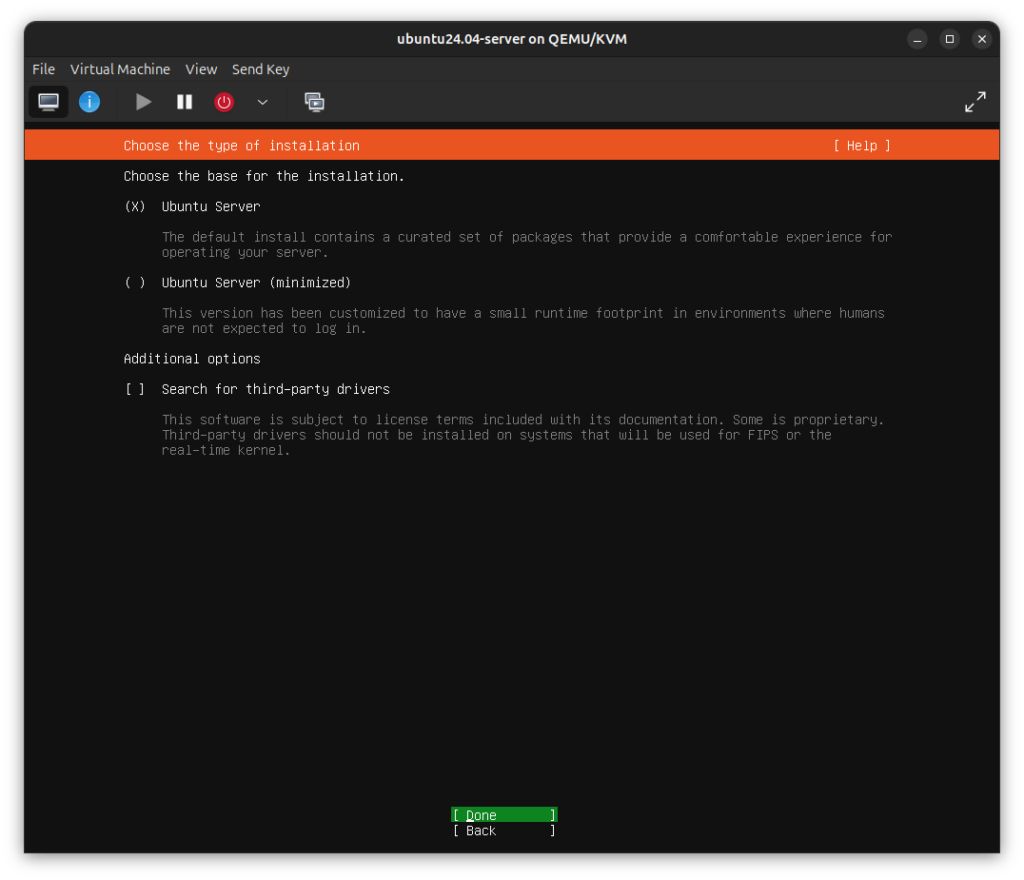
You can then select which base installation you need, i suggest using the normal one. Third-party drivers should only be used if you really need them.
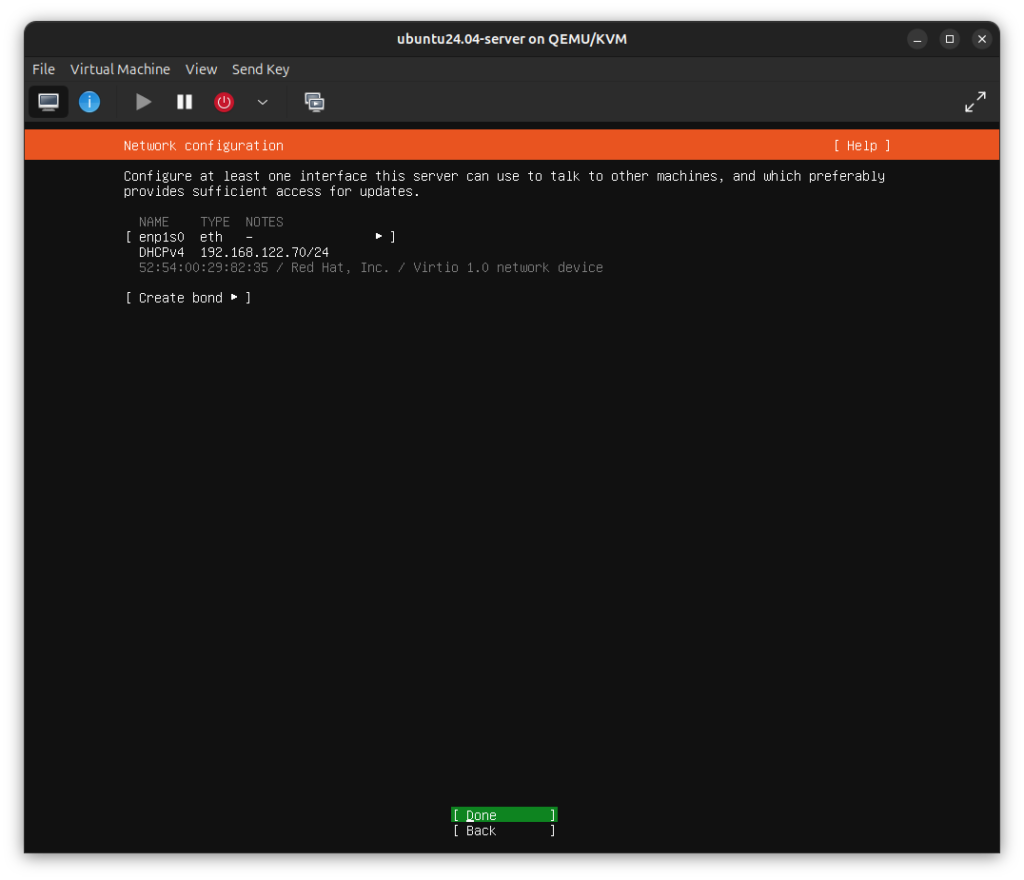
Now you need to add your networks, by default you should see one, if you don’t, try adding it, if you can’t add it, go back and install third party drivers.
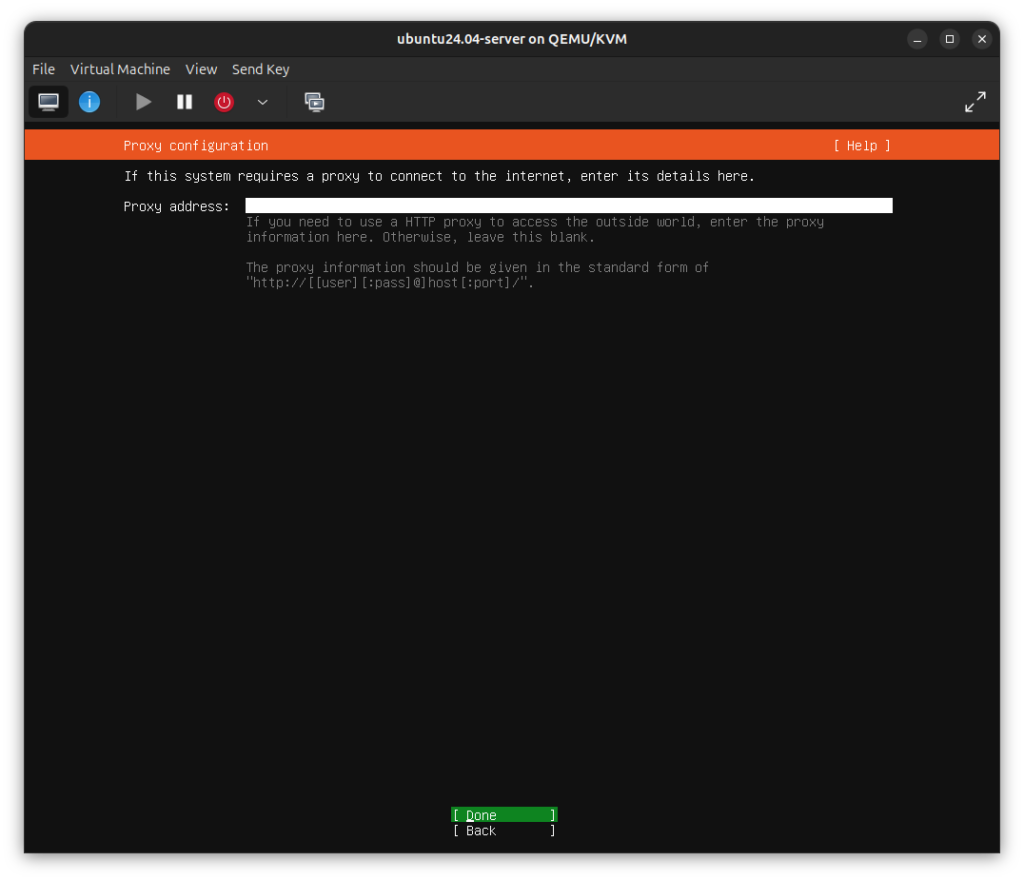
If needed input your proxy address (I will ignore this step).
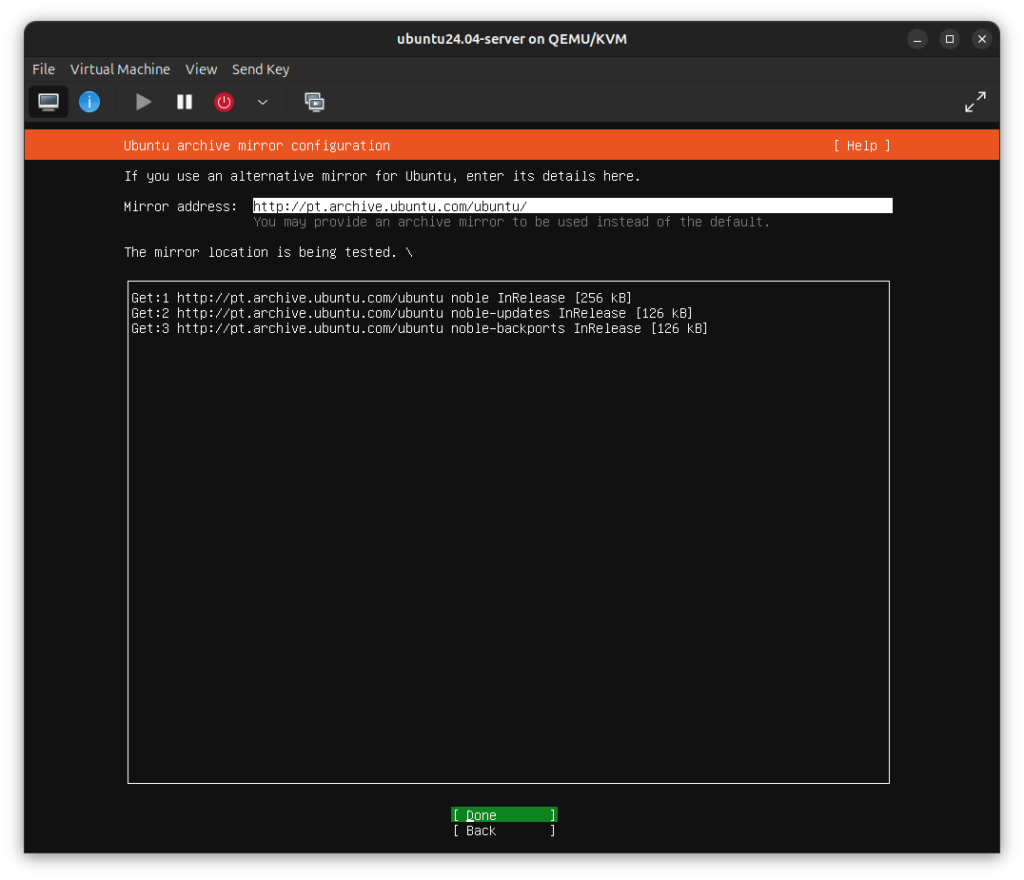
Now, a mirror should be selected for you, but if you know a better one, you can switch it.
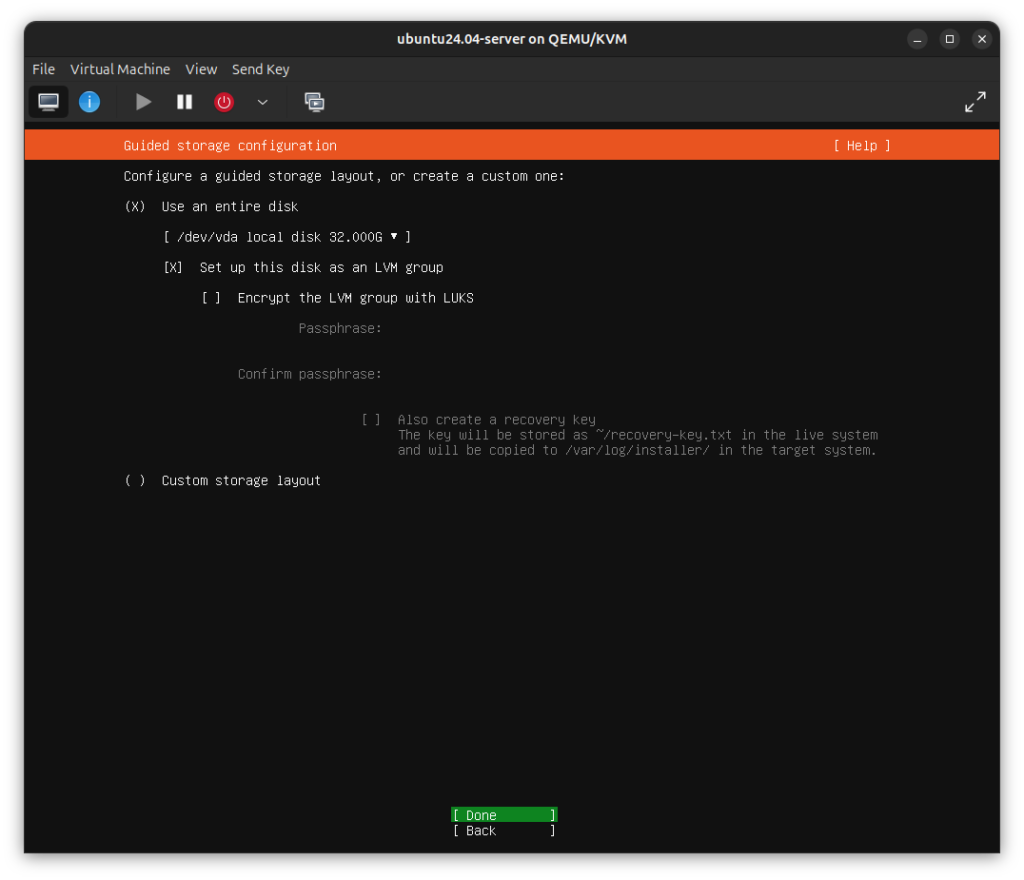
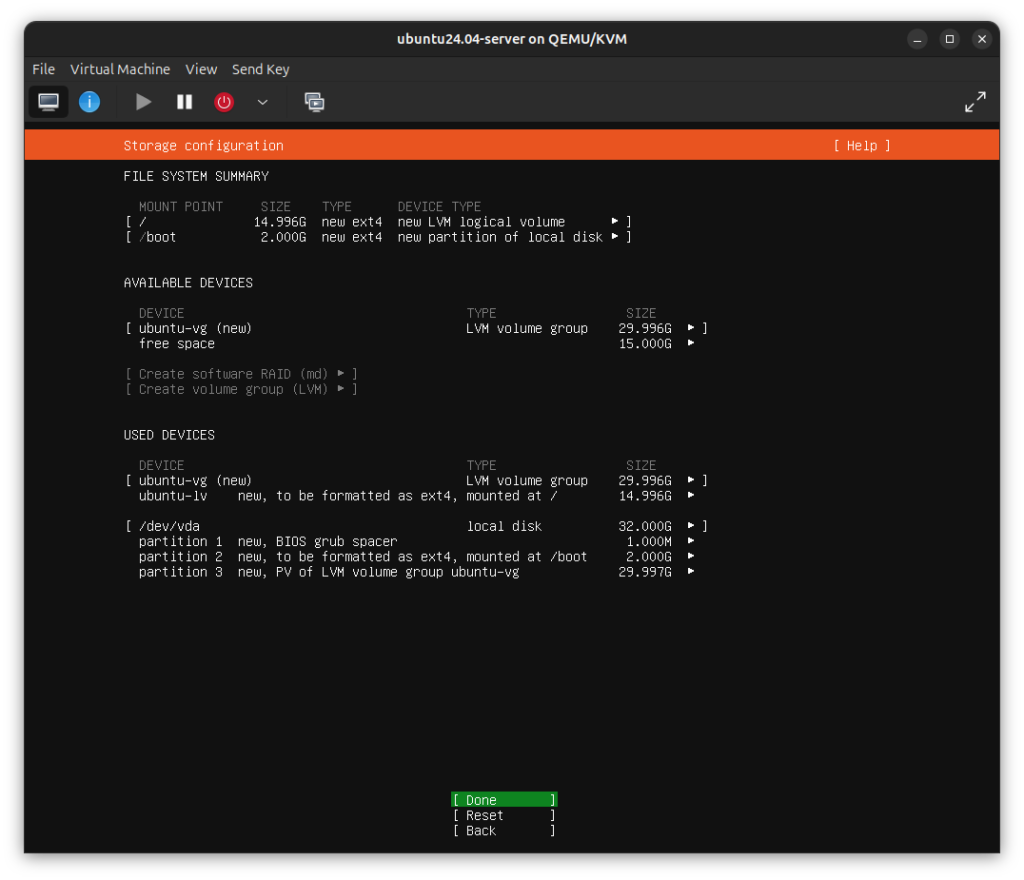
After selecting the mirror, now you can select your disk setup, i will be erasing the whole disk as it is a vm. If you have multiple disks, you can select ‘Custom storage layout’ and customize your setup.
Now confirm everything is how you configured:
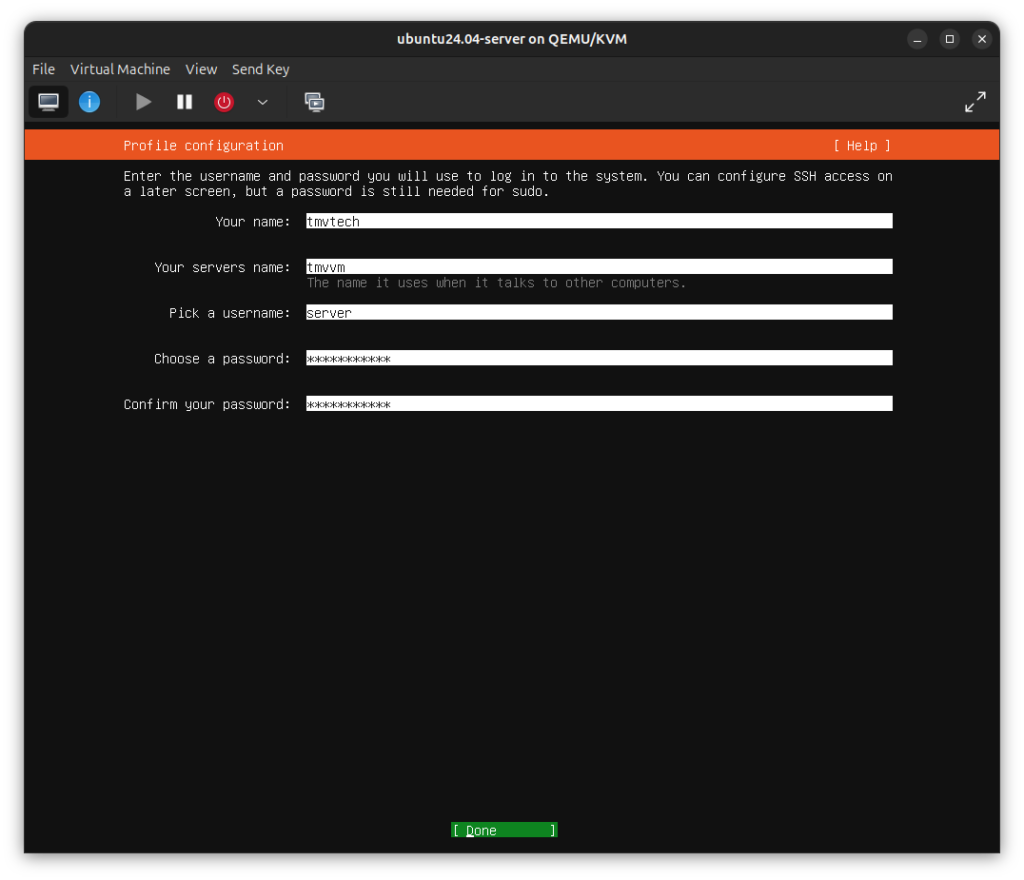
You now need to create your user, enter your name, your machines name (example: tmvtech-garagesv1), then input your username, and your password. After that click done.
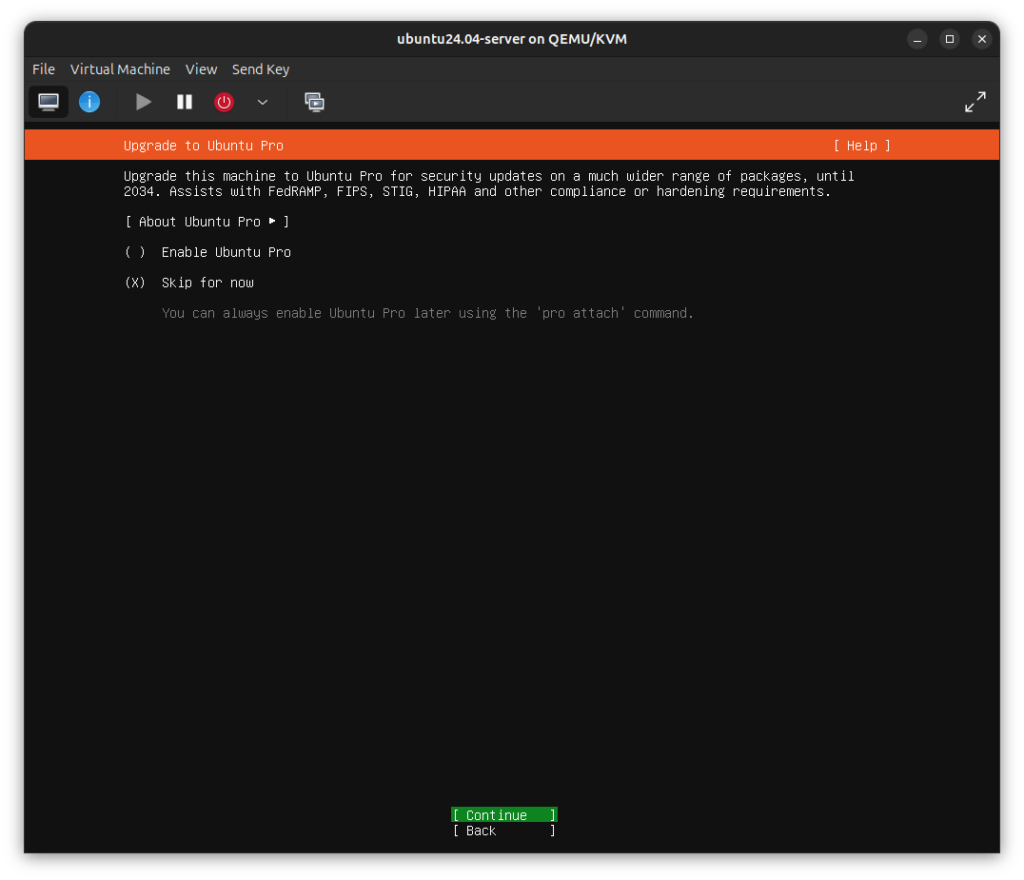
If you have it, enable Ubuntu Pro, as i don’t, i will be skipping it.
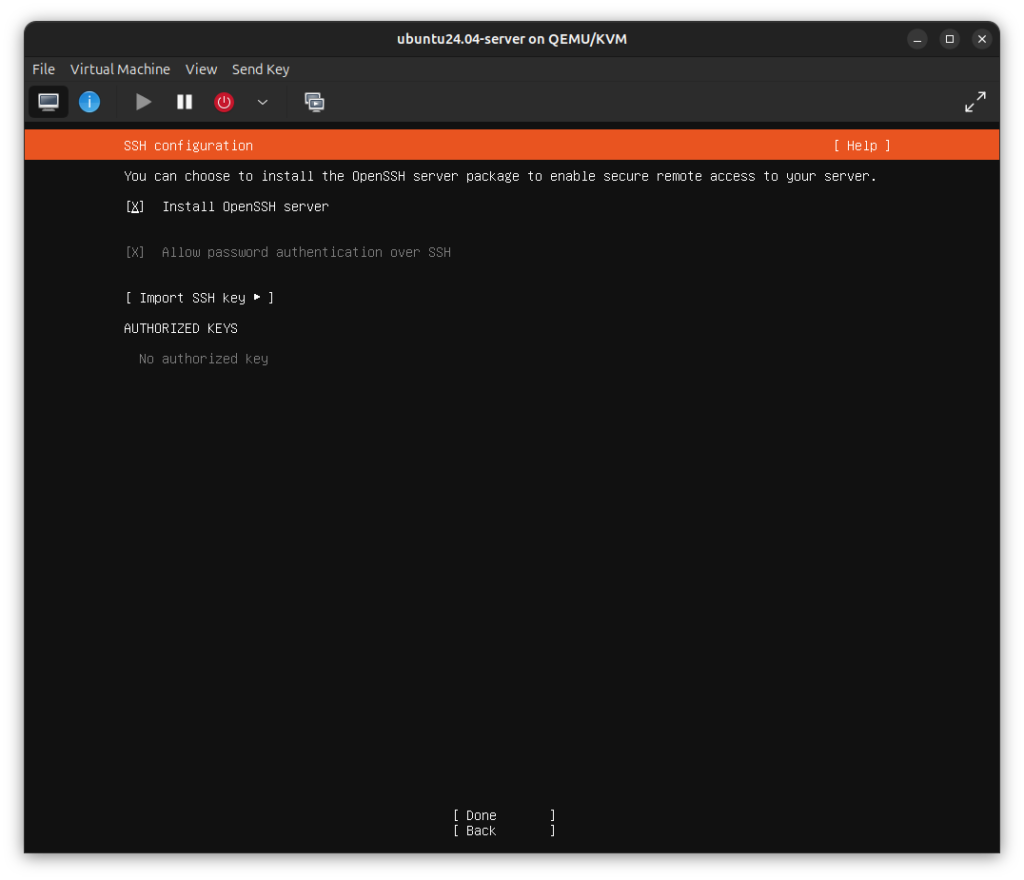
I suggest installing OpenSSH as you would have to do it after installing the system anyways.
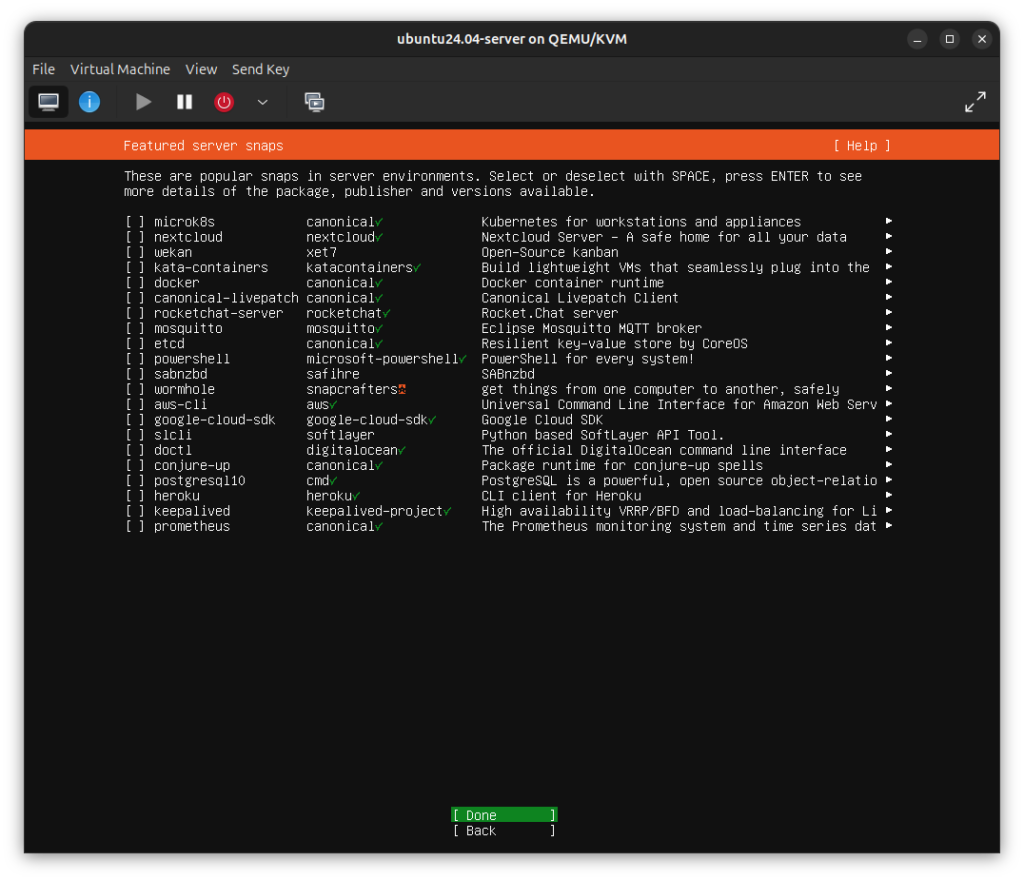
Now, if needed select any packages you would need.
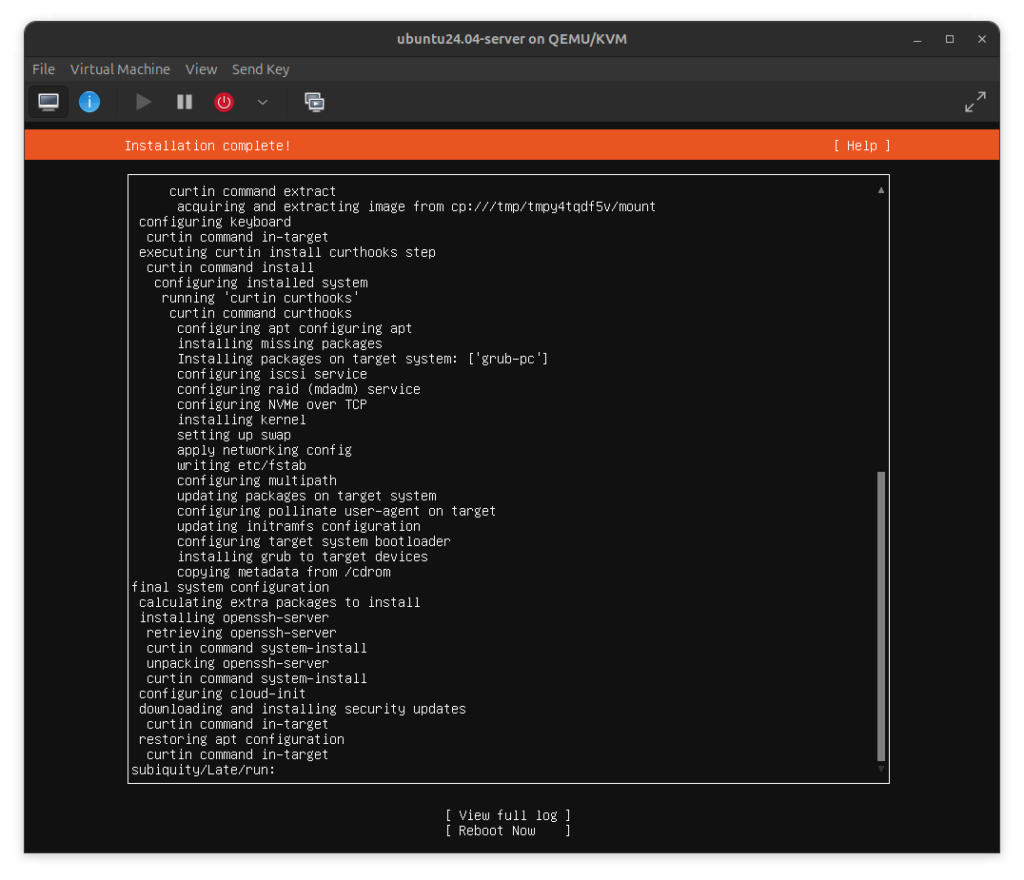
And finally, just wait for the system to install. When the installation is done, select ‘Reboot Now’.
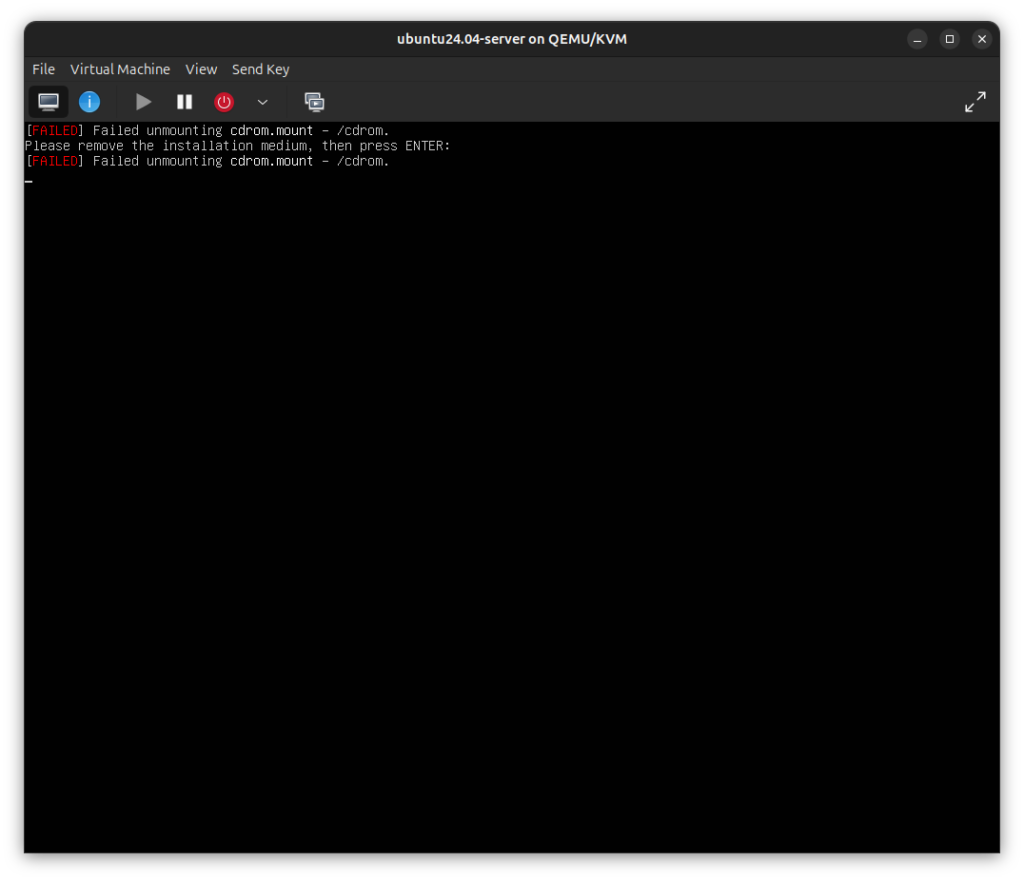
If prompted, remove your install media and press ENTER.
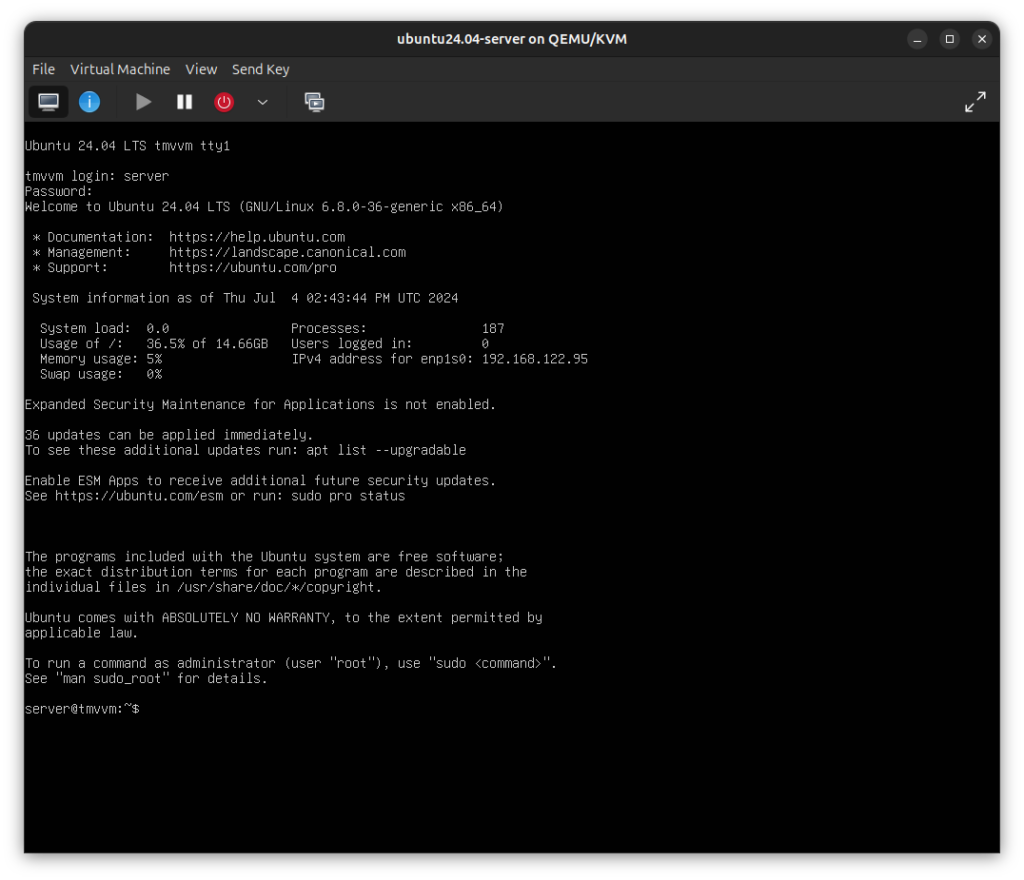
And that’s it, Ubuntu Server is now installed, just login with your username and password and you are now ready to setup your services (for example docker, Jellyfin, NGINX, NFS and SMB) and start your homelab!
As always, thanks for reading and stay tuned for more tech insights and tutorials. Until next time, keep exploring the world of tech!