0 - Introduction
If you find yourself downloading multiple games, movies or music via torrent on a daily or weekly basis, you might get a little annoyed that you can’t turn off your pc, or your stuff won’t download. Well, we now have a solution, a very lightweight torrent client to install in your home server, that is what Transmission is.
1 - Installing Transmission
Like in most of our articles, we will be using docker to host Owncloud. You can learn how to install docker in this article. After installing docker, create a folder that will contain the data downloaded by Transmission and it’s configuration files and, inside it, create a file named ‘docker-compose.yml’ and copy the following options:
services:
  transmission:
    image: lscr.io/linuxserver/transmission:latest
    container_name: transmission
    environment:
      - PUID=1000
      - PGID=1000
      - TZ=Etc/UTC
      #- DOCKER_MODS=linuxserver/mods:transmission-floodui # optional
      #- TRANSMISSION_WEB_HOME= #optional
      #- USER= #optional
      #- PASS= #optional
      #- WHITELIST= #optional
      #- PEERPORT= #optional
      #- HOST_WHITELIST= #optional
    volumes:
      - ./data/transmission:/config
      - ./data/downloads:/downloads
      - ./data/watch:/watch
    ports:
      - "9091:9091" # frontend port
      - "51413:51413"
      - "51413:51413/udp"
    restart: unless-stopped
Now, save the file, open a terminal and run:
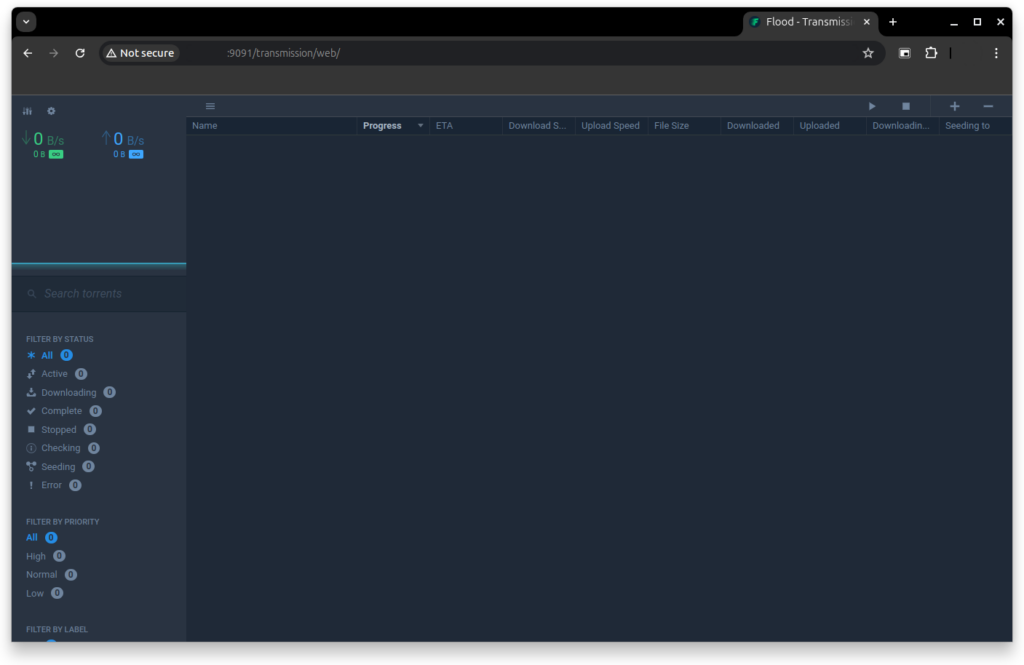
docker compose upAnd that’s it, you can now go to ‘machineip:9091’ and press the ‘+’ icon and start downloading all the stuff you want!

As always, thanks for reading and stay tuned for more tech insights and tutorials. Until next time, and keep exploring the world of tech!
