0 - Introduction
If you need a source and versioning control solution for your homelab, you have a couple options, one of them is Gitlab, which we will be installing in this article. One of the benefits of Gitlab is the ammount of features it has compared to alternatives and, another big one, is the support you get from the community, as it is one of the biggest options, it also is one of the most documented ones.
1 - Installing Gitlab
Like in most of our articles, we will be using docker to host Gitlab. You can learn how to install it in this article. After installing docker create a folder for gitlab and, inside it, create a file named ‘docker-compose.yml’.
Copy the file below and change the lines that have a 🚨:
services:
  redis:
    restart: unless-stopped
    image: redis:latest
    command:
    - --loglevel warning
    volumes:
    - ./data/redis:/data:Z

  postgresql:
    restart: unless-stopped
    image: sameersbn/postgresql:latest
    volumes:
    - ./data/postgresql:/var/lib/postgresql:Z
    environment:
    - DB_USER=gitlab
    - DB_PASS=password # 🚨 change
    - DB_NAME=gitlabhq_production
    - DB_EXTENSION=pg_trgm,btree_gist

  gitlab:
    restart: unless-stopped
    image: gitlab/gitlab-ce:latest
    depends_on:
    - redis
    - postgresql
    ports:
    # 🚨 also change below on environment
    - "10100:80" # 🚨 webpage port
    - "10022:22" # 🚨 ssh port
    volumes:
    - ./data/home:/home:Z
    - ./data/gitlab:/var/opt/gitlab:Z
    - ./data/logs:/var/log/gitlab:Z
    - ./data/config:/etc/gitlab/:Z
    healthcheck:
      test: ["CMD", "/usr/local/sbin/healthcheck"]
      interval: 5m
      timeout: 10s
      retries: 3
      start_period: 5m
    environment:
    - DEBUG=false

    - DB_ADAPTER=postgresql
    - DB_HOST=postgresql
    - DB_PORT=5432
    - DB_USER=gitlab
    - DB_PASS=password # 🚨 change
    - DB_NAME=gitlabhq_production

    - REDIS_HOST=redis
    - REDIS_PORT=6379

    - TZ=UTC
    - GITLAB_TIMEZONE=London

    - GITLAB_HTTPS=false
    - SSL_SELF_SIGNED=false
    - GITLAB_HOST=localhost # 🚨 change if exposed to the public

    # 🚨 also change above
    - GITLAB_PORT=10100 # 🚨 webpage port
    - GITLAB_SSH_PORT=10022 # 🚨 ssh port

    - GITLAB_RELATIVE_URL_ROOT=
    - GITLAB_SECRETS_DB_KEY_BASE=long-and-random-alphanumeric-string
    - GITLAB_SECRETS_SECRET_KEY_BASE=long-and-random-alphanumeric-string
    - GITLAB_SECRETS_OTP_KEY_BASE=long-and-random-alphanumeric-string

    - GITLAB_ROOT_PASSWORD= # 🚨 needs to be set
    - GITLAB_ROOT_EMAIL= # 🚨 needs to be set

    - GITLAB_NOTIFY_ON_BROKEN_BUILDS=true
    - GITLAB_NOTIFY_PUSHER=false

    - GITLAB_EMAIL=notifications@example.com
    - GITLAB_EMAIL_REPLY_TO=noreply@example.com
    - GITLAB_INCOMING_EMAIL_ADDRESS=reply@example.com

    - GITLAB_BACKUP_SCHEDULE=daily
    - GITLAB_BACKUP_TIME=01:00
Make sure you do not forget any 🚨 and run:
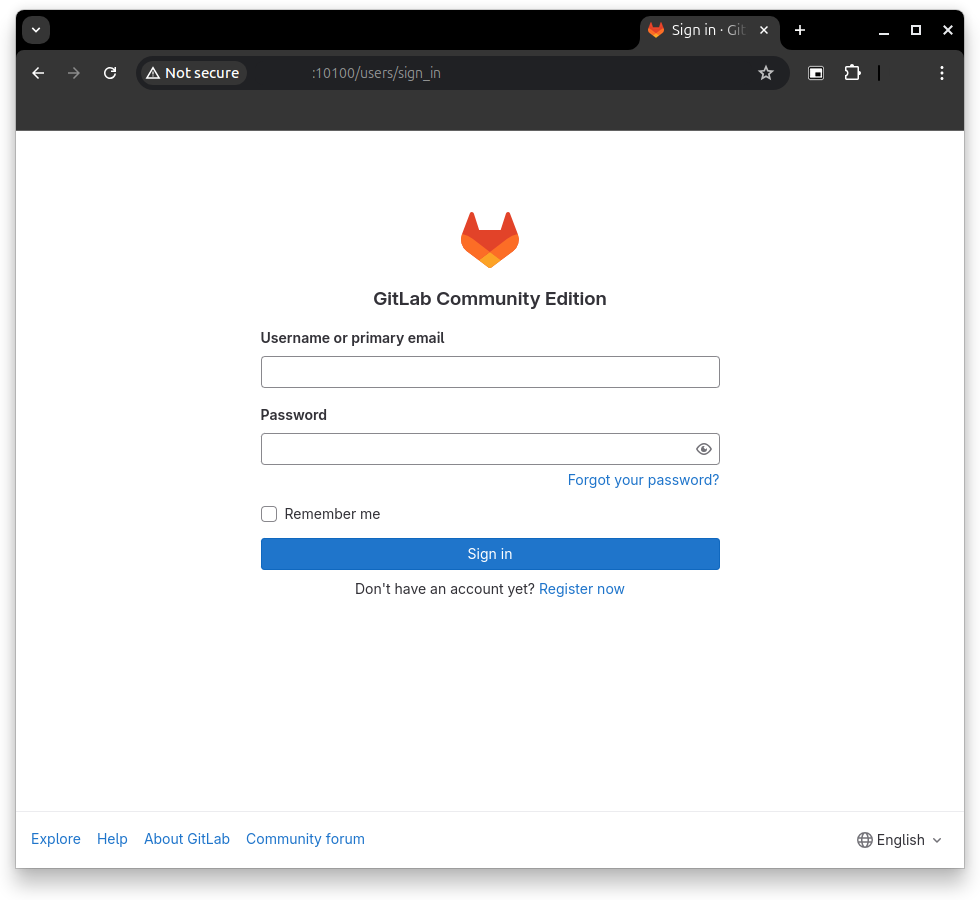
docker compose upThe first start does take quite a while due to the size of gitlab’s image but, after a while, you should be able to access it in your browser:
http://machineaddress:10100/
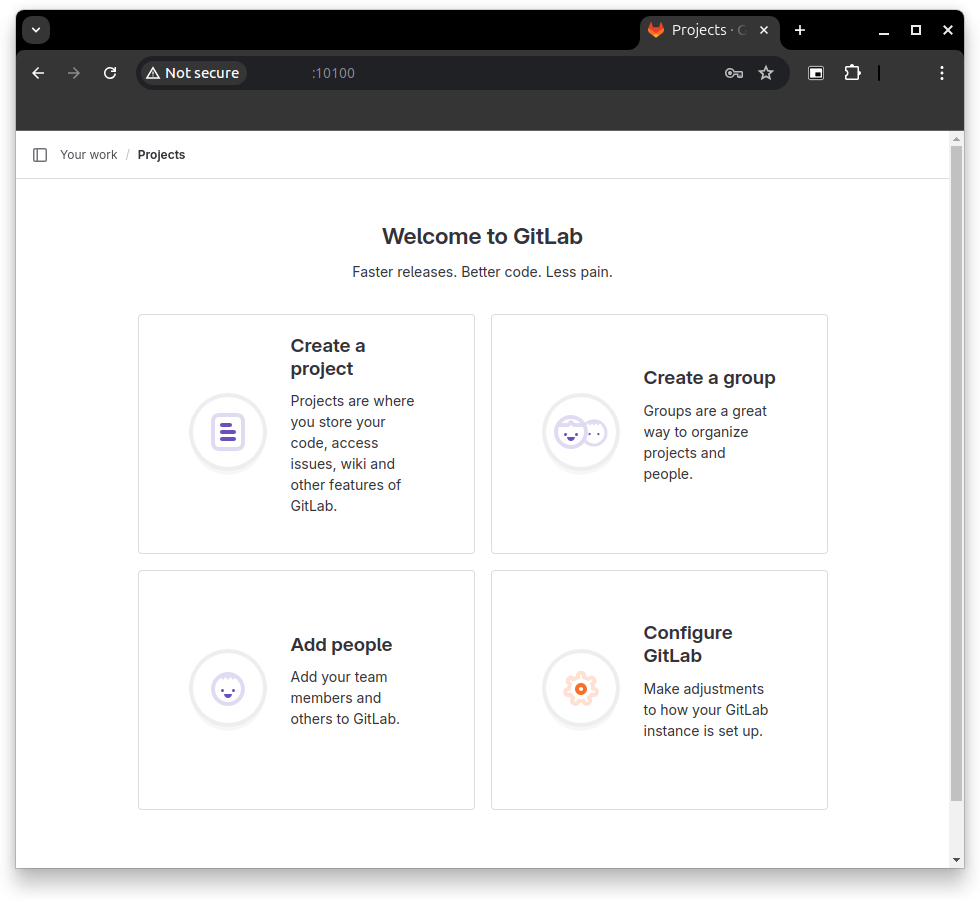
You can then use the email and password you set for your admin user to login and create new users.
And that’s it, a pretty simple setup that let’s you have a suit of tools available within your homelab or enterprise.
As always, thanks for reading and stay tuned for more tech insights and tutorials. Until next time, keep exploring the world of tech!

