0 - Introduction
Do you use Google Photos and it’s storage is full? Immich is a great alternative to it. With a pretty similar interface, auto backups and A LOT of fun and usefull features and, most important of all, self hosted, which means that all photos are in your server.
For this article, you will need docker, you can learn how to install in this article.
1 - Setup
Setting up Immich is pretty easy! Firstly, create a folder where all data will be stored, then in it, run the following commands:
wget -O docker-compose.yml https://github.com/immich-app/immich/releases/latest/download/docker-compose.yml
wget -O .env https://github.com/immich-app/immich/releases/latest/download/example.env
wget -O hwaccel.transcoding.yml https://github.com/immich-app/immich/releases/latest/download/hwaccel.transcoding.yml
wget -O hwaccel.ml.yml https://github.com/immich-app/immich/releases/latest/download/hwaccel.ml.yml
Before running the containers, do a quick check on all files and see if you wish to change anything. When ready run:
docker compose up #-d for dethatchedWith the container running, you can go to the following address, replacing ‘yourip’ with your machines ip, to access the web app:
http://yourip:2283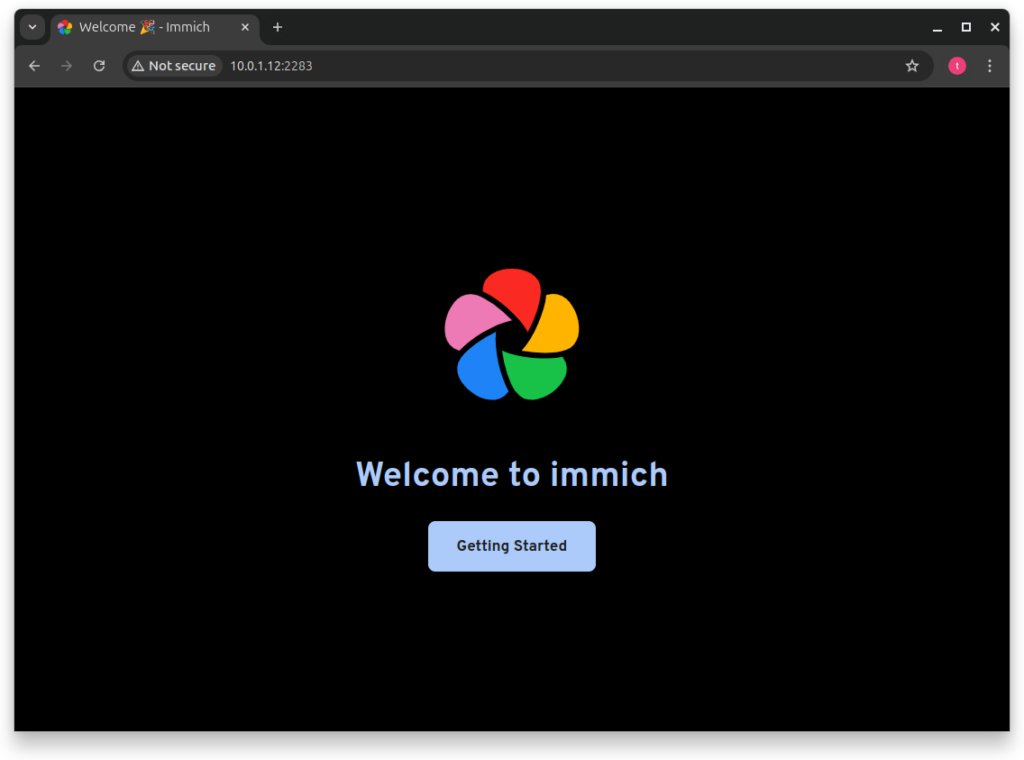
After clicking ‘Getting Started’ you can create your admin account.
I would suggest using a different account for admin and for your actual photos for security reasons.
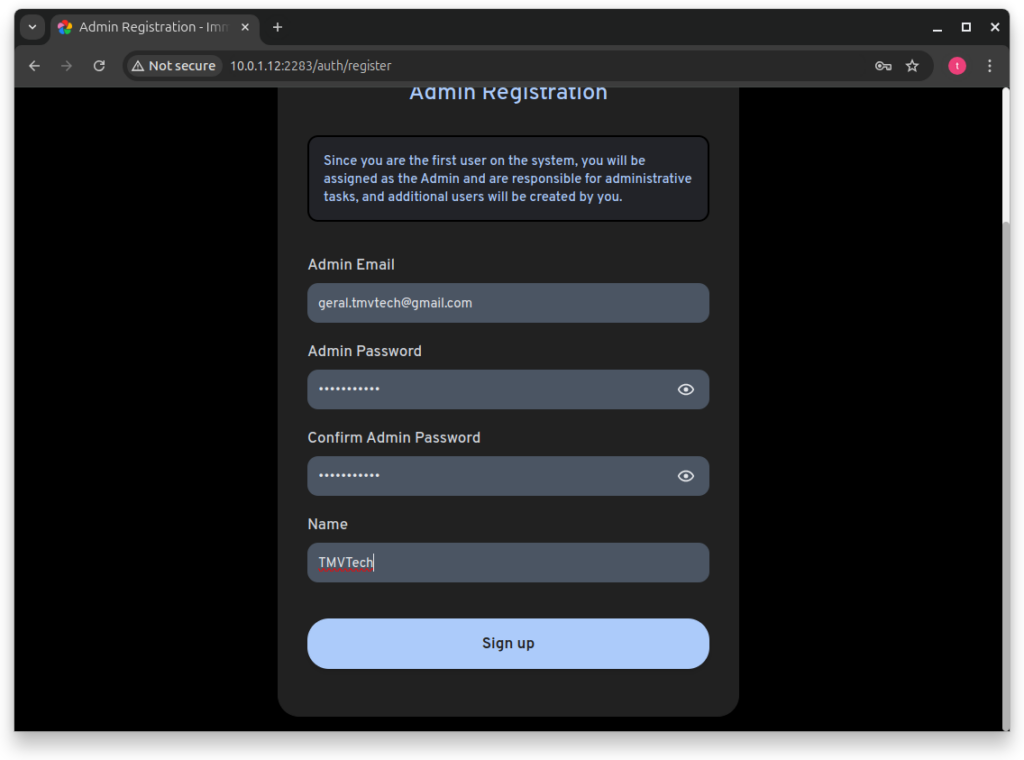
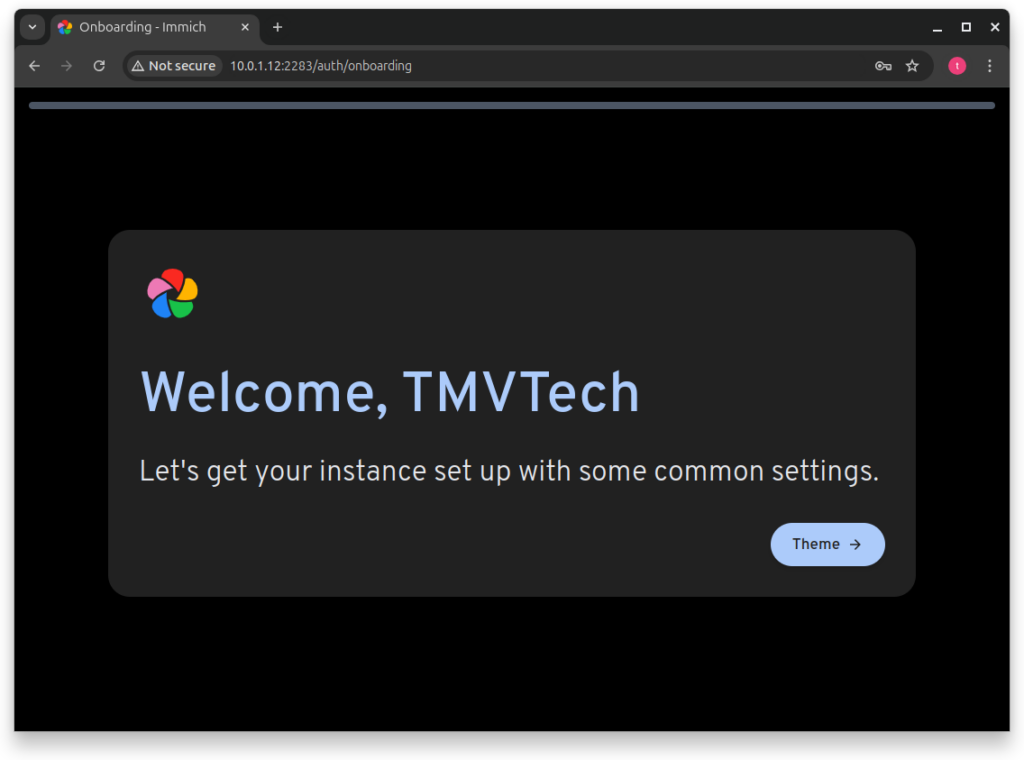
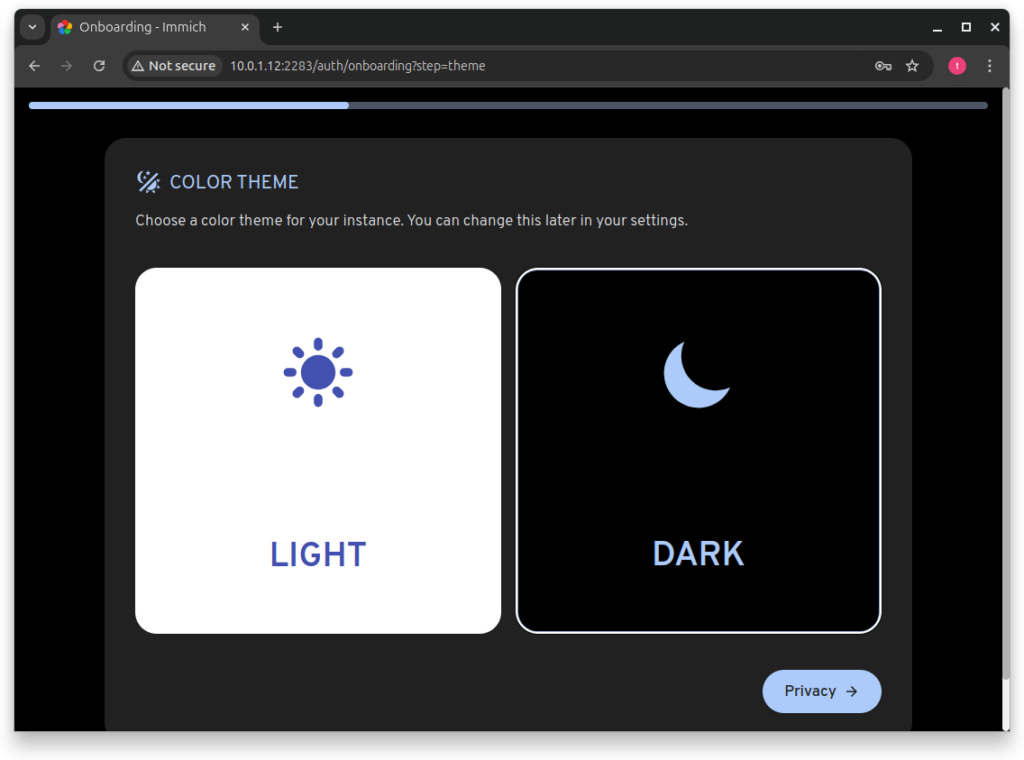
After signing up and logging in, you will be greated with a quick setup screen.
Click on the ‘Theme’ button to go to the next step.
On this step, you can choose the theme you like the most. I personally like the dark theme a lot.
Both are very similar to Google Photos.
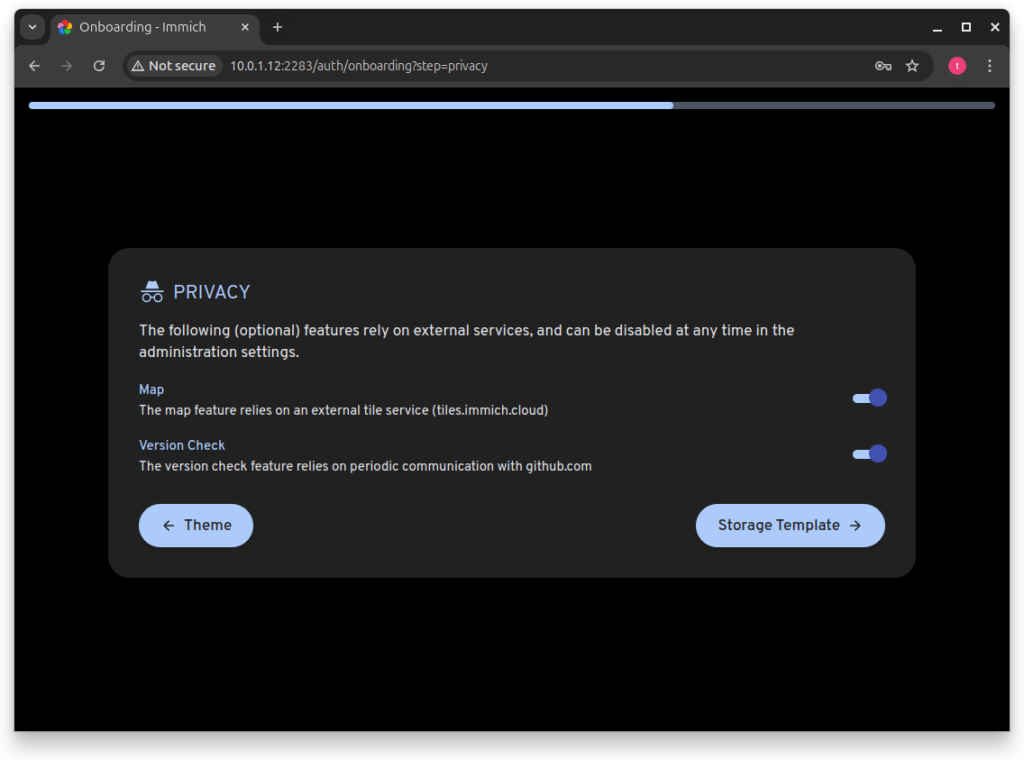
On this step, you can choose if you want to use features that can identify you as a user of Immich.
For example, if you use the ‘Version Check’, you will get a notification that there is an update but github will know you are using Immich.
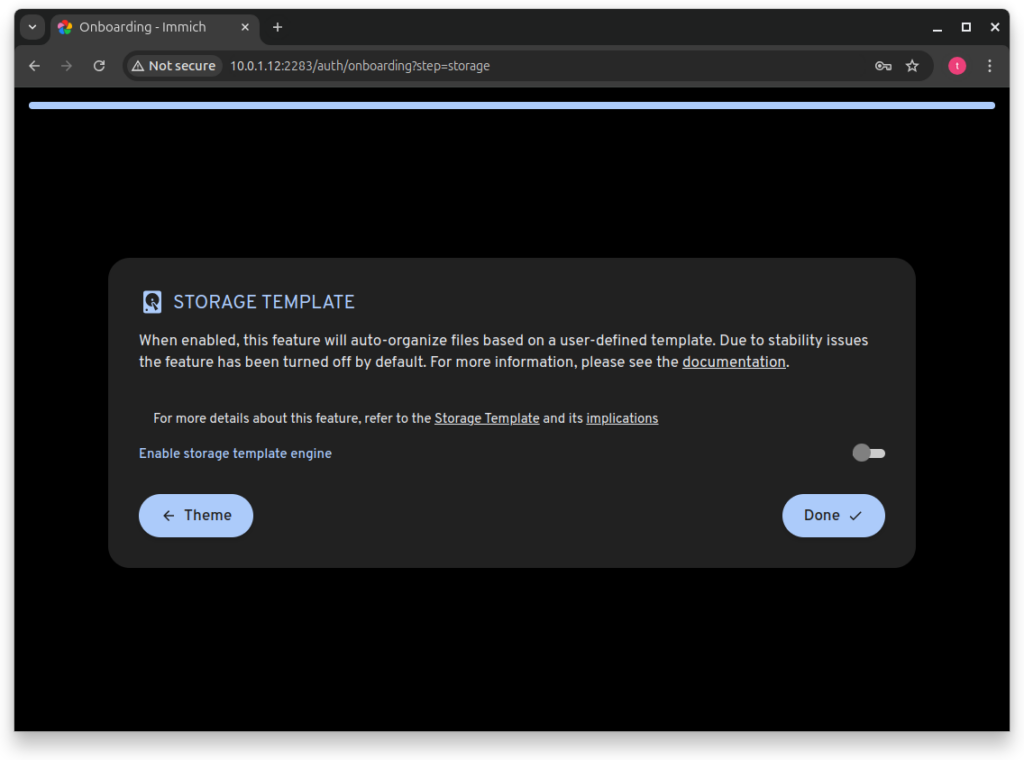
I do not recommend using this feature on the time of writting as it can cause some data loss.
And that’s it, you are now ready to backup and view your photos on Immich!
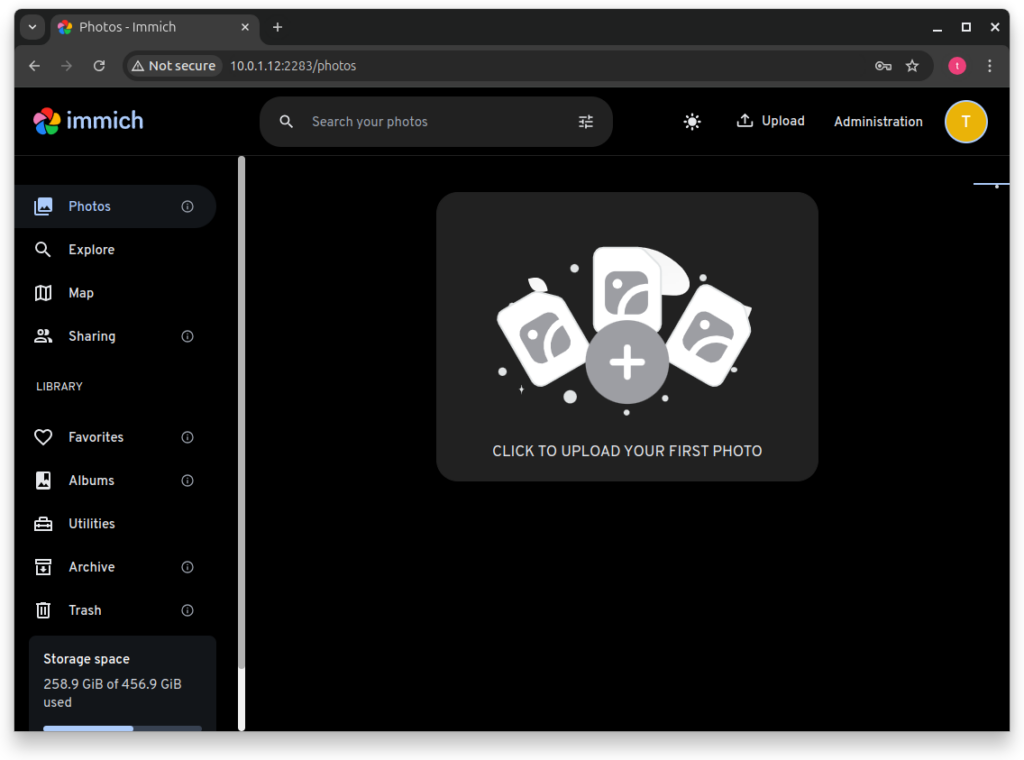
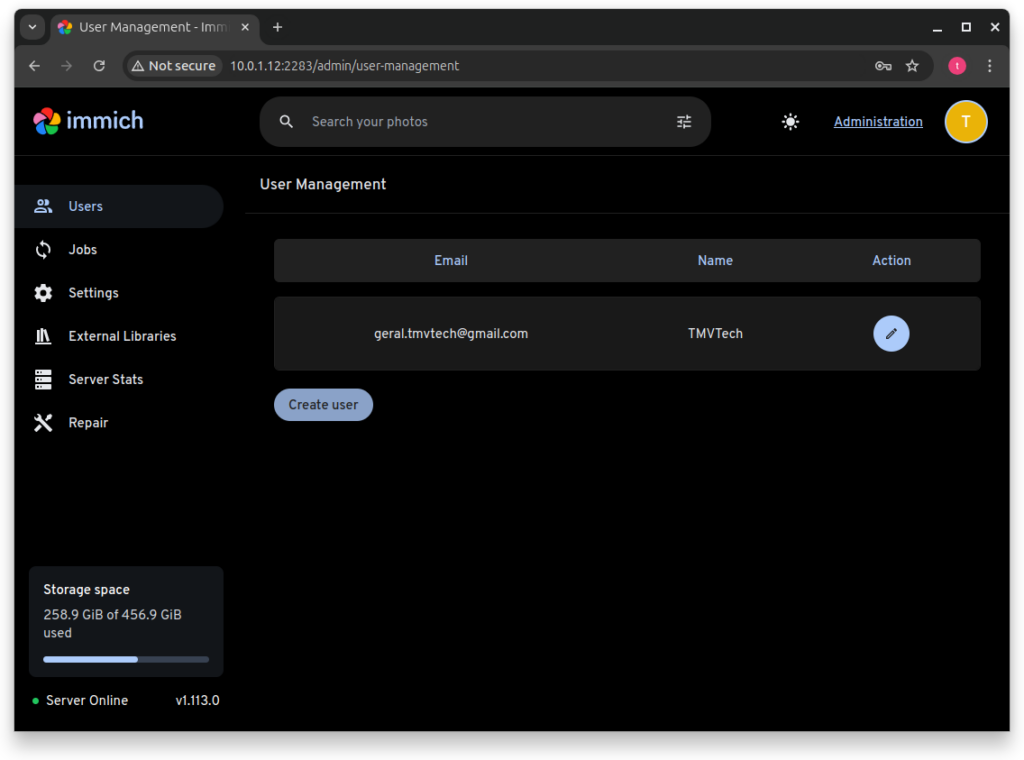
If you want to add another user, click on ‘Administration’ and ‘Create User’.
And that’s all, thanks for reading and stay tuned for more tech insights and tutorials. Until next time, keep exploring the world of tech!
