

0 - Introduction
If you use your ubuntu machine to host a server, or a website you might need to transfer files at some point, there are three good options from which you can choose from. SFTP is the easiest to setup as you only need SSH to use it, NFS is usually faster but is only recommended if you have Linux/Unix machines only, and SMB, which is the default for compatibility. Between NFS and SMB, SMB is the one recommended if you have any machine in your network that is not based on Linux/Unix, as it works out of the box on Windows Explorer and is supported by others like Linux/Unix and Mac. It is also the one we will be using in this article.
But before we install it, let’s start by updating our host’s system:
sudo apt update
sudo apt upgrade
1 - Server Setup
In this article we will be making a shared folder to have on your local network, and we do that by first installing samba, by running this command:
sudo apt install sambaAfter installing samba, we need to create a folder where the guests will be able to store and read files, and we can do that with these two commands, the first to create the folder and the second to change the permissions:
sudo mkdir /var/smb/share -p
sudo chmod 777 /var/smb/share
Now we need to edit the samba configuration to use the new folder, which you can do with the following command, note the you can change ‘nano’ for any editor of your choice, that as root access:
sudo nano /etc/samba/smb.confIn this file, scroll to the bottom and add the following:
[share]
comment = Guest folder from Ubuntu server
path = /var/smb/share
read only = no
writable = yes
browseable = yes
guest ok = yes
create mask = 0777
directory mask = 0777
Now that your configuration is ready, you only need to restart the smb service with the following command:
sudo systemctl restart smbdWe are now done with the server, it should be running and ready to use!
2.1 - Connect with Terminal in Linux
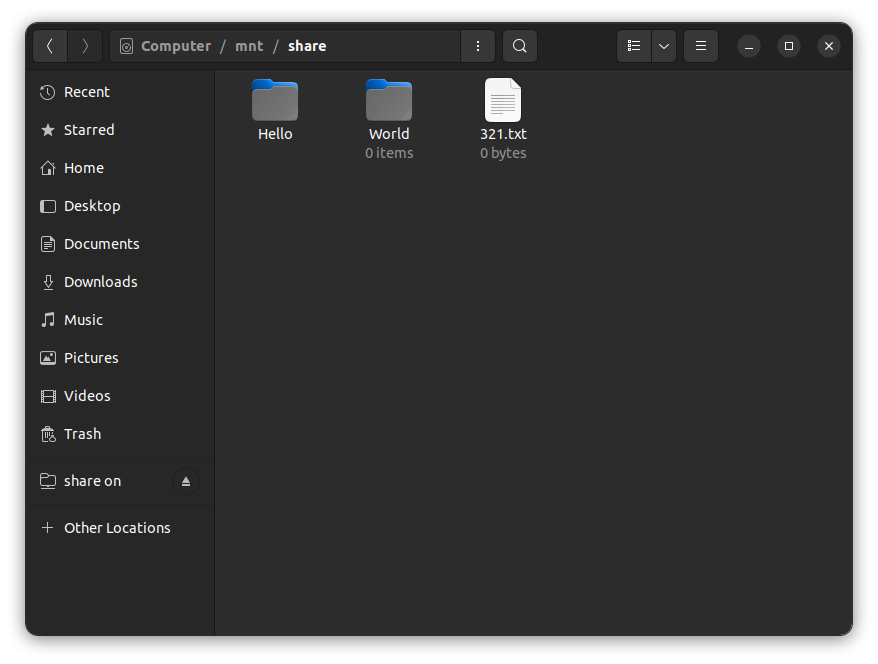
You can mount a SMB share with the ‘mount’ command in the terminal and have the shared folder behave almost as a local folder, to do that you first need to create a folder in your local pc where the share will be mounted on and then just mount it:
sudo mkdir /mnt/share -p
sudo mount -t cifs -o dir_mode=0777,file_mode=0666,guest //hostip/share /mnt/share
In the mount command:
- ‘-t cifs’ is the filesystem format used
- In ‘-o’
- ‘dir_mode=0777’ let’s you create files, read and write in folders
- ‘file_mode=0666’ let’s you read and write to files, but not execute them by default
- ‘guest’ is used so that you can access the folder as ‘anonymous’
- ‘//hostip’ is the ip of the host machine
- ‘/share’ is the name of the shared folder
- ‘/mnt/share’ is the location where the remote folder will be accessible in your local machine
And if you want or need to unmount the share you can do it with these two commands, one to unmount and one to delete the folder:
sudo umount /mnt/share
sudo rm -r /mnt/share
2.2 - Connect with Nautilus in Linux (Ubuntu)
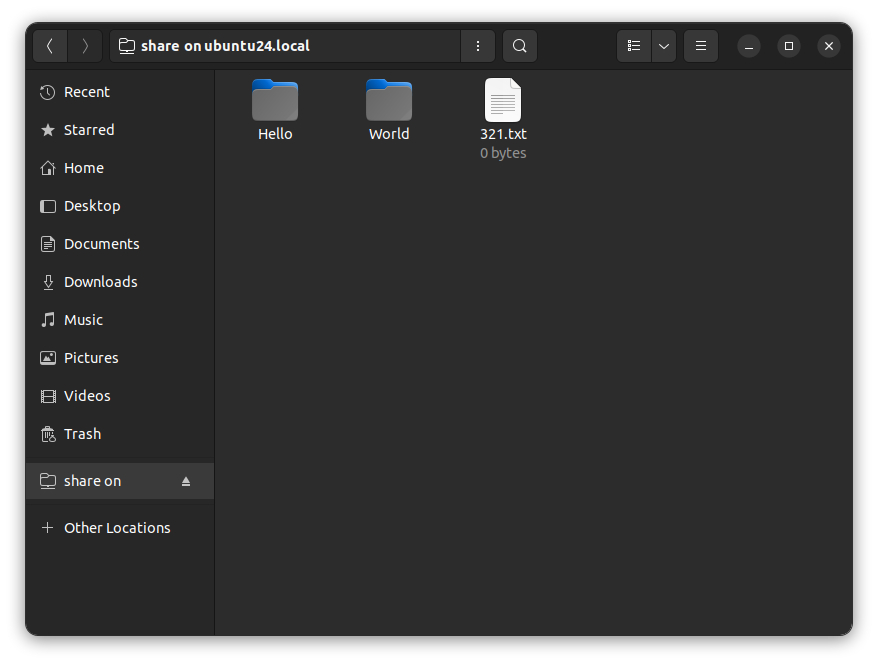
The easiest way to connect with ubuntu, especially for people that are not too fond of using the terminal to move files, is to use nautilus, the included file explorer. You just go to ‘+ Other Locations’ and if the share is visible just click it, if it is not, write the hostip and share in ‘Connect to Server’ and, if prompted, login as anonymous.
smb://hostip/share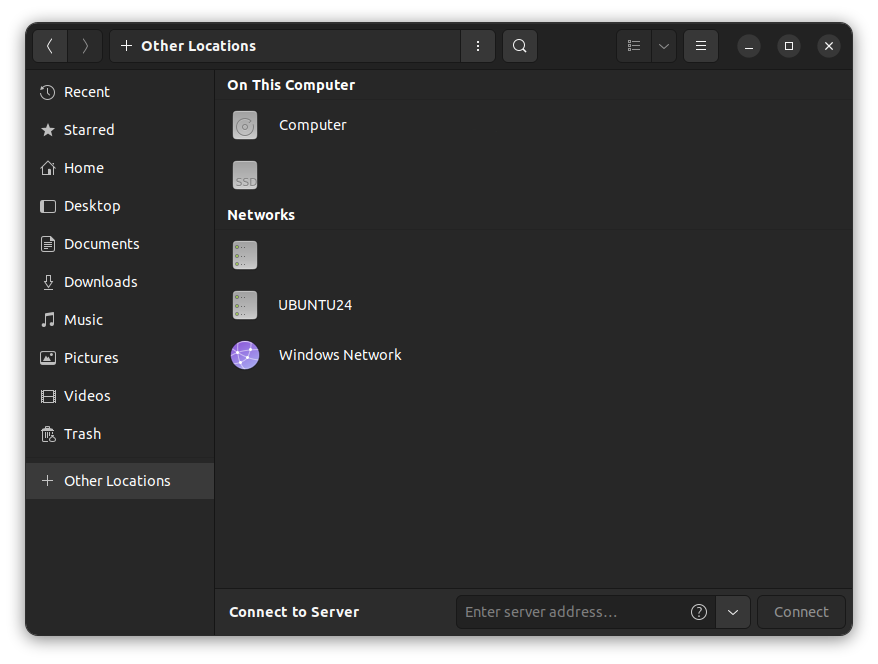
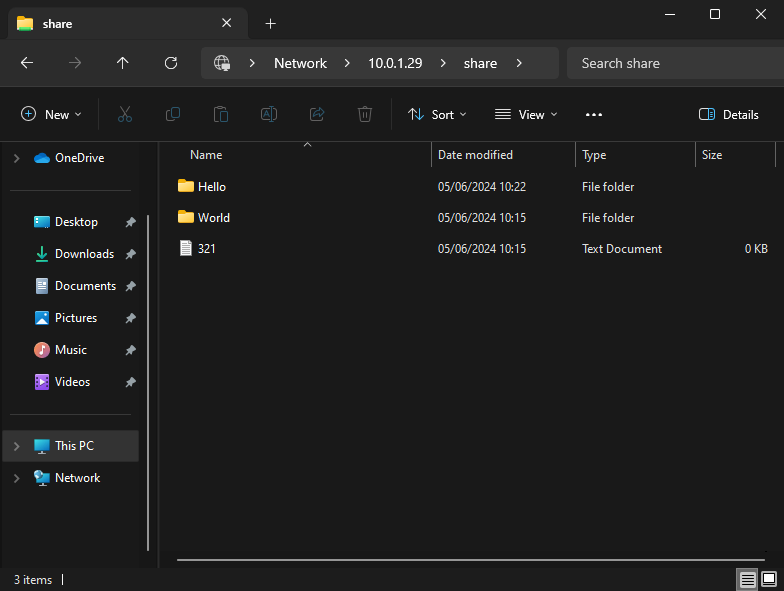
2.3 - Connect with File Explorer in Windows
The easiest way to connect with windows is to use the file explorer, you simply press the top bar where you have the path to the folder you are on and write the host ip and the share name:
\\hostip\share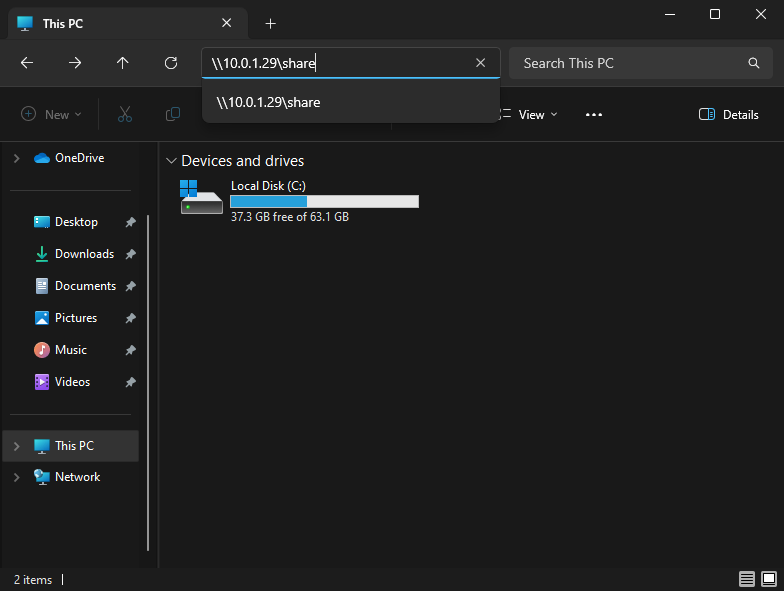
Thanks for reading! Stay tuned for more tech insights and tutorials. Until next time, and keep exploring the world of tech!