0 - Introduction
If you like Copilot but are also preoccupied with the security concerns of it, you have alternatives.
In this article we will be using the Ollama server we setup in a previous article to host some models that, with the help of a VSCode extension, will fully replace Copilot.
1 - Setup models
Before starting, make sure you setup Ollama by following this previous article.
With Ollama up and running, we can start by logging in and downloading some models:
codellama:7b
llama3.1:8b
To download a model, follow the instructions below:
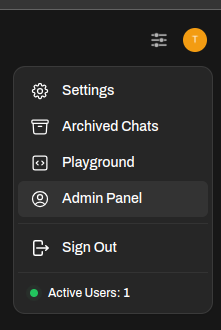
On the top-right, press your icon, and go to the admin panel.
On this panel, press ‘Settings’ and then ‘Models’.
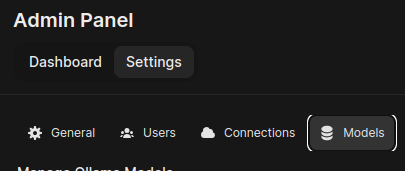
And then, input the name and version of the model and click the download button.

After downloading both models, we can now continue in VSCode.
2 - Setup VSCode
To use the models we got in VSCode, you need to install an extension named ‘Continue’.
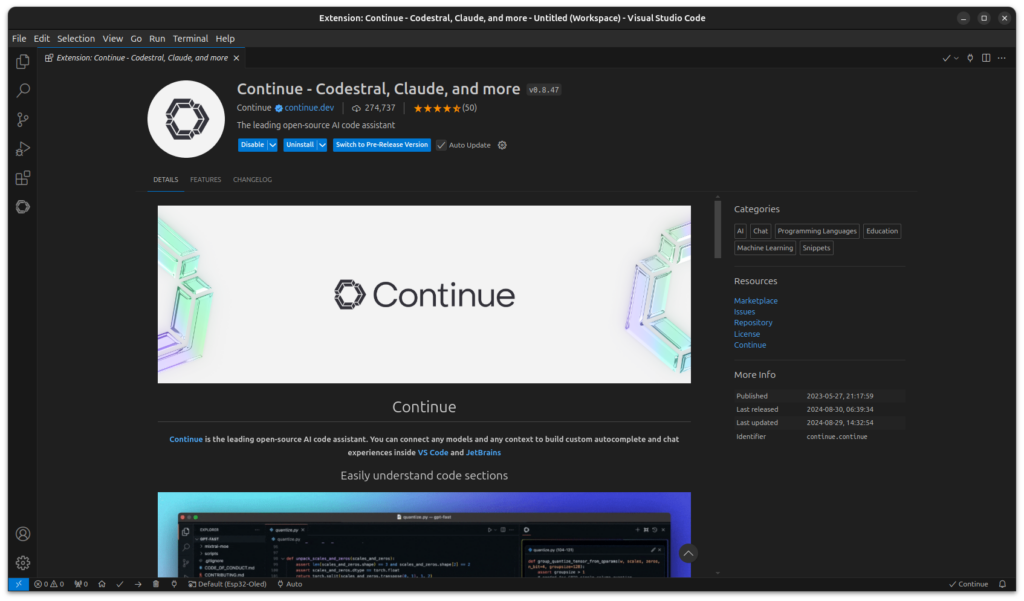
After installing it, click on the Continue icon on the left and, if prompted, skip the first setup.
You can then click on the settings icon on the bottom right of that panel to edit it.
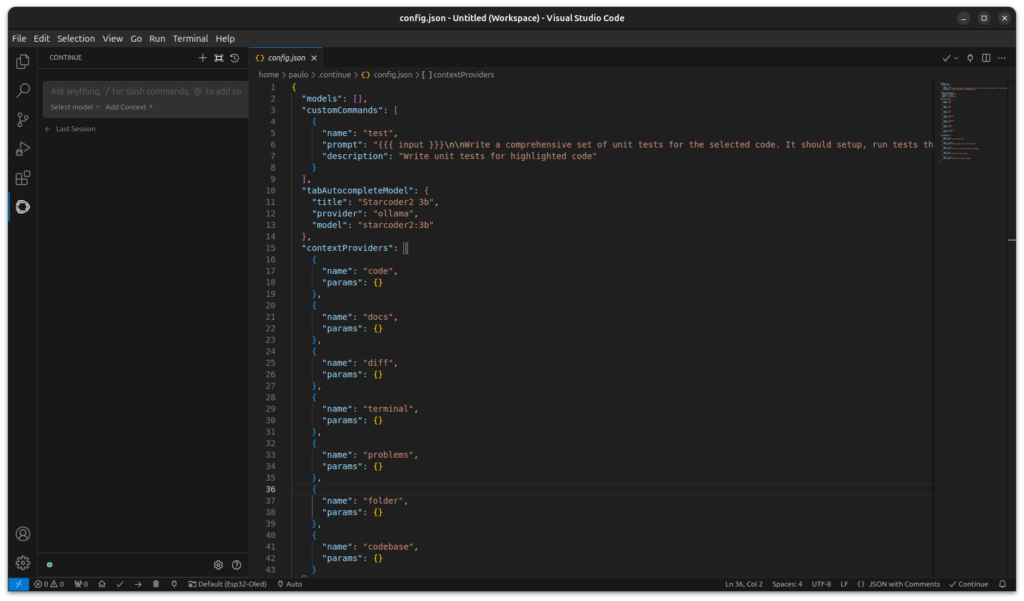
In it, place this configuration but switch the ‘apiBase’ to the url of your Ollama server:
{
    "allowAnonymousTelemetry": false,
    "models": [
      {
        "title": "Llama 3.1",
        "provider": "ollama",
        "model": "llama3.1:8b",
        "apiBase": "http://192.168.1.10:11434"
      },
      {
          "title": "CodeLlama 3.1",
          "provider": "ollama",
          "model": "codellama:7b",
          "apiBase": "http://192.168.1.10:11434"
        }
    ],
    "customCommands": [
      {
        "name": "test",
        "prompt": "{{{ input }}}\n\nWrite a comprehensive set of unit tests for the selected code. It should setup, run tests that check for correctness including important edge cases, and teardown. Ensure that the tests are complete and sophisticated. Give the tests just as chat output, don't edit any file.",
        "description": "Write unit tests for highlighted code"
      }
    ],
    "tabAutocompleteModel": {
      "title": "Tab Autocomplete",
      "provider": "ollama",
      "model": "codellama:7b",
      "apiBase": "http://192.168.1.10:11434",
      "contextLength": 1024
    },
    "embeddingsProvider": {
      "provider": "ollama",
      "model": "llama3.1:8b",
      "apiBase": "http://192.168.1.10:11434"
    }
  }
And finally, to be ready to use it, click on the green or red dot on the bottom left of the panel. If you get an error, check the config file.
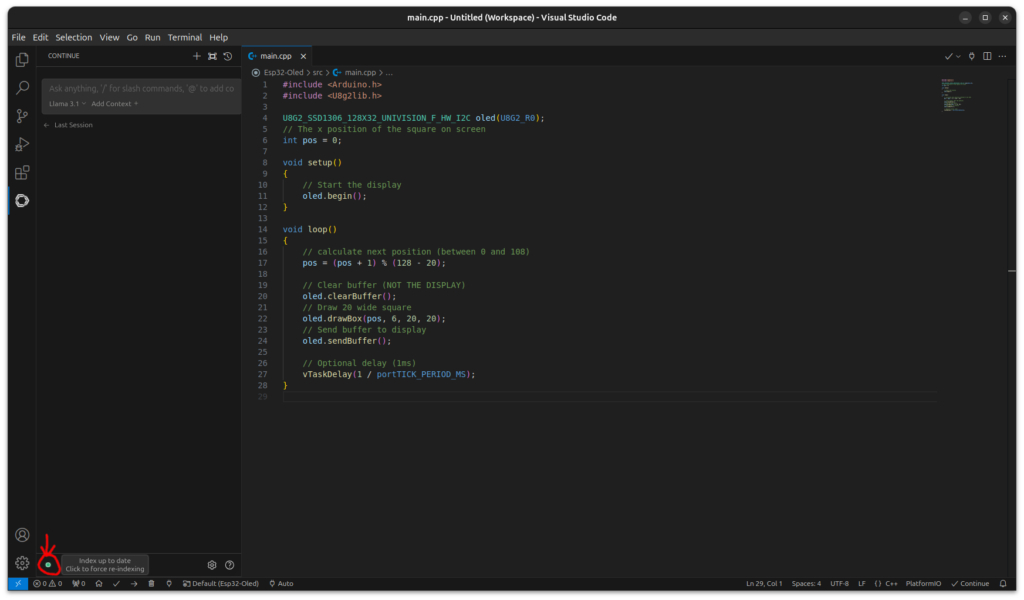
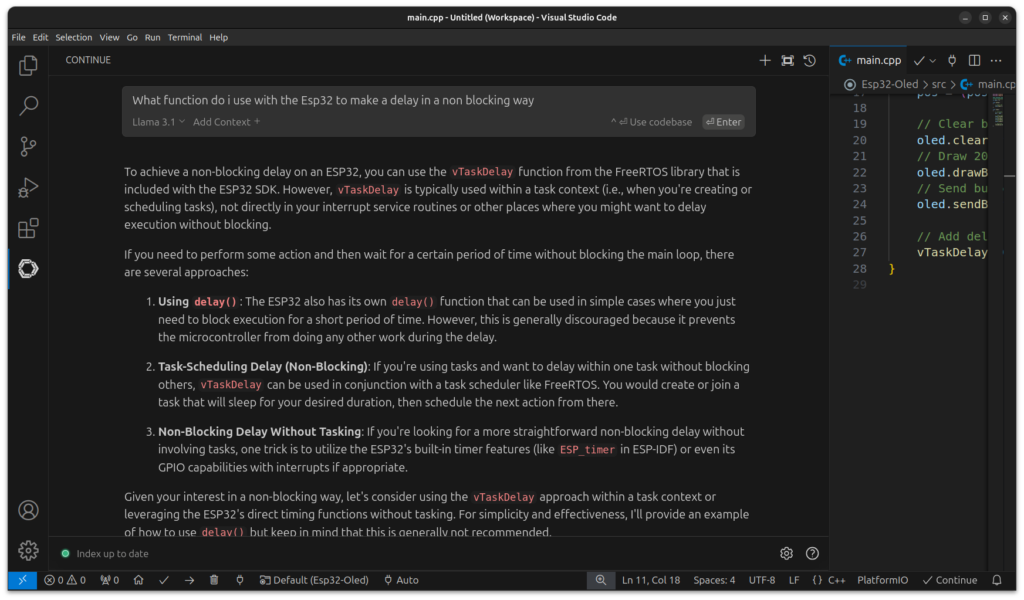
And that’s it, you can now type in the chatbox to ask questions to ‘Llama 3.1’, and write code to get suggestions!
Thanks for reading and stay tuned for more tech insights and tutorials. Until next time, keep exploring the world of tech!
