0 - Introduction
Do you wish you could make your online activity more secure? Two factor authentication is a second check besides email and password that you need to fullfill in order to log into your account, some apps and websites support SMS 2FA, but that is also very insecure, some researchers even argue that it is worse than not having 2FA, so if you shouldn’t use SMS, and Email+Pass is not enough?
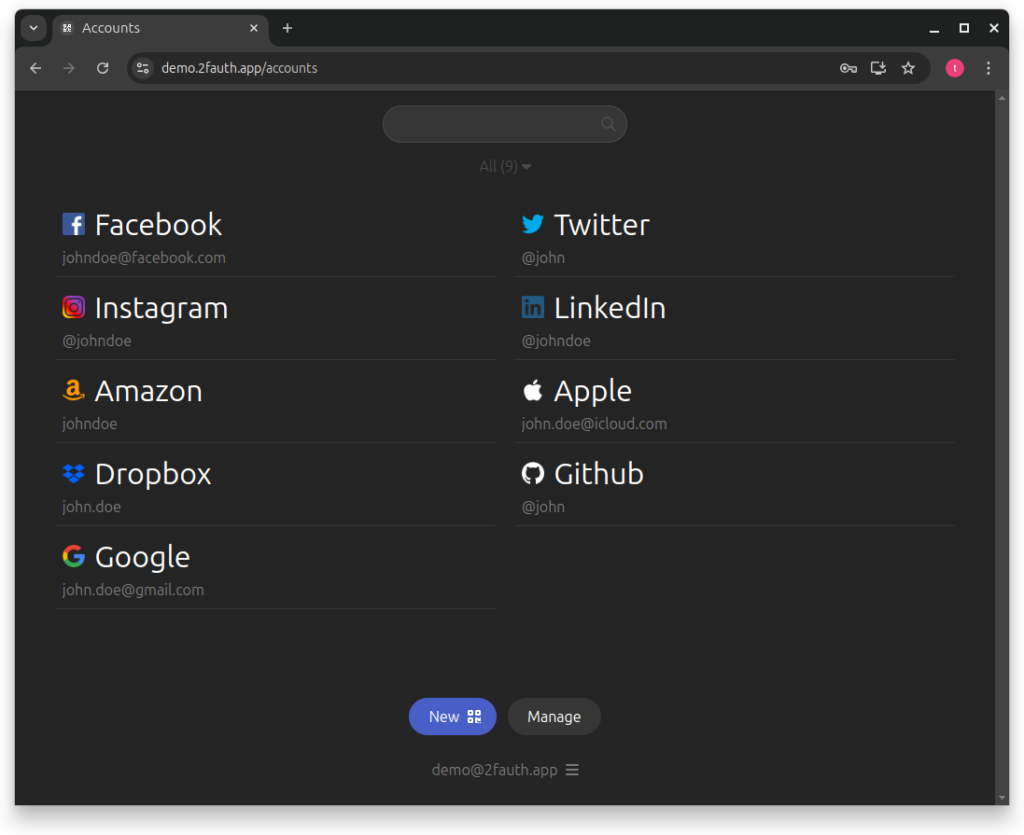
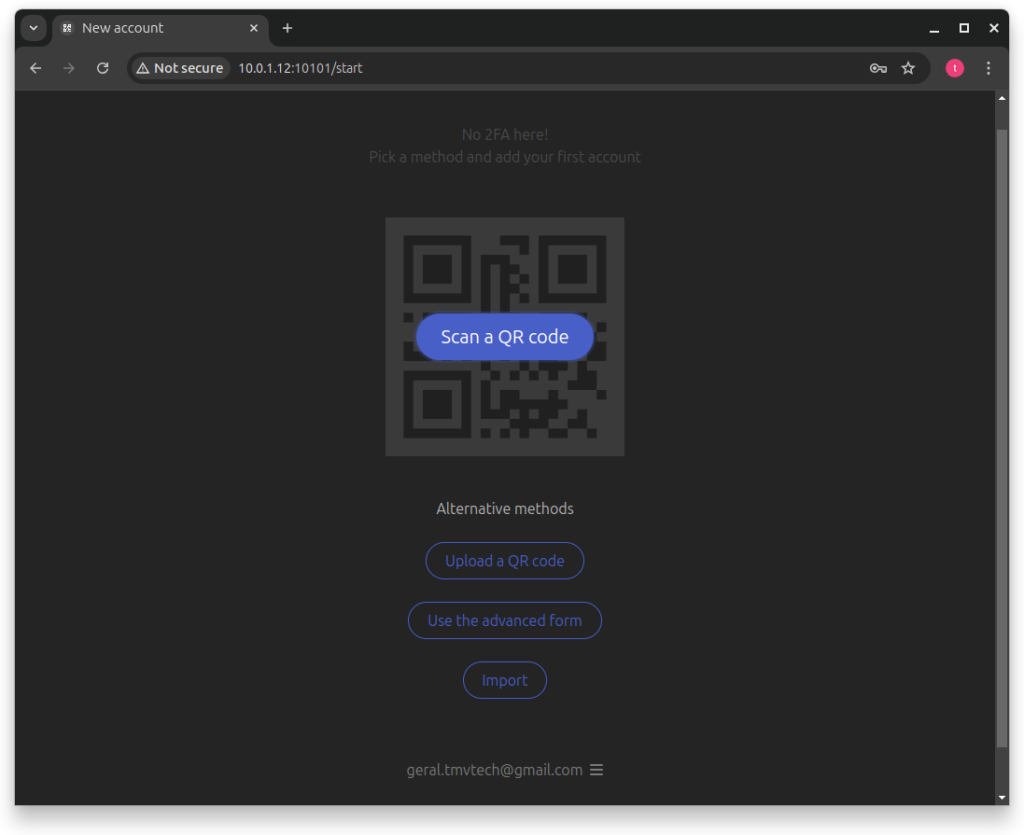
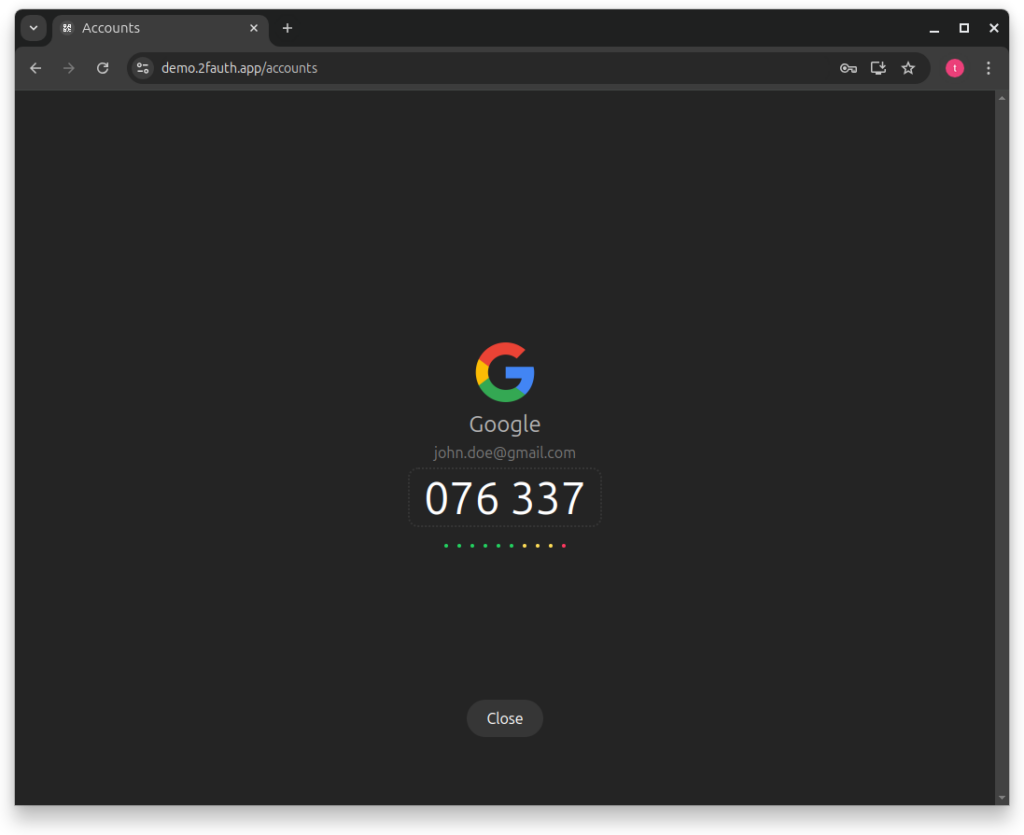
Then you need an ‘Authenticator’ app, there are a lot of options out there, and even Google offers a pretty good one, but if you want security and privacy, self-hosted is the only way. In this article we will setup 2FAuth, a self-hosted authenticator webapp that you can use on every device. 2FAuth has a lot of good safety features and even supports multiple users, so you can use it for yourself, your family or even your small team.
Before starting the installation make sure you have docker installed, you can learn how to install it here.

1 - Install Server
As most of our ubuntu-docker articles, the first step is to create a folder for our container’s data and, in that folder, also create a file named ‘docker-compose.yml’:
mkdir 2fauth
cd 2fauth
nano docker-compose.yml
In the docker compose file, paste the following config, replacing the variables that say ‘change this’, in this file you have every option of variable you can change:
services:
2fauth:
image: 2fauth/2fauth
container_name: 2fauth
volumes:
- ./data:/2fauth
ports:
- "10101:8000"
environment:
- APP_NAME=2FAuth
- APP_ENV=local
- APP_TIMEZONE=UTC
- APP_DEBUG=false
- SITE_OWNER=geral.tmvtech@gmail.com # change this
- APP_KEY=qwertyuiop1234567890qwertyuiop12 # change this, must be 32chars
- APP_URL=http://10.0.1.12:10101 # change this
- IS_DEMO_APP=false
- LOG_CHANNEL=daily
- LOG_LEVEL=notice
- DB_DATABASE="/srv/database/database.sqlite"
- CACHE_DRIVER=file
- SESSION_DRIVER=file
- MAIL_MAILER=log
- MAIL_HOST=smtp.mailtrap.io
- MAIL_PORT=2525
- MAIL_USERNAME=null
- MAIL_PASSWORD=null
- MAIL_ENCRYPTION=null
- MAIL_FROM_NAME=null
- MAIL_FROM_ADDRESS=null
- MAIL_VERIFY_SSL_PEER=true
- THROTTLE_API=60
- LOGIN_THROTTLE=5
- AUTHENTICATION_GUARD=web-guard
- AUTHENTICATION_LOG_RETENTION=365
- AUTH_PROXY_HEADER_FOR_USER=null
- AUTH_PROXY_HEADER_FOR_EMAIL=null
- PROXY_LOGOUT_URL=null
- WEBAUTHN_NAME=2FAuth
- WEBAUTHN_ID=null
- WEBAUTHN_USER_VERIFICATION=preferred
- TRUSTED_PROXIES=null
- PROXY_FOR_OUTGOING_REQUESTS=null
- BROADCAST_DRIVER=log
- QUEUE_DRIVER=sync
- SESSION_LIFETIME=120
- REDIS_HOST=127.0.0.1
- REDIS_PASSWORD=null
- REDIS_PORT=6379
- PUSHER_APP_ID=
- PUSHER_APP_KEY=
- PUSHER_APP_SECRET=
- PUSHER_APP_CLUSTER=mt1
- VITE_PUSHER_APP_KEY=""
- VITE_PUSHER_APP_CLUSTER=""
- MIX_ENV=local
After saving the file, you can start the container by running:
docker compose up -d
As soon as the container starts up, you can go to your browser into ‘yourip:10101’ and you will be greated with a login screen:


And that’s it, you are now more secure! You can also enable WebAuth in the settings (for example, use fingerprint to login).
Thanks for reading and stay tuned for more tech insights and tutorials. Until next time, keep exploring the world of tech!