If you are tired of getting ads everywhere and want to be at peace, at least in your own home, then Pi-Hole is a godly addition to your homelab. In this article we will install Ubuntu Server on a Raspberry Pi 5 and configure Pi-Hole in it.
Note: I will be doing this process in a virtual machine to be able to take screenshots, but the steps on real hardware are the same.
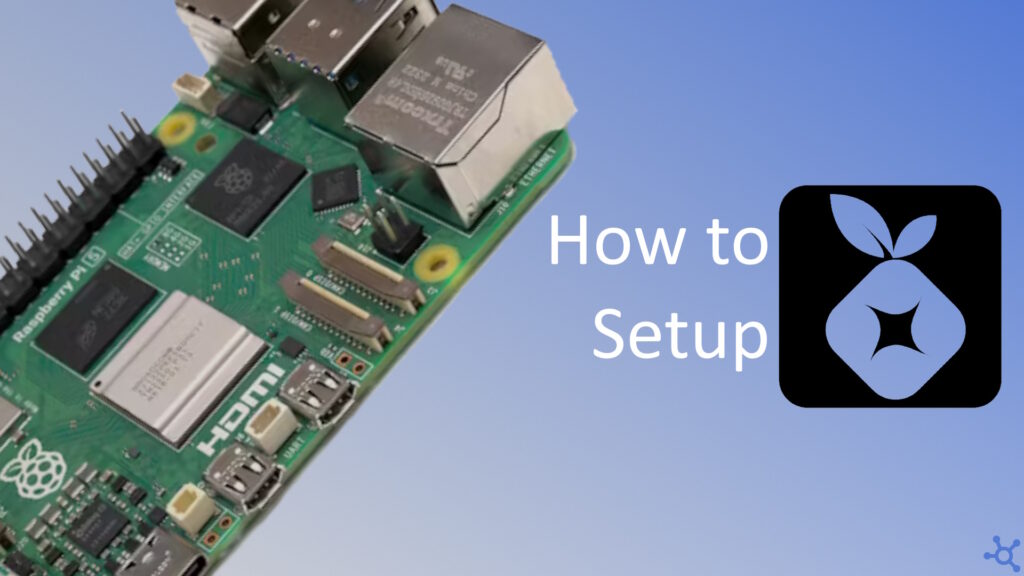
1 - Installing Ubuntu Server
Note: If you are not using a Raspberry Pi, you can learn how to install Ubuntu Server in this article.
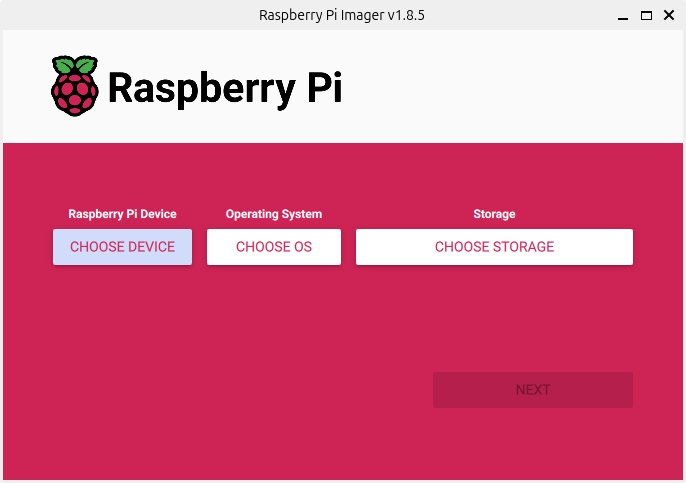
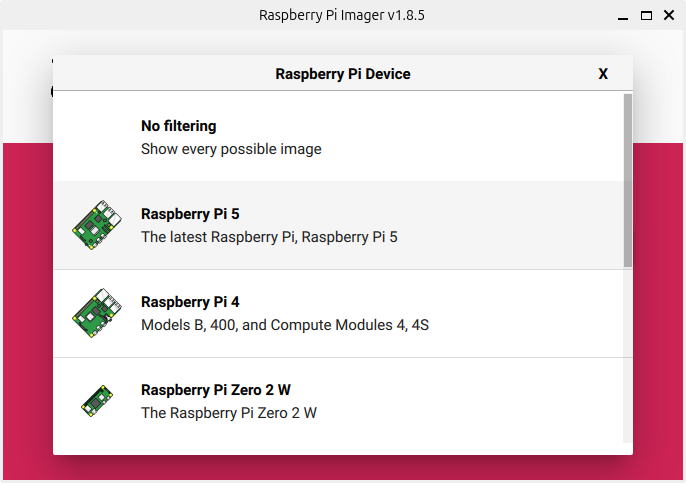
To install Ubuntu Server you need to install the Raspberry Pi Imager, which you can download here. After downloading and installing it insert your micro sd card into your pc and open the Imager, in there, click ‘Choose Device’ and choose your Raspberry Pi model.
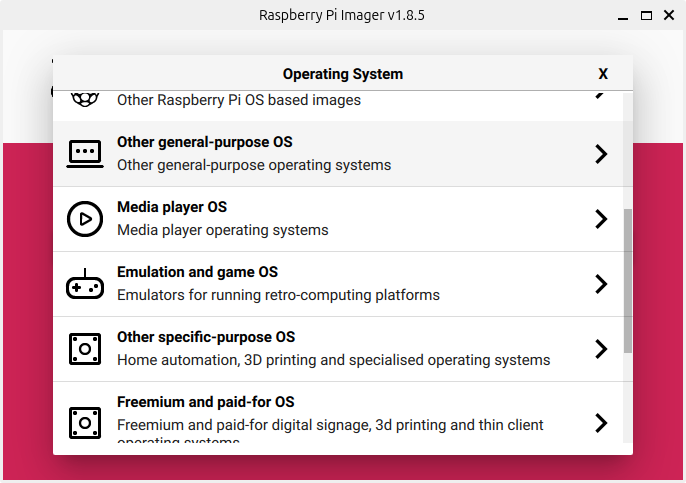
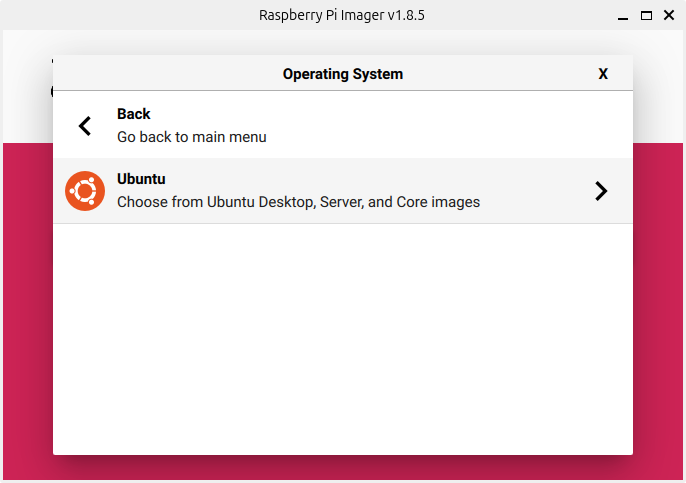
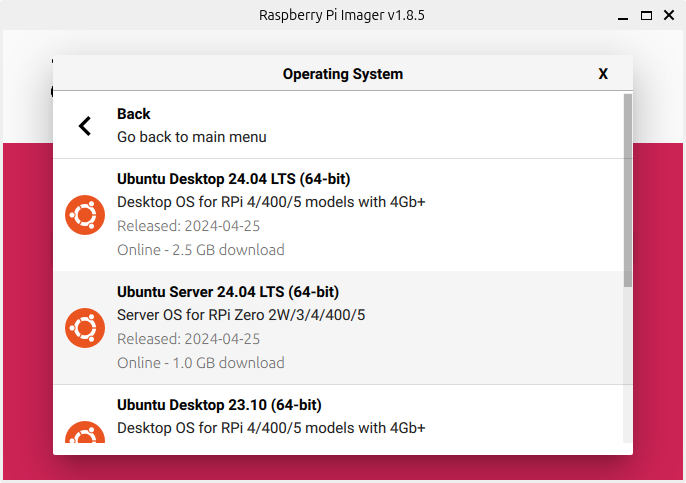
Now we will choose our system. Click on ‘Choose OS’ and ‘Other general-Purpose OS’ and ‘Ubuntu’
Now you can select the version of Ubuntu, we will use ‘Ubuntu Server 24.04 LTS (64-bit)’. After that select your sd card in ‘Choose Storage’ and click next.
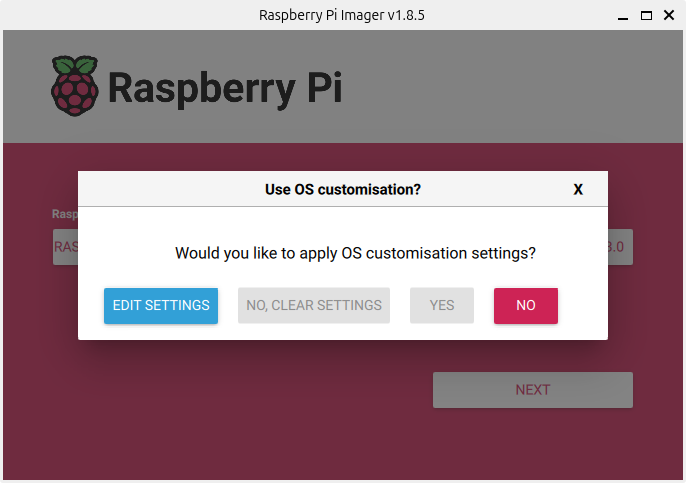
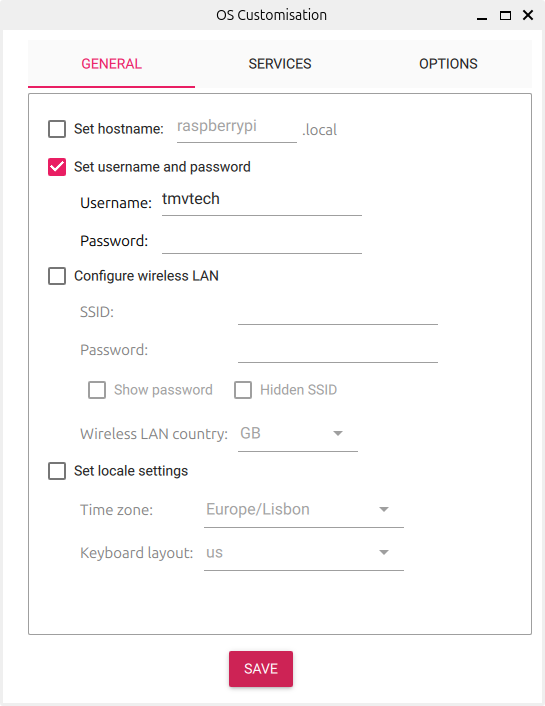
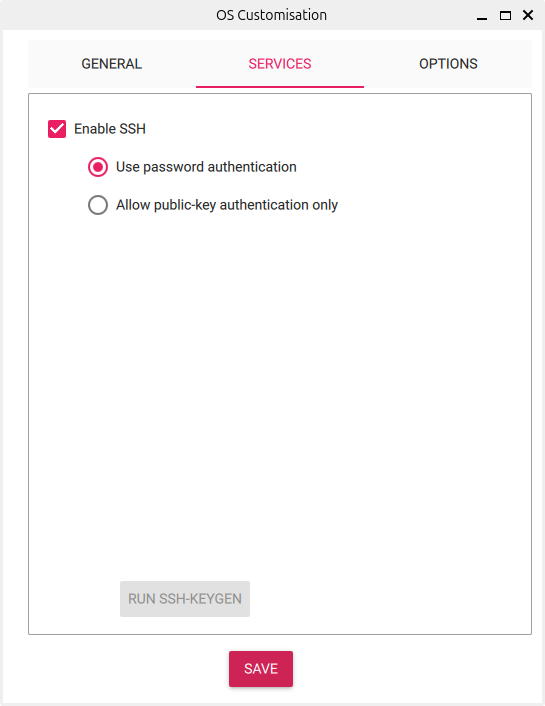
After clicking ‘Edit Settings’ you can choose your hostname, input your user and password, configure wifi if needed (i suggest using wired ethernet instead) and set your Timezone. On ‘Services’ enable SSH and choose whether you want to use password authentication or public-key authentication.
And finally you can save and run the imager! Again, if you installed Ubuntu Server with a live USB, or you aren’t using a Raspberry Pi, you can learn how to install Ubuntu Server in this article.
2 - Installing Pi-Hole
Now that we have a system running, let’s install Pi-Hole, ssh into, or open a terminal in your machine and paste one of the following commands, the first one, is a ‘one command install’, in general you should not trust these, as they do not allow you to review the code your are about to execute, and that is why I am giving you two options:
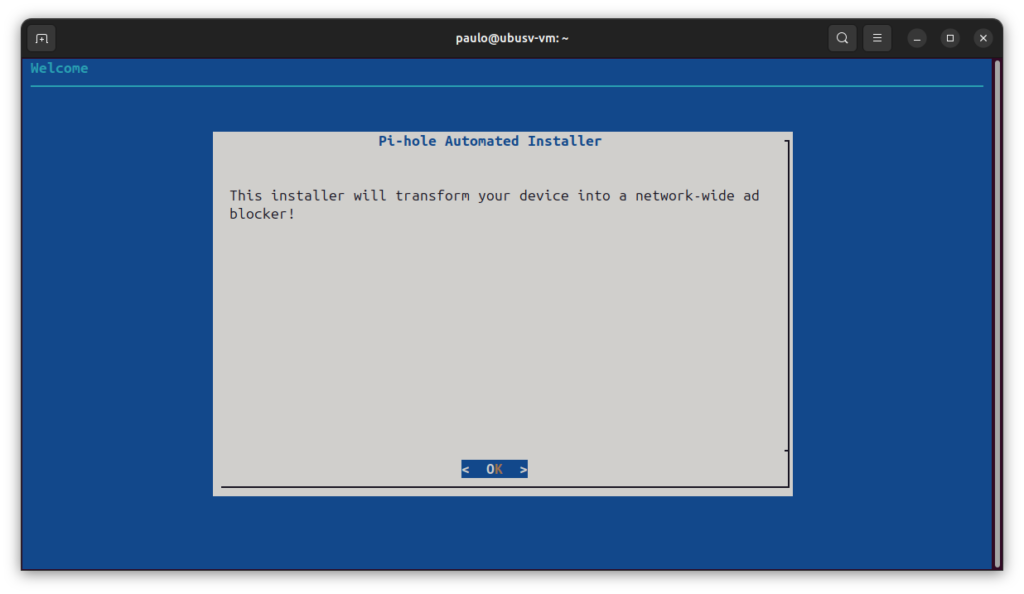
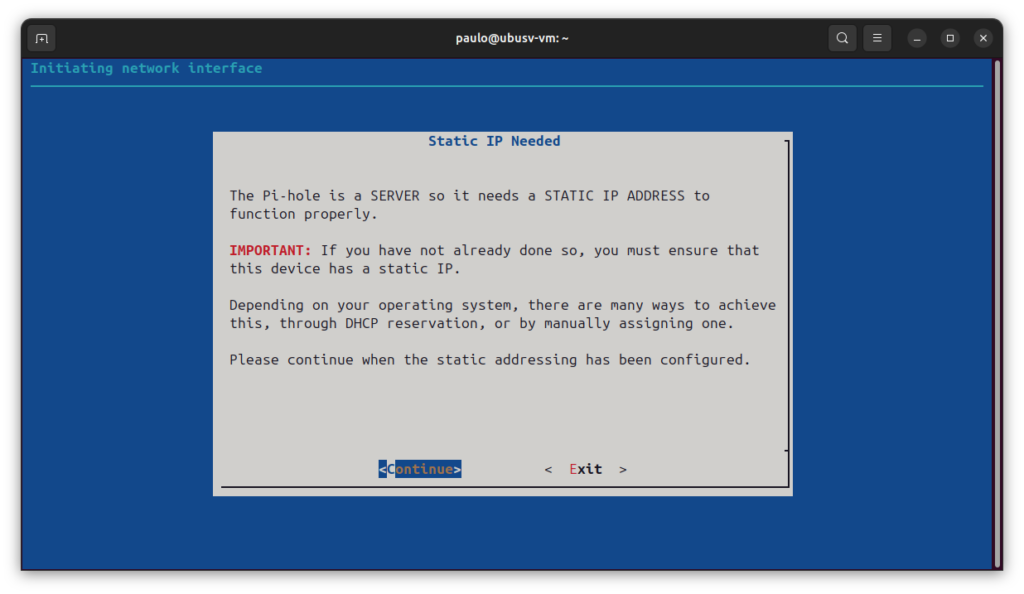
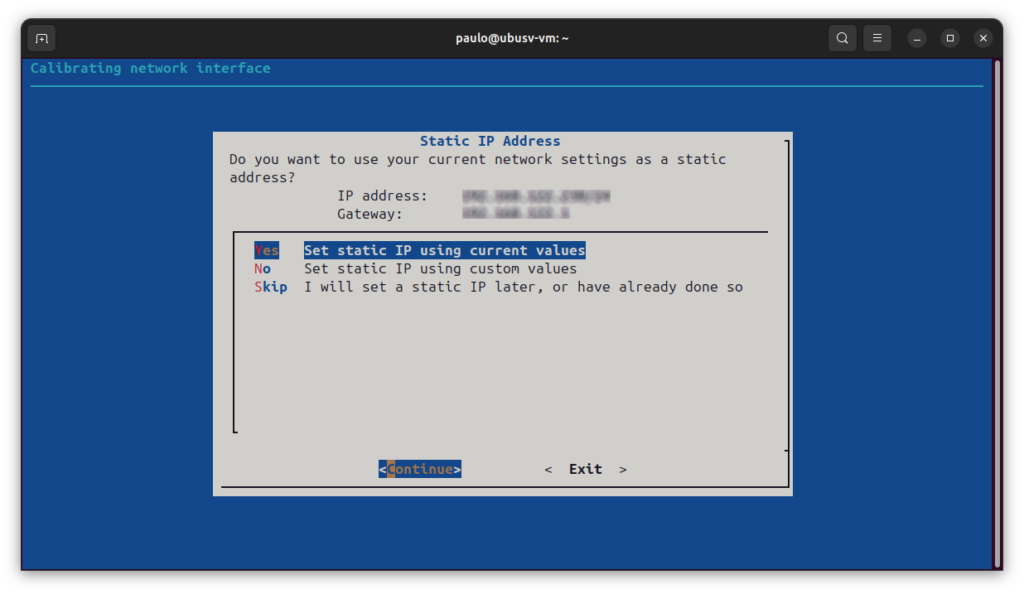
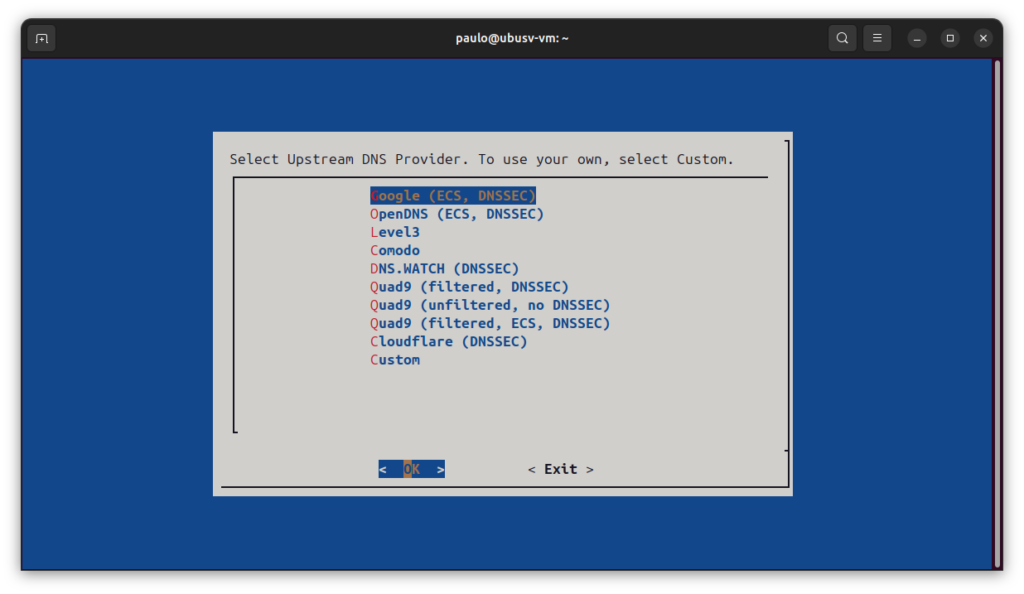
An installer will now ‘open’, follow the below images to complete the Pi-Hole installation:
First page
Static IP Warning
Choose Static IP
Choose DNS Provider (I will use google)
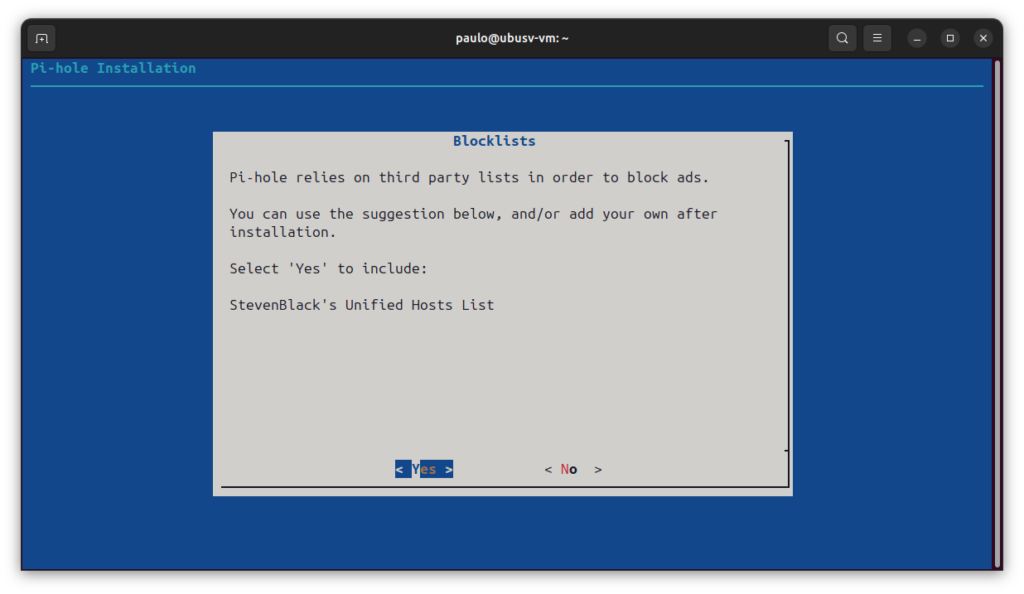
Allow third-party block lists
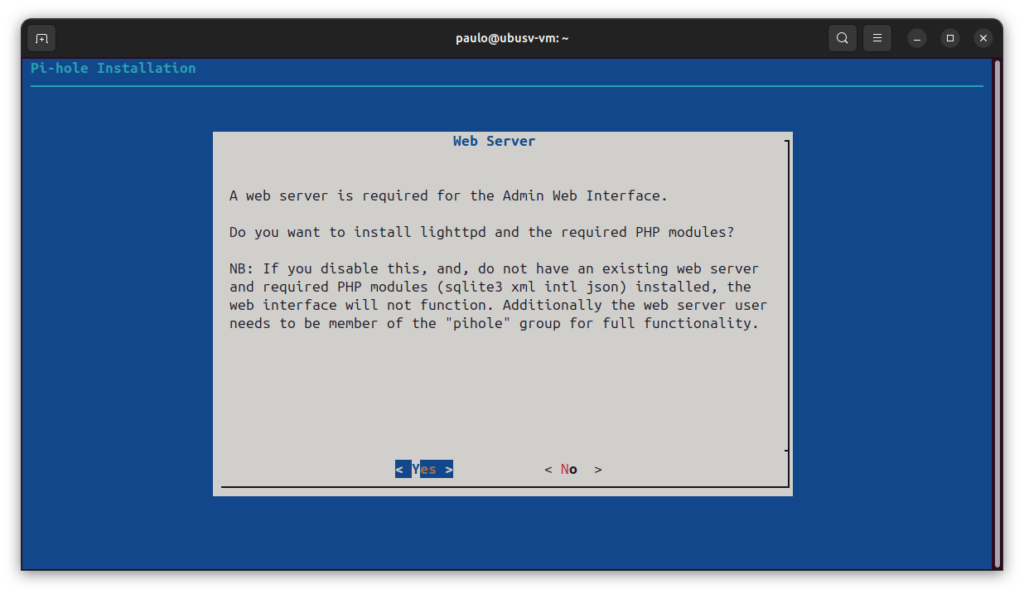
Install Admin Interface
Install Interface Dependencies
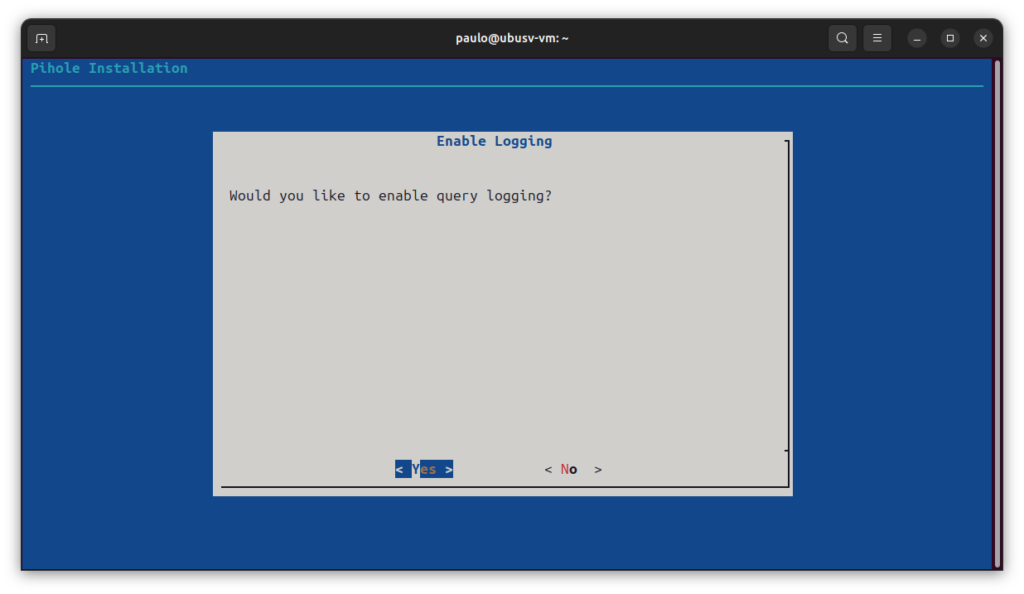
Enable Logging (or don't, it's up to you)
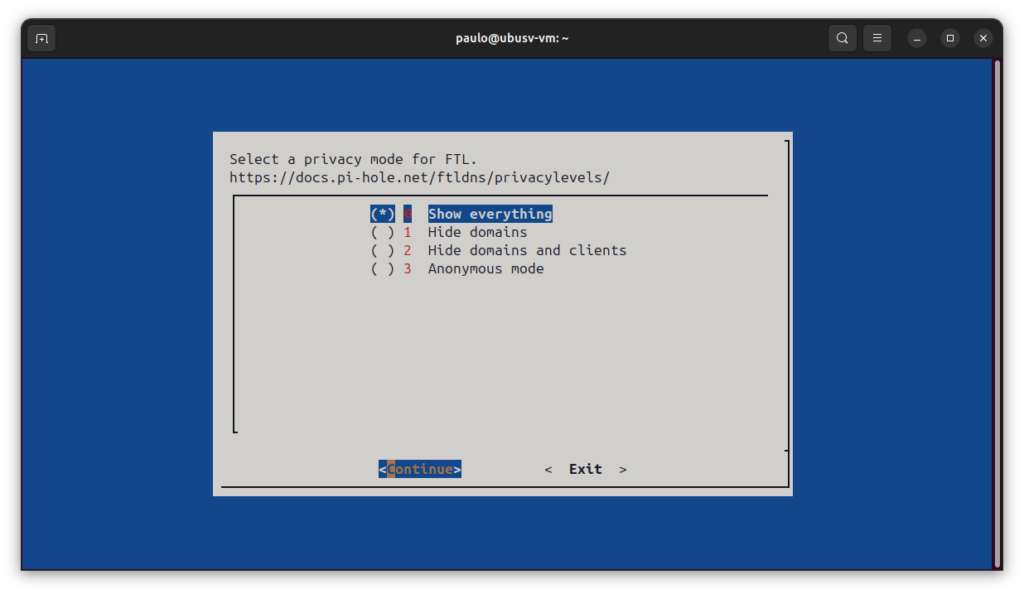
Choose what to log
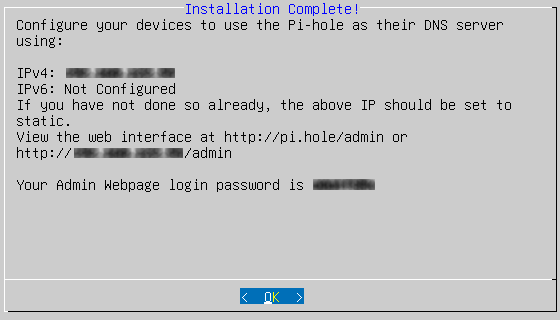
And finally we can login into the web panel with the password the installer gave us or change it with the following command:
pihole -a -p
Now see this article on how to change your dns provider on your machine and after that go into this webpage:
http://pi.hole/admin
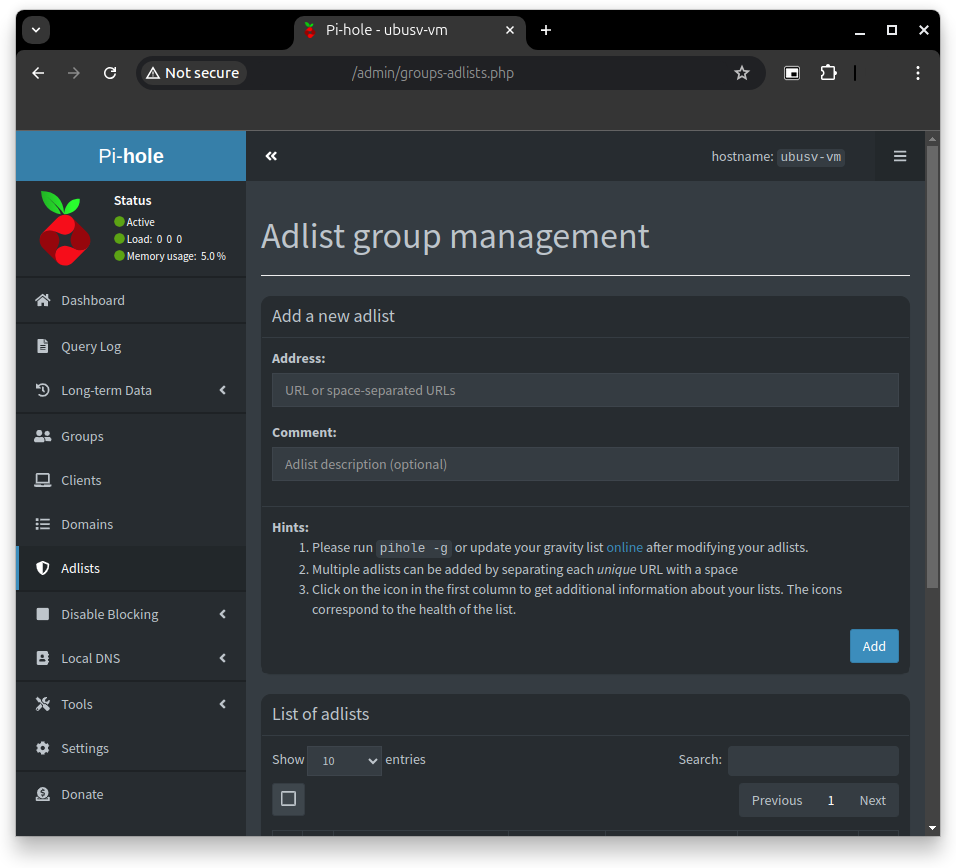
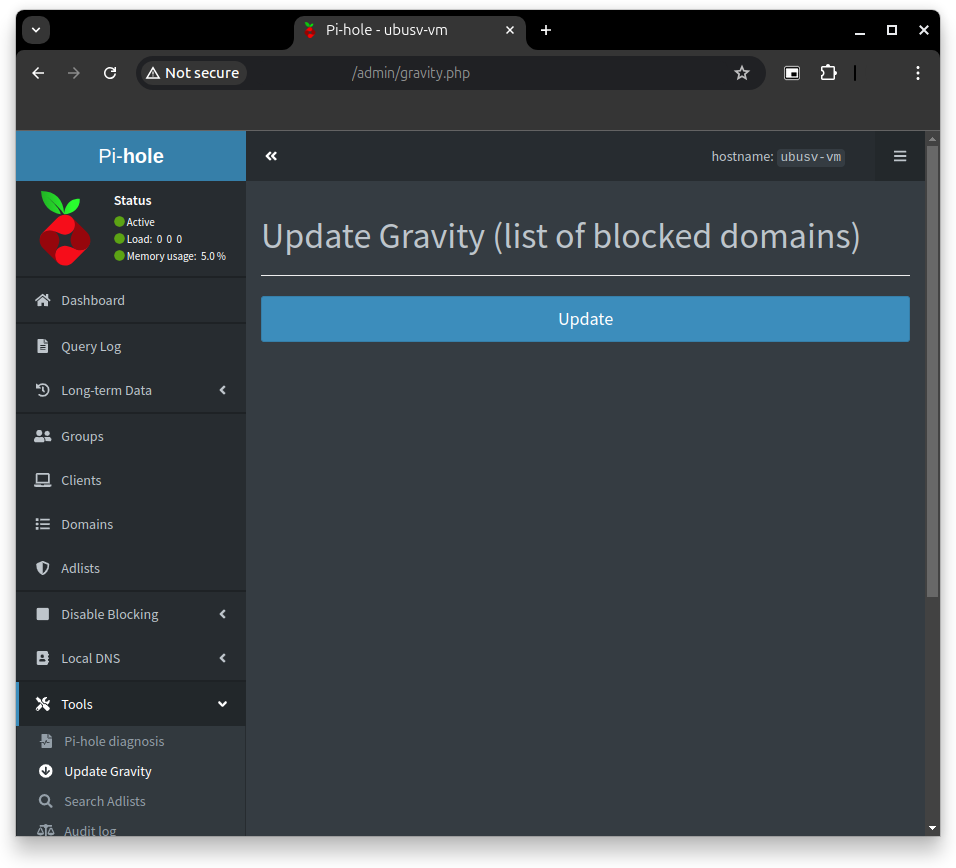
If you want to add more block lists you can easely do that in the ‘Adlists’ page and, after adding them, update them on ‘Tools’, ‘Update Gravity’ and, finally, ‘Update’.
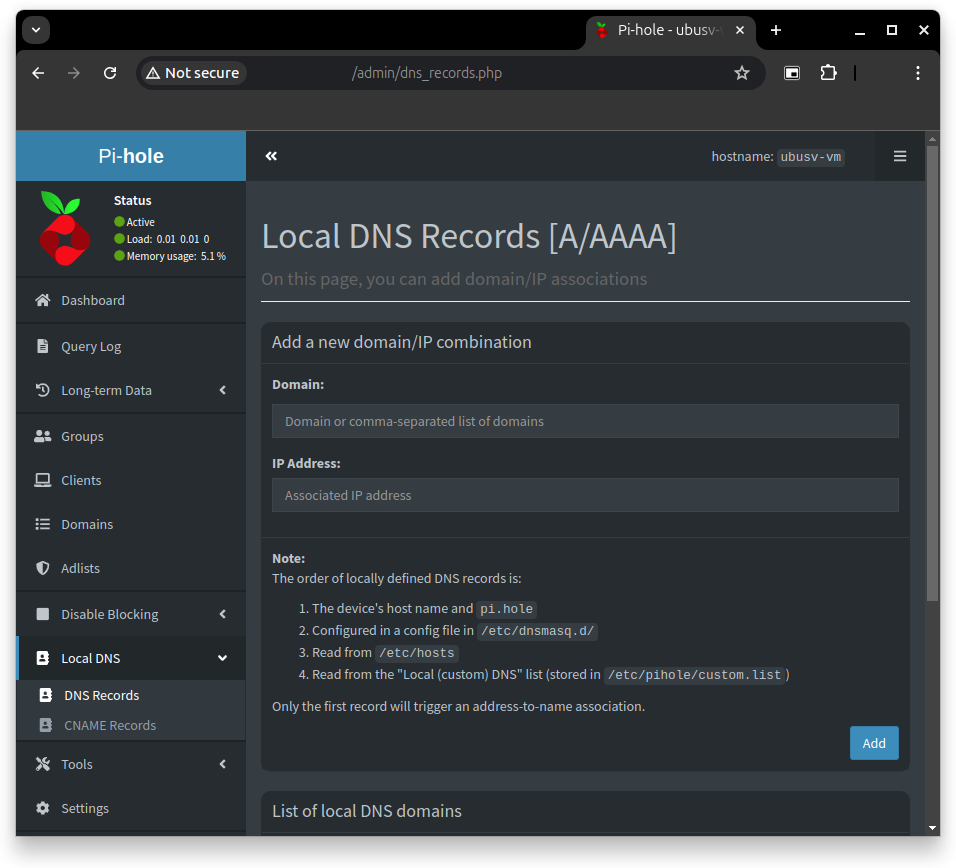
Before finishing this article, I also want to tell you about a pretty usefull feature for your homelab that Pi-Hole offers. In ‘Local DNS’ and ‘DNS Records’ you can add “names” for your own homelab services.
Example: Nginx proxy manager panel hosted at 10.0.0.10:81, you can add a dns record named ‘nginx.local’ for the ip address ‘10.0.0.10’ and, in your proxy, add a host that redirects port 80 to 81. After doing that you can now access your panel by typing ‘nginx.local’ in your browser.
And that’s it, you should now have Pi-Hole ready and protecting you from those annoying ads!
Thanks again for reading and stay tuned for more tech insights and tutorials. Until next time, and keep exploring the world of tech!