0 - Introduction
In your small Iot devices projects it is sometimes needed to have more buttons than you might have pins, the solution for that is to use a matrix keyboard, instead of having a pin for each button, you would have a pin for each row and column of buttons.
For this article I will use a 4 by 4 keyboard (like this one), that way you have access to 16 buttons in only 8 pins!
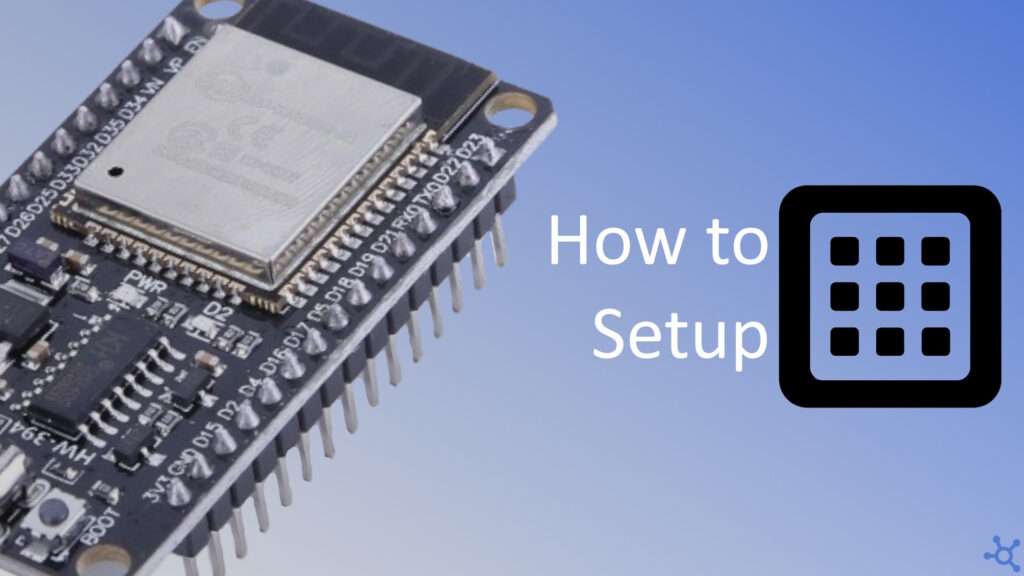
Besides the keyboard, you will also need an Esp32 and at least 8 wires.
1 - Code
Let’s start by including the Arduino header file and then defining the characters of your keyboard. We can easely do that with a two dimensional character array:
#include <Arduino.h>

// keyboard characters
uint8_t btnChar[4][4] =
{
    {'1', '2', '3', 'A'},
    {'4', '5', '6', 'B'},
    {'7', '8', '9', 'C'},
    {'*', '0', '#', 'D'},
};
We will also need another two 2D arrays, one for the current button state and another for the previous button state, we need them both to be able to detect when the button was pressed, release or held:
// current keyboard state
uint8_t btnState[4][4] = {{0}};
// keyboard state in last update
uint8_t btnLastState[4][4] = {{0}};
After having the arrays, the next step is to initialize the pins we will use. I chose pins 12 to 19. In a function named ‘keyboard_init’ set the first 4 pins to output and the others to input pullup (the pullup part is important):
// initialize the keyboard pins
void keyobard_init()
{
    // Row
    pinMode(GPIO_NUM_12, OUTPUT);
    pinMode(GPIO_NUM_13, OUTPUT);
    pinMode(GPIO_NUM_14, OUTPUT);
    pinMode(GPIO_NUM_15, OUTPUT);
    // Column
    pinMode(GPIO_NUM_16, INPUT_PULLUP);
    pinMode(GPIO_NUM_17, INPUT_PULLUP);
    pinMode(GPIO_NUM_18, INPUT_PULLUP);
    pinMode(GPIO_NUM_19, INPUT_PULLUP);
}
After initializing the keyboard, you now need to read it’s state. We do that by iterating row by row, setting that row’s pin to low, then iterate for every column and read it’s pin, finally set the row’s pin to high and repeat for the other rows:
// read the current keyboard state and store the previous one
void keyboard_update()
{
    for (uint8_t y = 0; y < 4; y++)
    {
        // start row check
        digitalWrite(GPIO_NUM_12 + y, LOW);
        for (uint8_t x = 0; x < 4; x++)
        {
            btnLastState[y][x] = btnState[y][x];
            btnState[y][x] = !digitalRead(GPIO_NUM_16 + x);
        }
        digitalWrite(GPIO_NUM_12 + y, HIGH);
    }
}
On ‘Setup’ begin the ‘Serial’ port with a baudrate you choose and intialize the keyboard:
// setup
void setup()
{
    Serial.begin(115200);

    keyobard_init();
}
And finally, on loop, update the keyboard state and, for each button, check if it is being pressed now, but wasn’t pressed last update, if that is true, print the character to Serial:
// loop
void loop()
{
    keyboard_update();

    for (int y = 0; y < 4; y++)
        for (int x = 0; x < 4; x++)
            if (btnState[x][y] && !btnLastState[x][y])
                Serial.printf("%c", btnChar[x][y]);
}
And that’s it, you should now, after uploading the code, be able to press any button on the keyboard and get the matching character via Serial! You can also find the whole code at the bottom of this article.
Thanks for reading and stay tuned for more tech insights and tutorials. Until next time, and keep exploring the world of tech!
#include <Arduino.h>

// keyboard characters
uint8_t btnChar[4][4] =
{
    {'1', '2', '3', 'A'},
    {'4', '5', '6', 'B'},
    {'7', '8', '9', 'C'},
    {'*', '0', '#', 'D'},
};
// current keyboard state
uint8_t btnState[4][4] = {{0}};
// keyboard state in last update
uint8_t btnLastState[4][4] = {{0}};

// initialize the keyboard pins
void keyobard_init()
{
    // Row
    pinMode(GPIO_NUM_12, OUTPUT);
    pinMode(GPIO_NUM_13, OUTPUT);
    pinMode(GPIO_NUM_14, OUTPUT);
    pinMode(GPIO_NUM_15, OUTPUT);
    // Column
    pinMode(GPIO_NUM_16, INPUT_PULLUP);
    pinMode(GPIO_NUM_17, INPUT_PULLUP);
    pinMode(GPIO_NUM_18, INPUT_PULLUP);
    pinMode(GPIO_NUM_19, INPUT_PULLUP);
}
// read the current keyboard state and store the previous one
void keyboard_update()
{
    for (uint8_t y = 0; y < 4; y++)
    {
        // start row check
        digitalWrite(GPIO_NUM_12 + y, LOW);
        for (uint8_t x = 0; x < 4; x++)
        {
            btnLastState[y][x] = btnState[y][x];
            btnState[y][x] = !digitalRead(GPIO_NUM_16 + x);
        }
        digitalWrite(GPIO_NUM_12 + y, HIGH);
    }
}

void setup()
{
    Serial.begin(115200);

    keyobard_init();
}
void loop()
{
    keyboard_update();

    for (int y = 0; y < 4; y++)
        for (int x = 0; x < 4; x++)
            if (btnState[x][y] && !btnLastState[x][y])
                Serial.printf("%c", btnChar[x][y]);
}
