
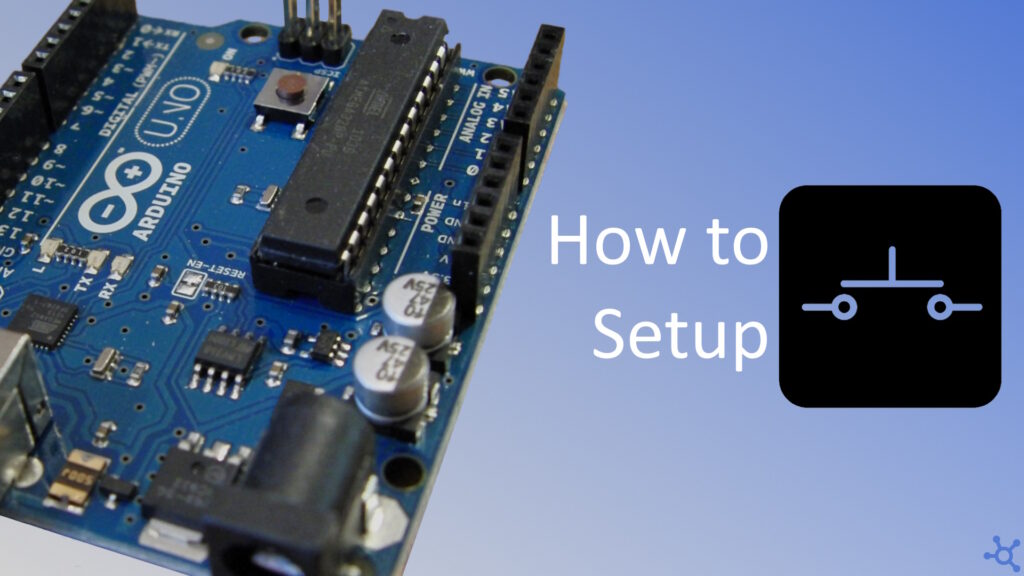
0 - Introduction
While coding baremetal on a arduino, interrupts are a key part of any program that requires input or precise timings. In today’s article you will learn the very basics of interrupts in the ‘ATMega328p’ (the mcu in a lot of Arduinos). You will learn how to enable global interrupts, and configure the ‘INT0’ and ‘INT1’ external interrupts.
If you don’t have an Arduino, you can buy one here.
1 - Code
On this example we will use two header files, the ‘avr/io’ to be able to access the registers for the led and the ‘D2’ pin we will use and also ‘avr/interrupt’:
#include <avr/io.h>
#include <avr/interrupt.h>
Along this article we will make references of a pdf, it is the data sheet for the ‘ATMega328p’ and you can find it here.
Let’s start by taking a look at what we need to do to start getting interrupts, for that you create a function named ‘init_btn’ and in it you start by setting the pin D2 as input, you can check this schematic to see which pin D2 is, and you will find that it is located at Port D and is the pin 2, so D2 is PD2.
Then we set the same pin, D2 as ‘pullup’ that means that when the pin is not connected to anything, it will be pulled high.
After that we choose when do we want our interrupt to be triggered. In this case it was chosen ‘Falling Edge’, which means that the interrupt will occurr when you press the button (short the D2 pin to ground, HIGH to LOW).
Then in the Enable Interrupts Mask, you enable ‘INT0’.
And, finally, enable the global interrupts:
void init_btn()
{
    // Set pin 2 as input
    DDRD &= ~(1 << PD2);
    // Set pin 2 as pullup
    PORTD |= (1 << PD2);
    // when to trigger interrupt
    // none = on low, 0 = on change, 1 = on down, 1 & 0 = on up,
    EICRA |= (1 << ISC01);
    // enable interrupts for int0
    EIMSK |= (1 << INT0);
    // enable global interrupts
    sei();
}
Now you need to create a function that will be called when an interrupt occurs, those are called ‘Interrupt Service Routines’ and you need to specify, in their parameters, which interrupt will it handle.
Example: for INT1 you would replace ‘INT0_vect’ with ‘INT1_vect’.
In this example app the onboard led will flip it’s state when the button is pressed:
// Interrupt service routine (ISR) for INT0
ISR(INT0_vect)
{
    // Flip led state
    PORTB ^= (1 << PB5);
}
Finally, create the main function, set the onboard led pin as output and initialize the button, then add an infinite loop (can be empty) and that’s it:
int main()
{
    // onboard led pin > output
    DDRB |= (1 << PB5);

    // init button
    init_btn();

    // loop forever
    while (1);
    return 0;
}
You can also test this code in the web emulator Wokwi:
In the code box below you can see the full ‘main.c’ file, to compile and upload this program to your arduino, you can use the Makefile we made in a previous article, and that we will be updated if needed.
And that’s all for today’s article, thanks for reading and stay tuned for more tech insights and tutorials. Until next time, keep exploring the world of tech!
#include <avr/io.h>
#include <avr/interrupt.h>

void init_btn()
{
    // Set pin 2 as input
    DDRD &= ~(1 << PD2);
    // Set pin 2 as pullup
    PORTD |= (1 << PD2);
    // when to trigger interrupt
    // none = on low, 0 = on change, 1 = on down, 1 & 0 = on up,
    EICRA |= (1 << ISC01);
    // enable interrupts for int0
    EIMSK |= (1 << INT0);
    // enable global interrupts
}

// Interrupt service routine (ISR) for INT0
ISR(INT0_vect)
{
    // Flip pin state
    PORTB ^= (1 << PB5);
}

int main()
{
    // onboard led pin > output
    DDRB |= (1 << PB5);

    // init button
    init_btn();

    // enable global interrupts
    sei();

    // loop forever
    while (1);
    return 0;
}