DeepSeek R1 is an advanced open-weight language model designed for powerful AI applications. If you’re looking for a user-friendly interface for managing and interacting with AI models, this guide will walk you through the setup process step by step. Whether you’re a developer or an AI enthusiast, you’ll have DeepSeek R1 running on Open WebUI in no time!
For this article make sure you have docker installed (learn how to install it in this article) and a decent NVIDIA GPU as we will need nearly 6GBs of VRAM.
To be able to use our Nvidia GPUs inside the container, we need to install Nvidia Container Toolkit, below you can find the commands for doing it, but if you want to follow the official nvidia instructions, you can find them here.
With docker ready, let’s now setup our Open-WebUI container, start by creating a folder for it and move into it:
mkdir ollama
cd ollama
Inside that folder, create a file named ‘docker-compose.yml’:
nano docker-compose.yml
In this file, paste the configuration below. This configuration allows us to run Open-WebUI with Ollama models. The ‘deploy’ part of this file is extremelly important as it is the part the tells docker to use all our GPUs, if you want to run this model with your CPU, remove it.
After saving the file (on nano, CTRL+O to save and CTRL+X to exit), run the following command to download the image and start your container:
docker compose up -d
3 - Create Account
Once the container starts up, you can access the WebUI at:
http://yourip:3000
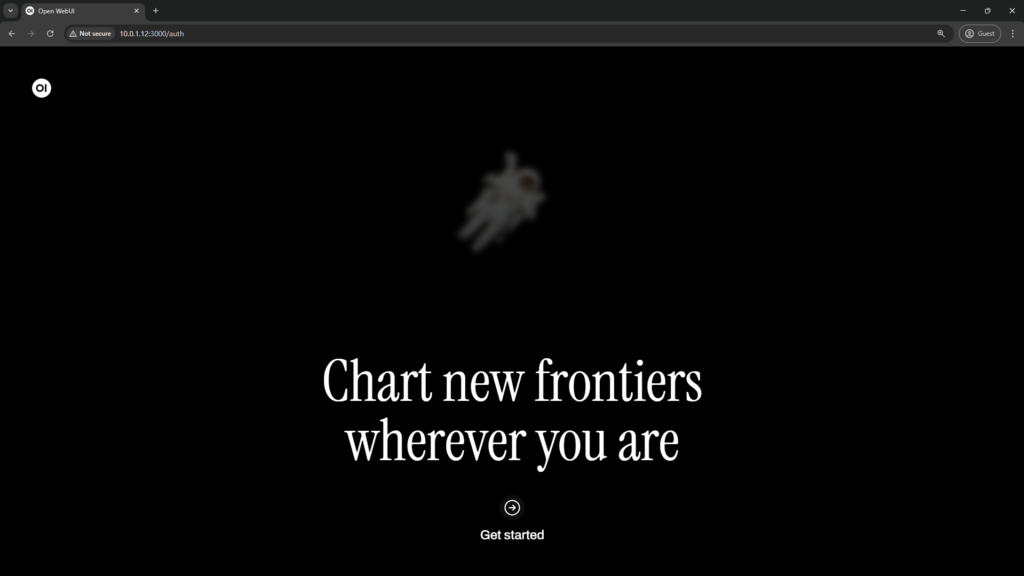
On your browser you should now see the following page, click on ‘Get started’:
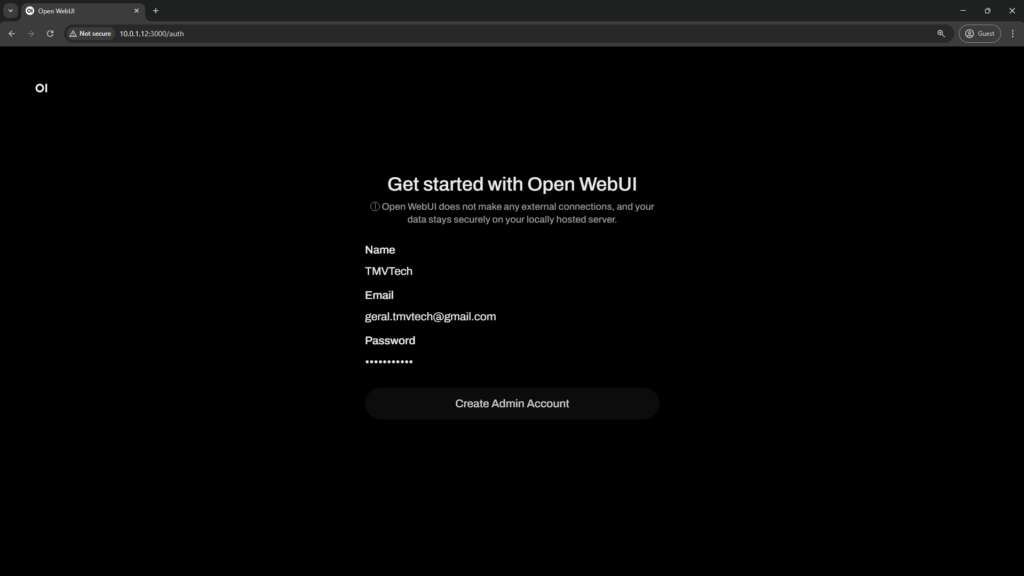
Type your name, email and password and click on ‘Create Admin Account’:
Now you are ready to use Open-WebUI!
4 - Download DeepSeek
Now that we are ready to use the WebUI, let’s download the DeepSeek model. Click on your icon and go to ‘Admin Panel’.
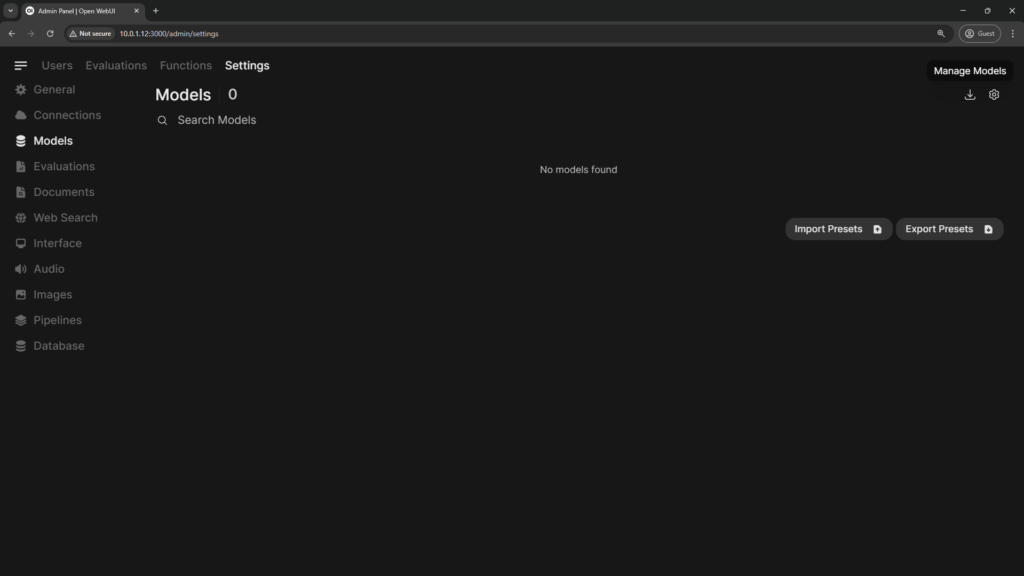
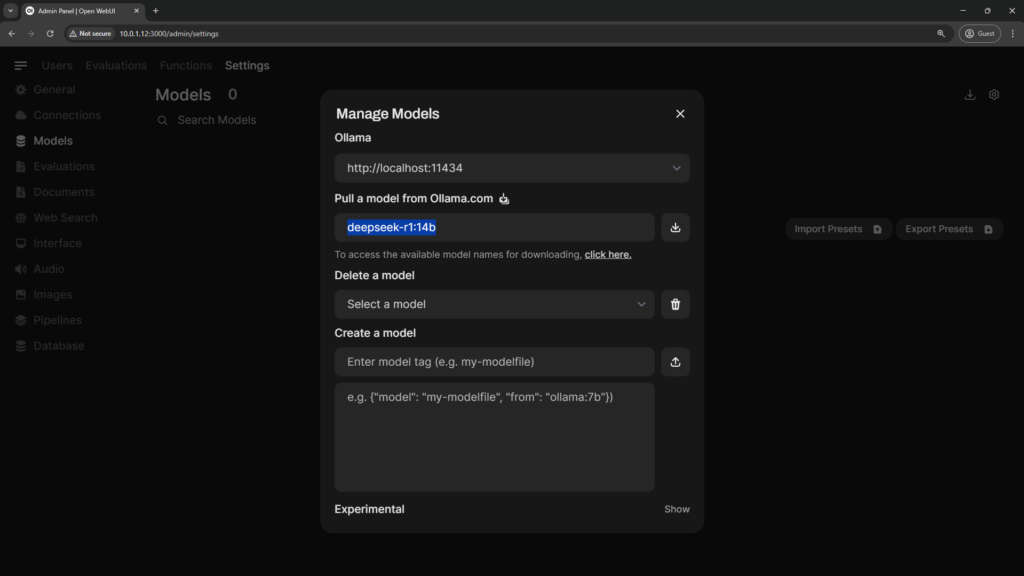
Go to ‘Settings’ and then ‘Models’, in this menu click on the download button at the top right:
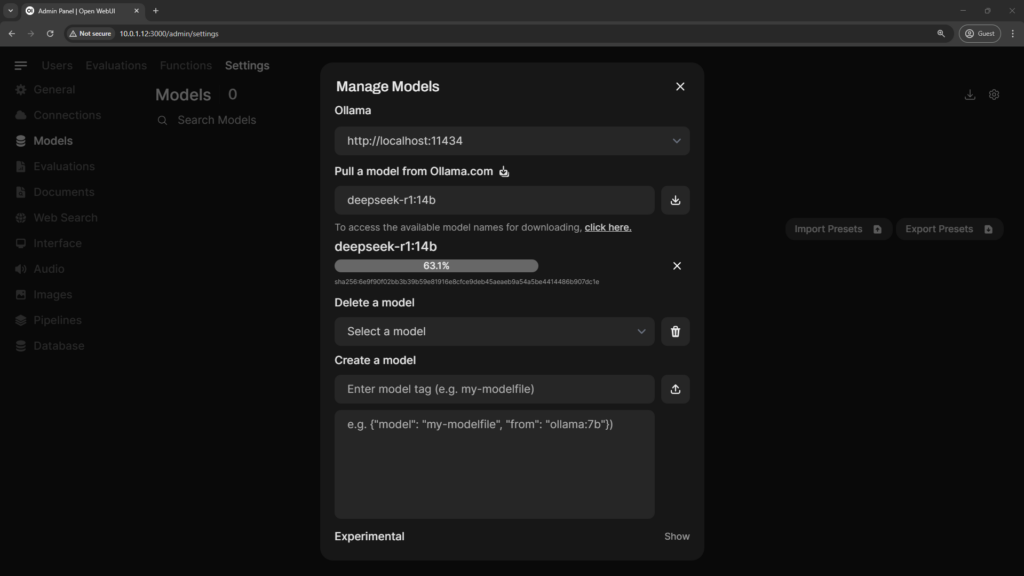
On the Manage Models menu, input the model name from ollama and hit the download button:
Because of the size of some models, you might need to wait a while for it to download.
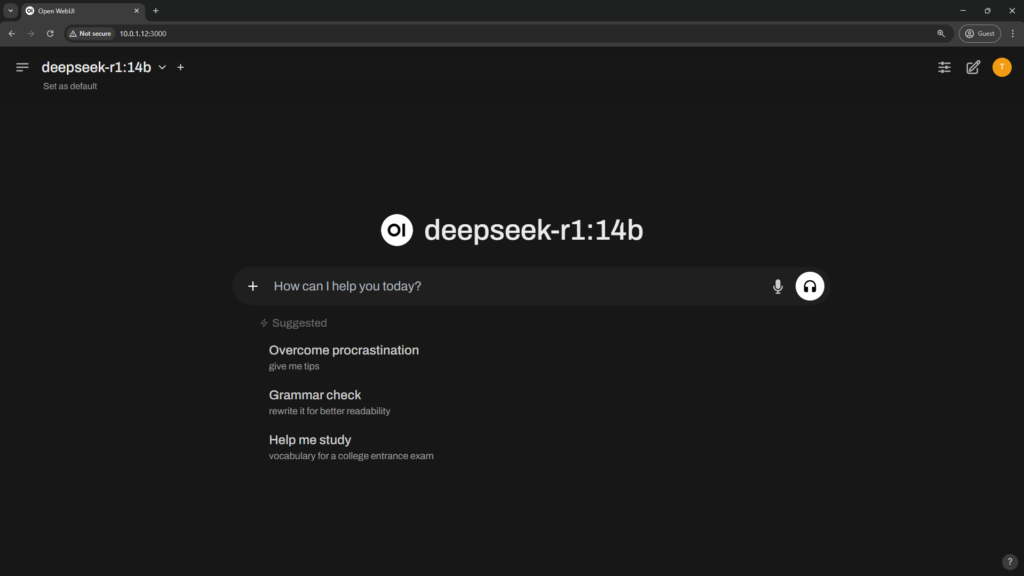
Back to the home page, you can now start a chat with the DeepSeek R1 model!
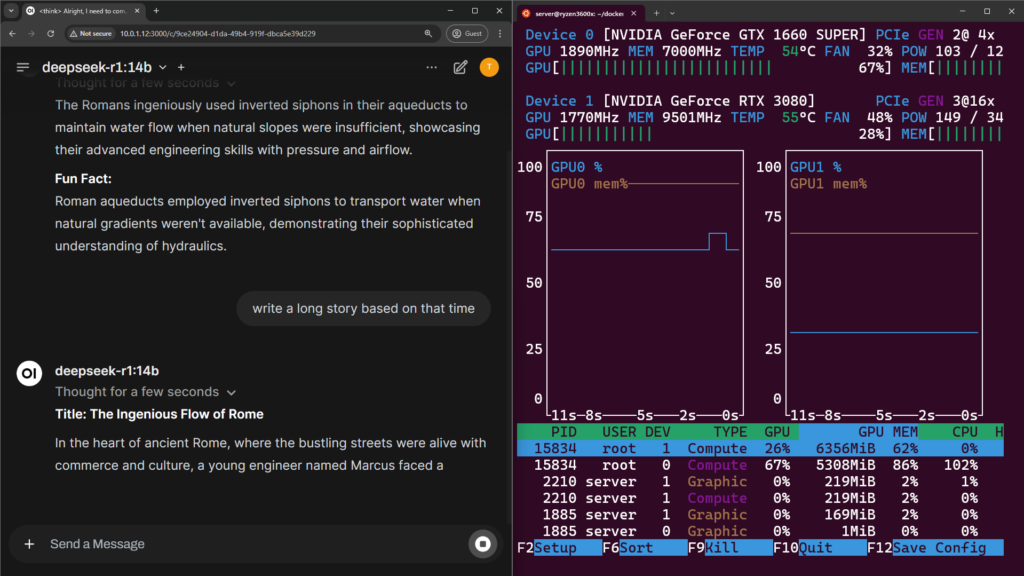
With a tool like nvtop, check if your GPUs are being utilized correctly:
If your GPUs are not being used, there could be some causes but the main one might be not having enough VRAM, to fix this you can try to use a smaller model.
But that’s all for this article. Thanks for reading and stay tuned for more tech insights and tutorials. Until next time, and keep exploring the world of tech!