
0 - Introduction
Do you need a way to keep track of what you or your team is developing, plan future features and keep yourselves in sync? Wekan is a great option, there are more mainstream apps, for example Jira, which is used a lot on companies and Trello, which Unreal Engine 4’s team used for a long time and many other open source projects.
The main point that Wekan has over Trello and other services like it, is being open-source and self-hosted. In very little time you can have a Wekan container up and running for you and your team, but for that, you need docker, which you can learn how to install in this article.
1 - Install
The first thing we need to do is to create a folder for wekan and it’s data, in that folder, create a file named ‘docker-compose.yml’ and edit it
mkdir wekan
cd wekan
nano docker-compose.yml
In the docker compose file, paste the following config, which will create a database (Mongo) and the Wekan container:
services:
  wekandb:
    image: mongo:8.0.3
    container_name: wekan-db
    restart: unless-stopped
    command: mongod --logpath /dev/null --oplogSize 128 --quiet
    networks:
      - wekan-tier
    expose:
      - 27017
    volumes:
      - /etc/localtime:/etc/localtime:ro
      - ./data/db:/data/db
      - ./data/dump:/dump

  wekan:
    image: wekanteam/wekan:v7.61
    container_name: wekan-app
    restart: unless-stopped
    networks:
      - wekan-tier
    ports:
      - 10005:8080
    environment:
      - WRITABLE_PATH=/data
      - MONGO_URL=mongodb://wekandb:27017/wekan
      # 🚨 change to you IP
      - ROOT_URL=http://10.0.1.12:10005
      - MAIL_URL=
      - MAIL_FROM=
      - MAIL_SERVICE=Google
      - MAIL_SERVICE_USER=
      - MAIL_SERVICE_PASSWORD=
      - WITH_API=true
      - RICHER_CARD_COMMENT_EDITOR=true
      - CARD_OPENED_WEBHOOK_ENABLED=false
      - BIGEVENTS_PATTERN=NONE
      - BROWSER_POLICY_ENABLED=true
    depends_on:
      - wekandb
    volumes:
      - /etc/localtime:/etc/localtime:ro
      - ./data/wekan:/data:rw

networks:
  wekan-tier:
    driver: bridge
After saving the file, run the following command to start the container:
docker compose upIf you do not get any errors and the app starts, you can press CTRL+C to close it, and rerun the command above adding ‘-d’ at the end, if you get errors regarding read or write permissions in the ‘data’ folder, run the following commands to change the permissions and restart the container:
docker compose down
sudo chmod -R go+rw data
docker compose up -d
2 - Setup
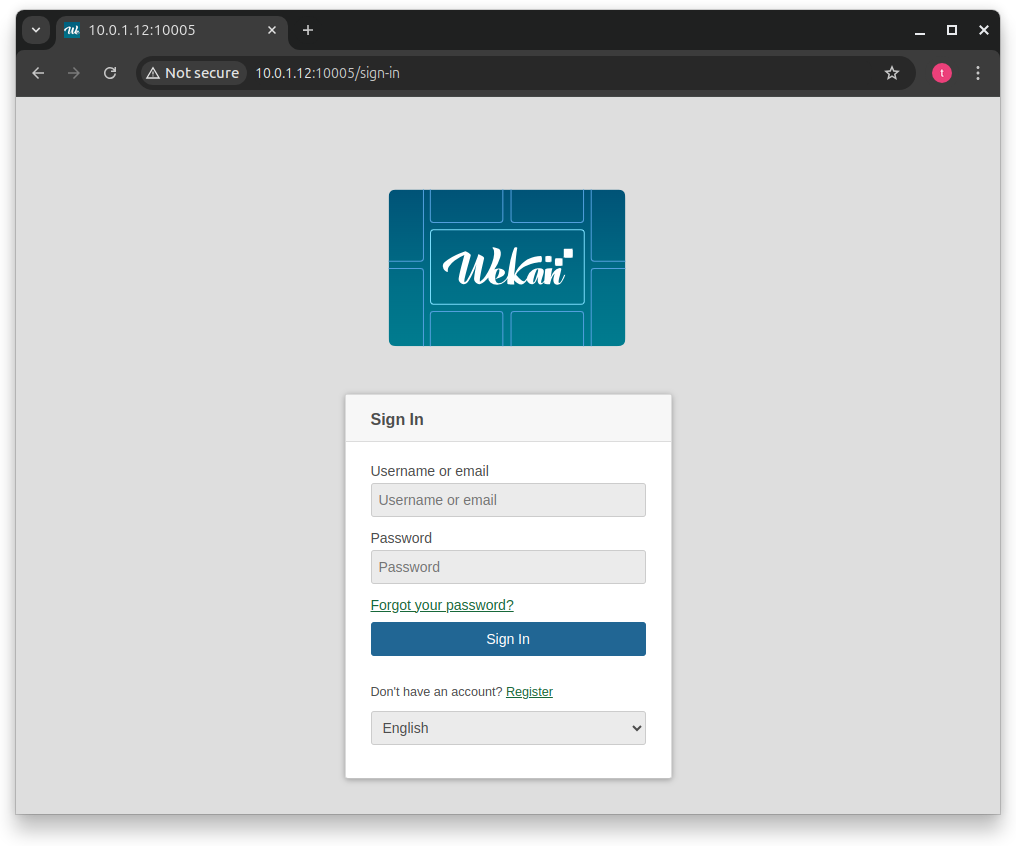
After the container is running, you can access wekan by going to ‘yourmachinesip:10005’. You should see a login screen, on the bottom, click on ‘Register’.
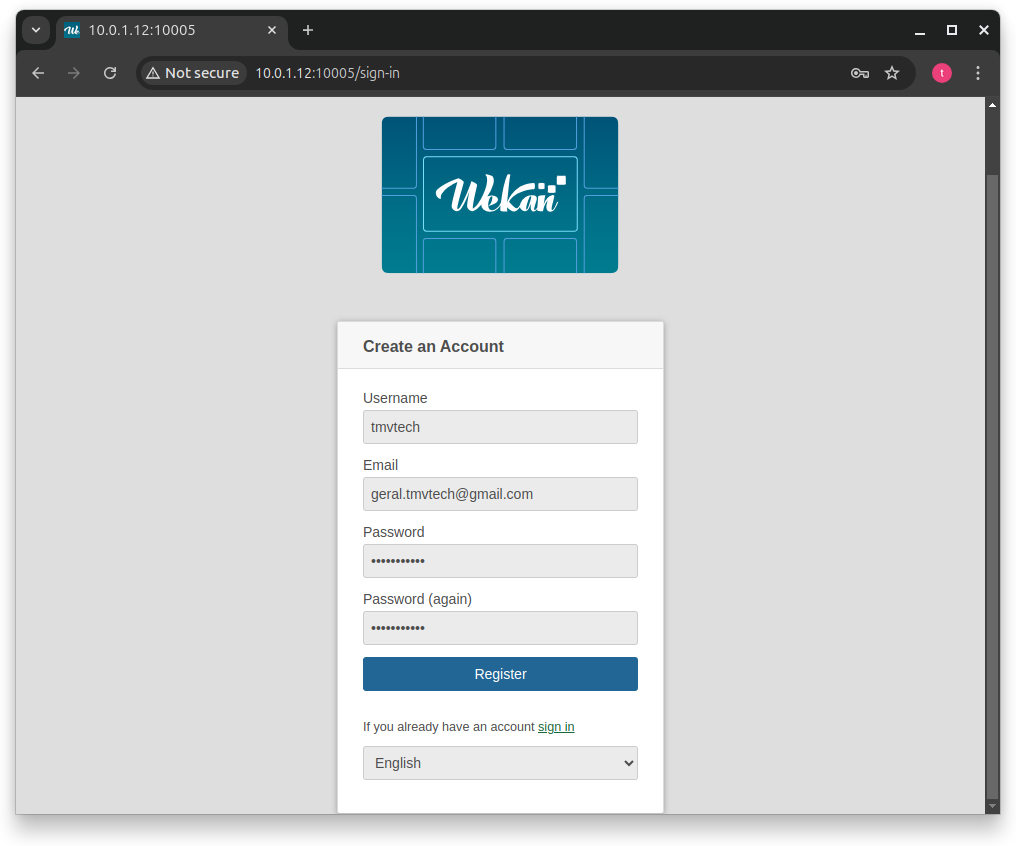
On this screen, type your username, email and password and register.
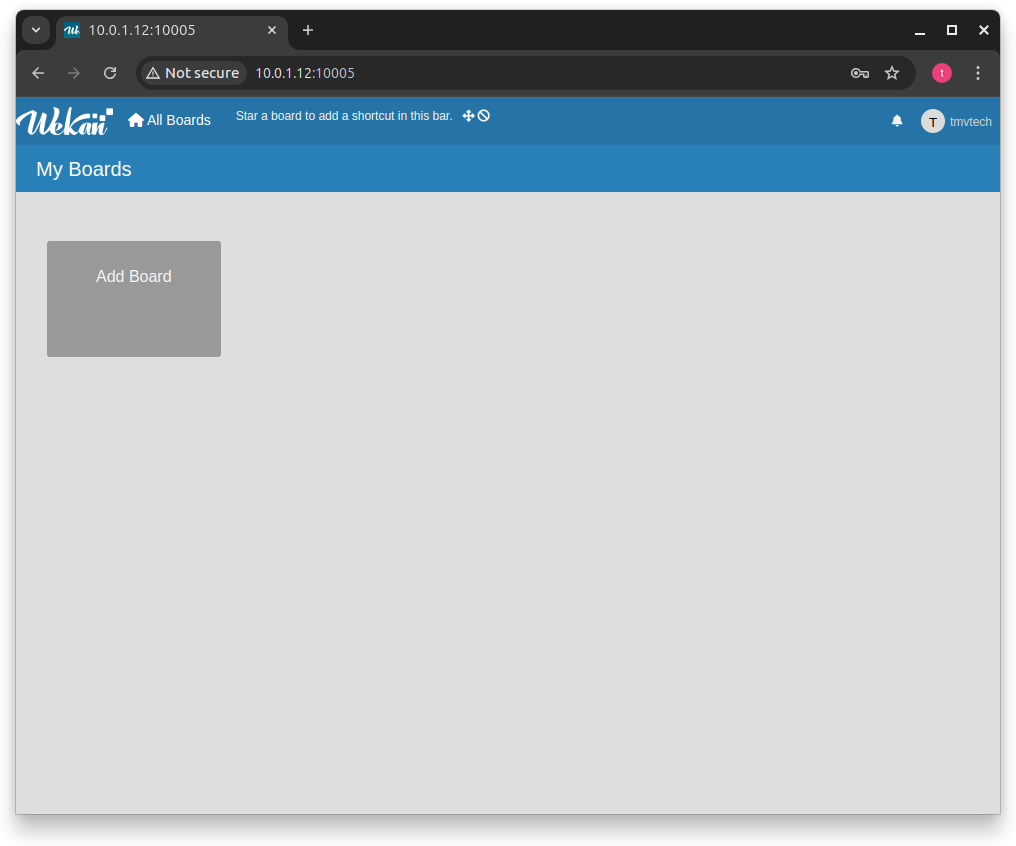
After logging in, you should see this screen. In the options you can create new users to give your team access to your boards, which you can create on this ‘home’ screen by clicking ‘Add Board’.
And that’s it for the setup, you are now ready to start tracking your development with your team or your users.
On the Admin Panel, you can disable registrations without authorization and also invite people to use your boards.

Thanks for reading and stay tuned for more tech insights and tutorials. Until next time, and keep exploring the world of tech!