

0 - Introduction
Arduinos are very popular microcontrollers for people who are studying or working with hardware and hobyists. In Ubuntu there are some different ways of coding and uploading your code to a Arduino but the official way is to use the Arduino IDE and that’s what we will be installing in this article.
If you need a cheap arduino kit, check here.
1 - Installation
Before installing the IDE, we need to install a library that let’s us run AppImages, we can do that by running the following commands:
sudo add-apt-repository universe
sudo apt install libfuse2
Then we need to allow both, the user and the Arduino IDE, to access the serial port. First, we add the user to the ‘dialout’ group:
sudo usermod -a -G dialout usernameThen we create a udev rules file for arduino:
sudo nano /etc/udev/rules.d/99-arduino.rulesAnd in it, we paste the following:
SUBSYSTEMS=="usb", ATTRS{idVendor}=="2341", GROUP="plugdev", MODE="0666"After saving, reboot your machine.
Then, you can go to Arduino’s Website and download the ‘Linux AppImage 64 bits’.
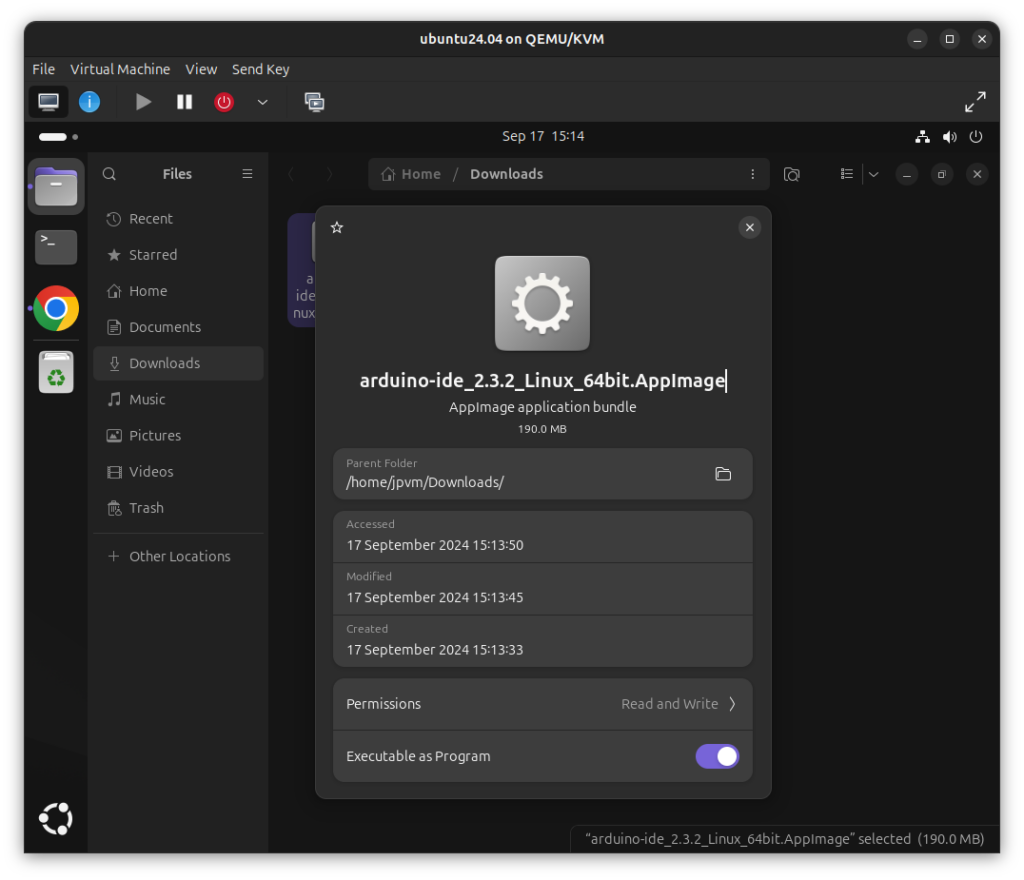
After downloading the AppImage, right-click it, go to properties and enable ‘Execute as Program’.
Then you can close the properties tab and double click the AppImage to run it.
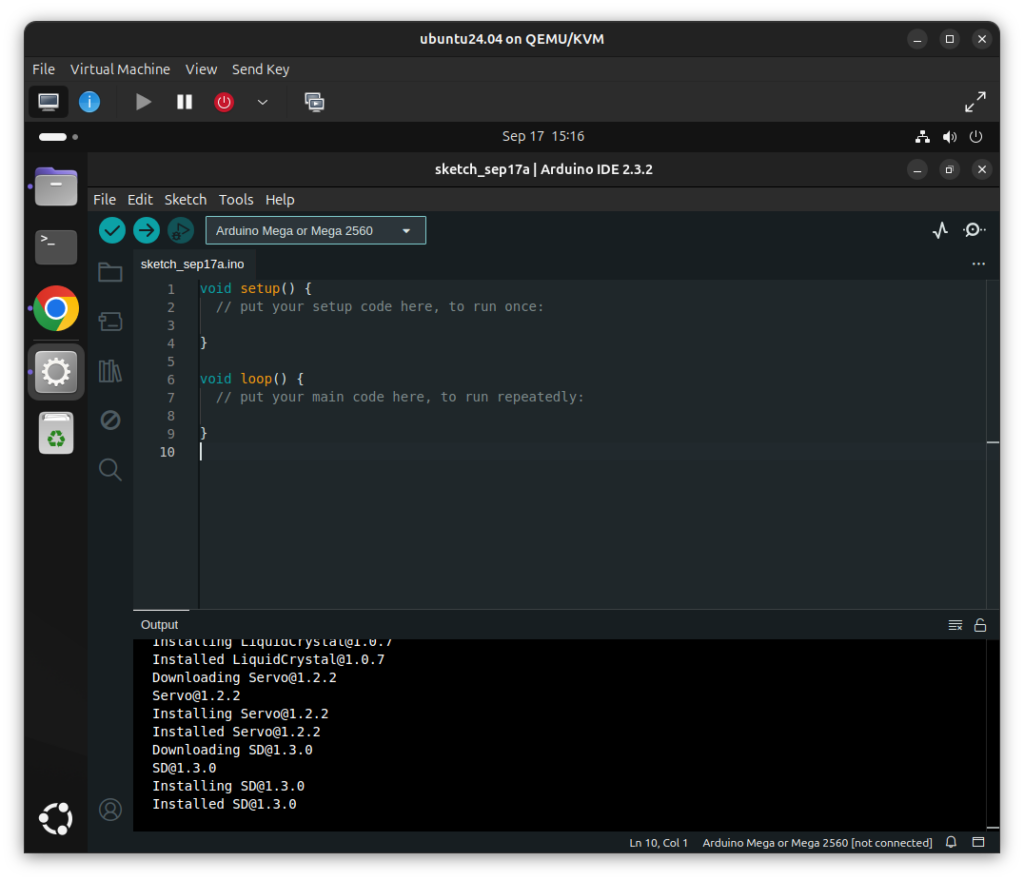
After the IDE opens, you are now ready to code and upload to a Arduino.
You can select your board on the dropdown at the top of the windows, build the code to check for errors with the checkmark button, and build and upload the code with the arrow button.
You can use this code to test your IDE:
void setup()
{
  Serial.begin(115200);
}

void loop()
{
  delay(1000);
  Serial.println("Hello!");
}
Then you can go to ‘Tools -> Serial Monitor’ or press ‘CTRL+Shift+M’ to read the messages sent from the arduino.
And that’s all, thanks for reading and stay tuned for more tech insights and tutorials. Until next time, keep exploring the world of tech!