0 - Introduction
Do you have any protable gaming device? It can be a Steam Deck, a Rog Ally or even a hacked Switch or hacked PSVita, or even if you have a cheap PC you use for your living room tv? If you do, maybe there was a time that you really wanted to play a game you have, on your gaming pc, on that device, now you can! With a Sunshine Server and a Moonlight Client, you can stream your game in your gaming pc and play it everywhere on your portable device (as long as you have really good internet).
1 - Setup
You can get the latest non pre-release here on Github. In there download the correct package for your system, in my case, the ‘ubuntu-24.04’ version.
After downloading it, go to the Downloads folder and install the package:
cd Downloads
sudo apt install ./sunshine-ubuntu-24.04-arm64.deb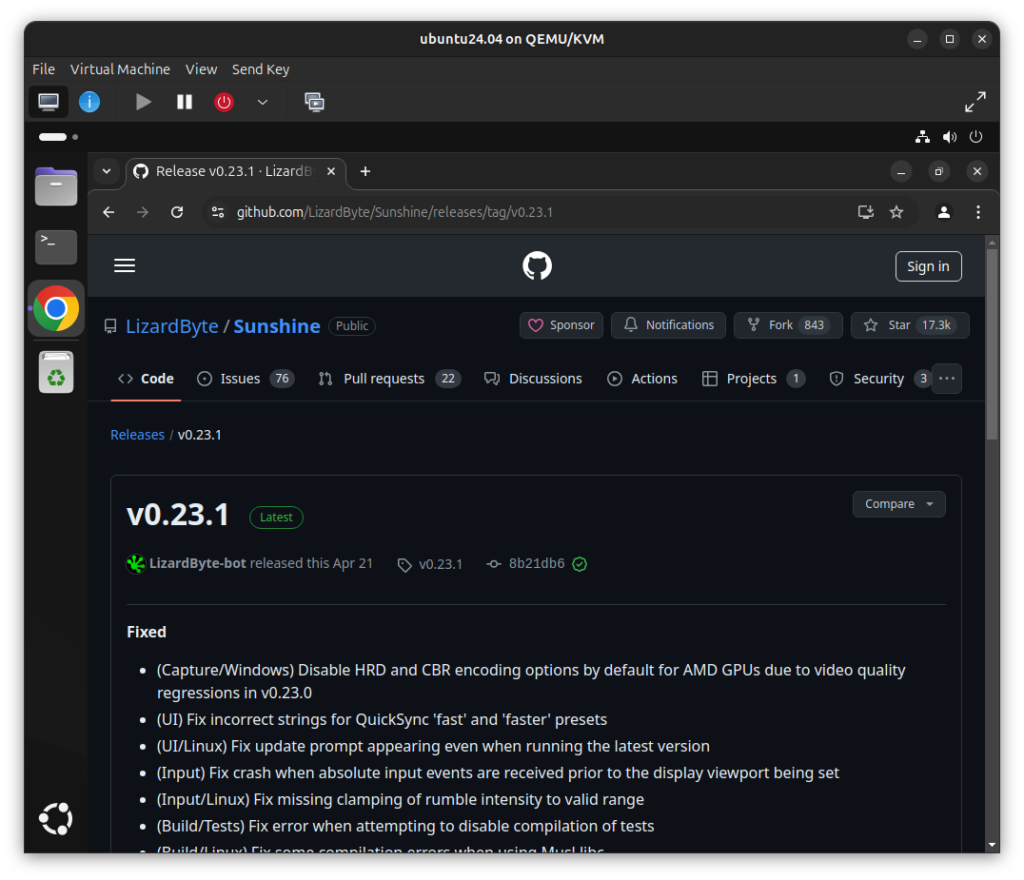
In the following sequence of images, you will see pictures of the steps you need to take, the images with an orange outline were taken on the server (ubuntu), and the ones with a blue outline were taken on the client (windows)
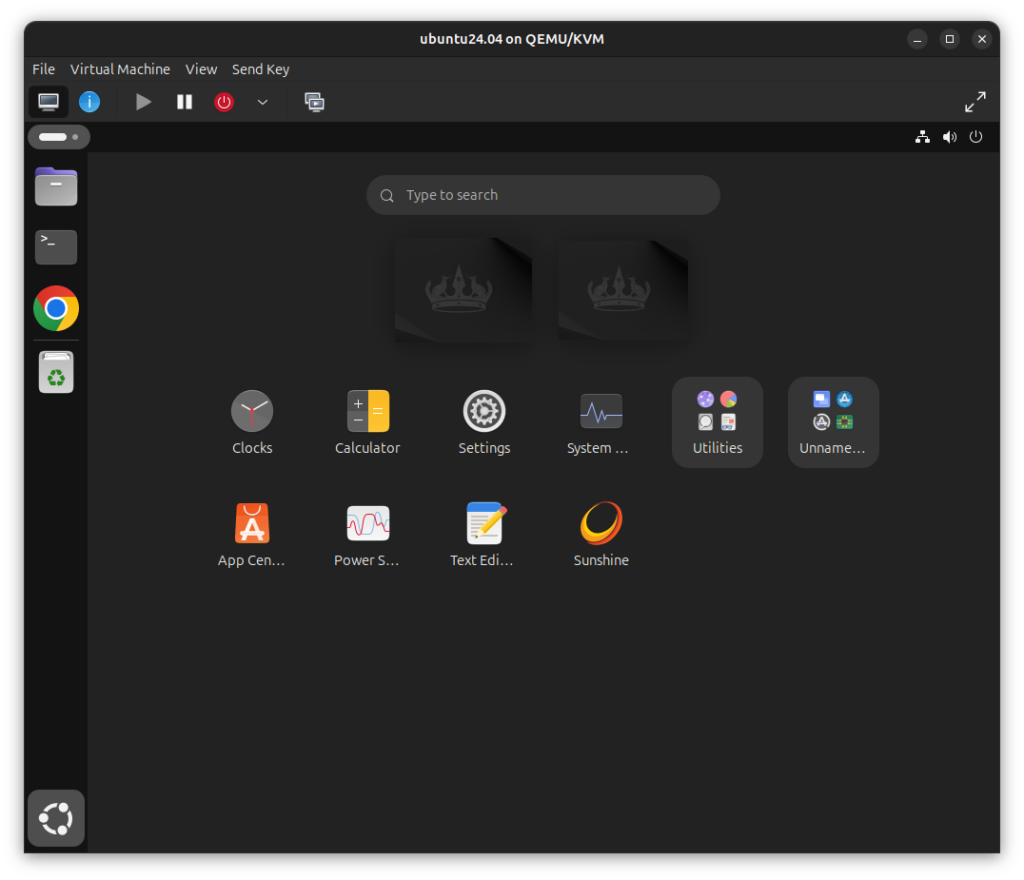
After the installation finishes, you will be able to see Sunshine in the app drawer, press it and it will start running!
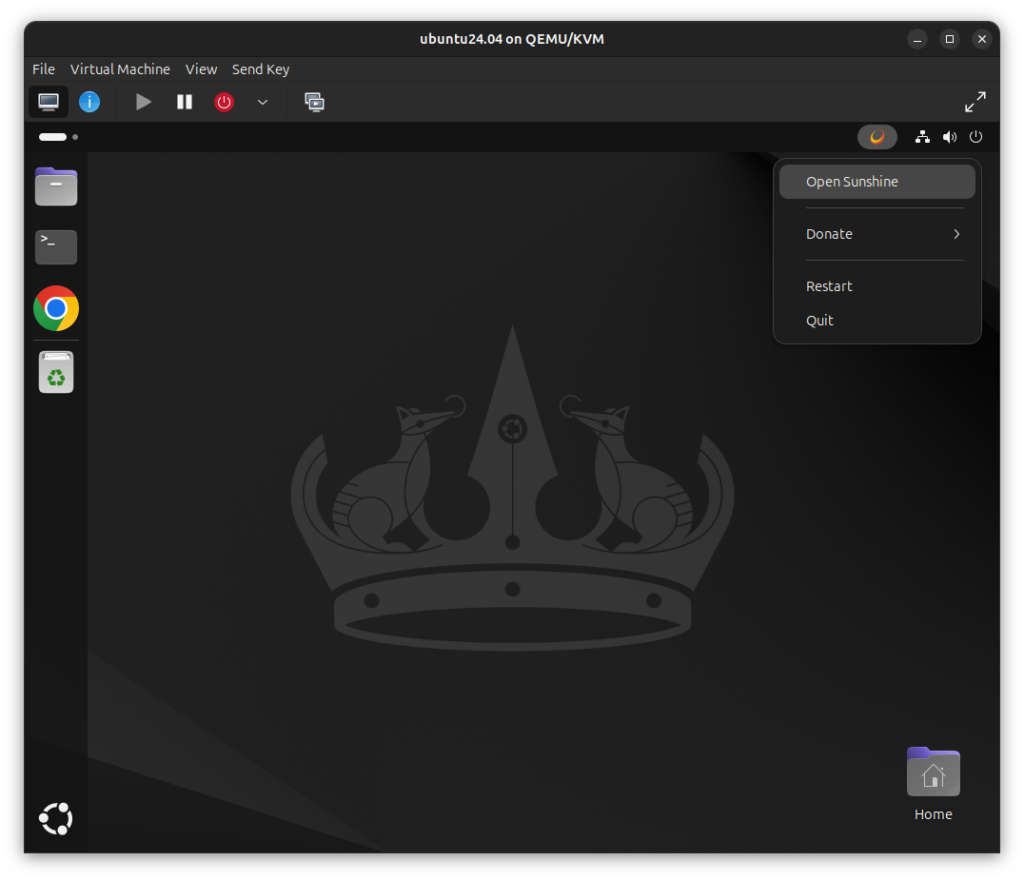
Once you see the Sunshine icon in the corner of the activity bar, click on it and click on ‘Open Sunshine’.
If your Screen Reader starts talking after you open it, you need to do this fix:
sudo nano /usr/lib/systemd/user/sunshine.serviceYou can find the fix here, on the ‘Unit’ category remove the ‘Partof’, ‘Wants’ and ‘After’ lines.
When your browser opens up, you will be prompted to create a username and password, do it and press login.
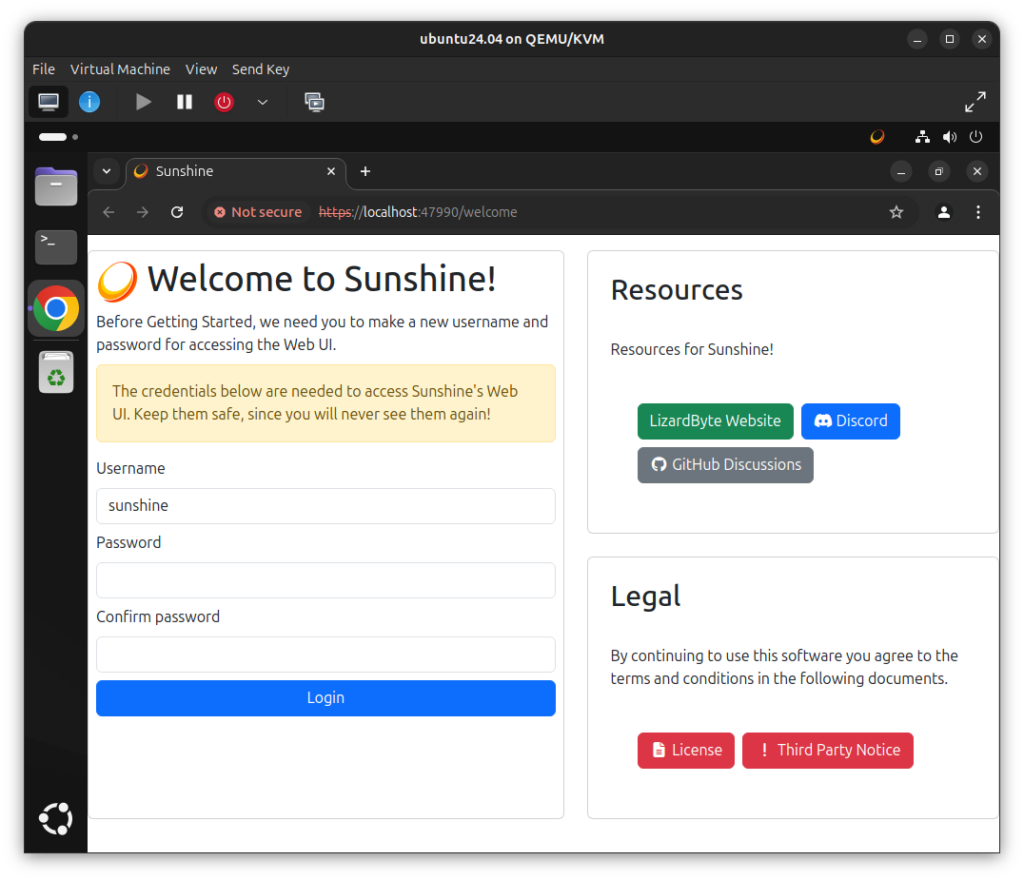
From now on, every time you access Sunshine, you will be prompted to use those same credentials you typed before.
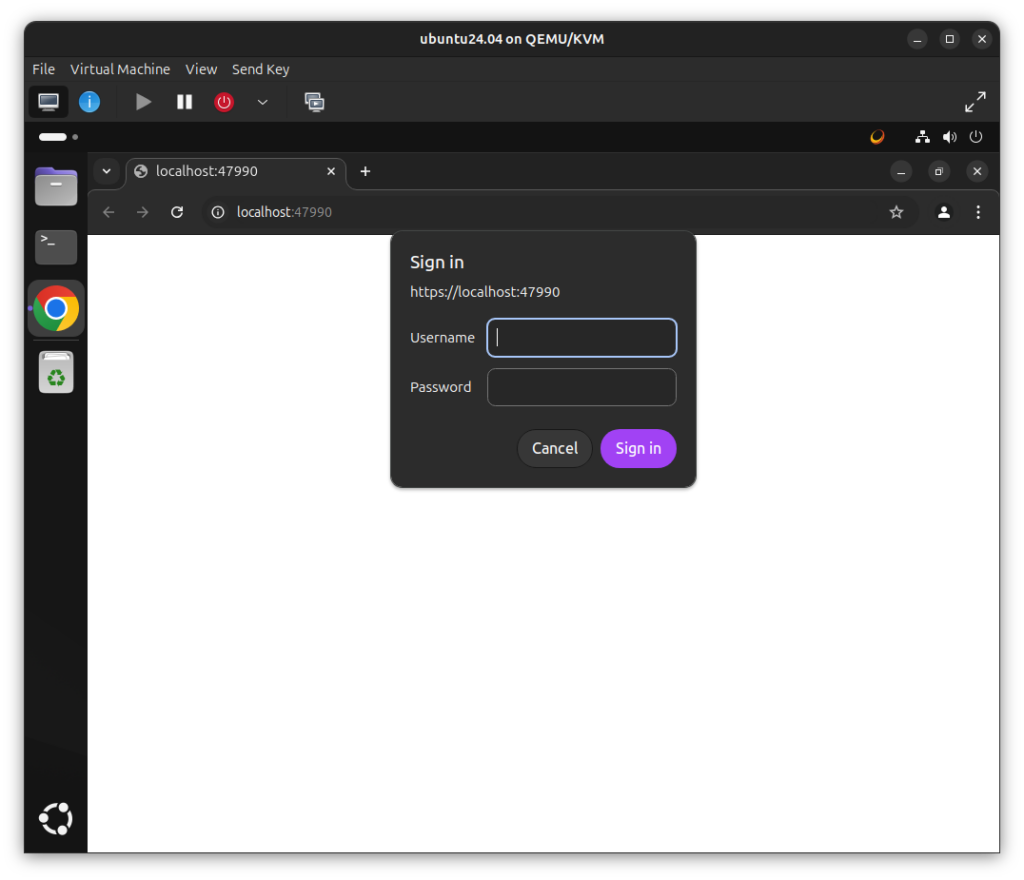
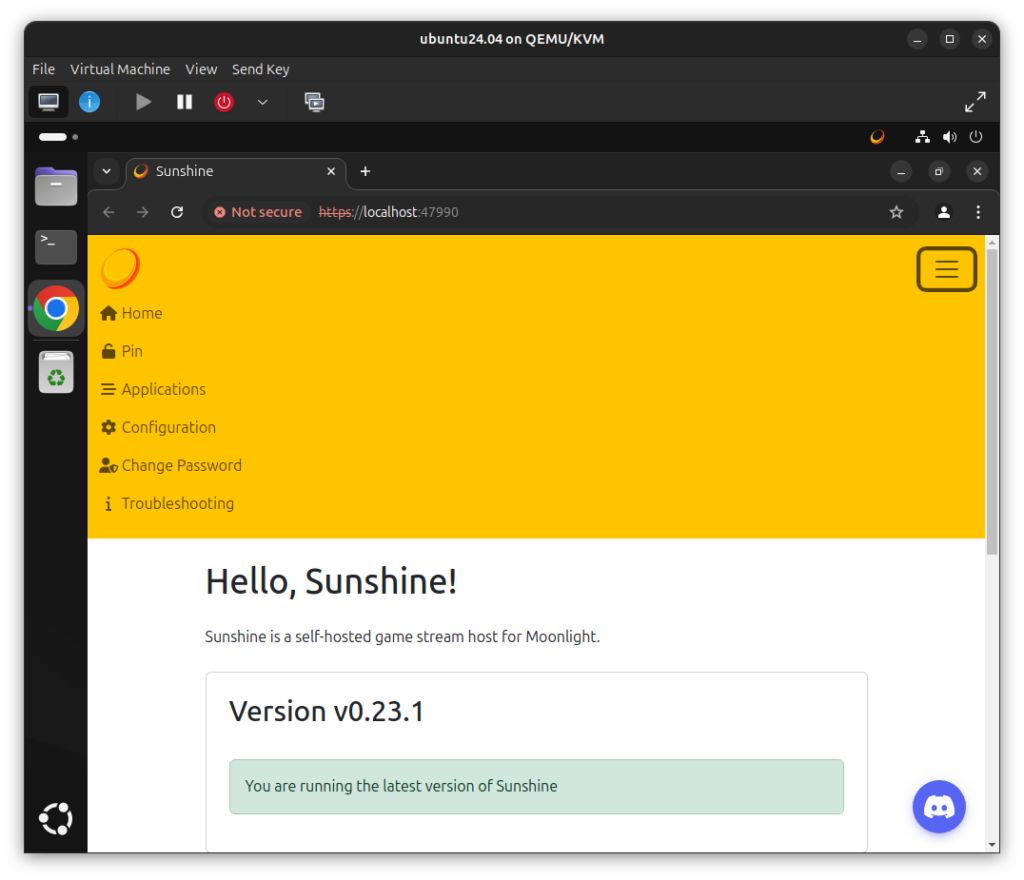
After loggin in you can see the dashboard.
There are a lot of settings you can manage in here, but for this article, we will only use the ‘Pin’ tab, click it.
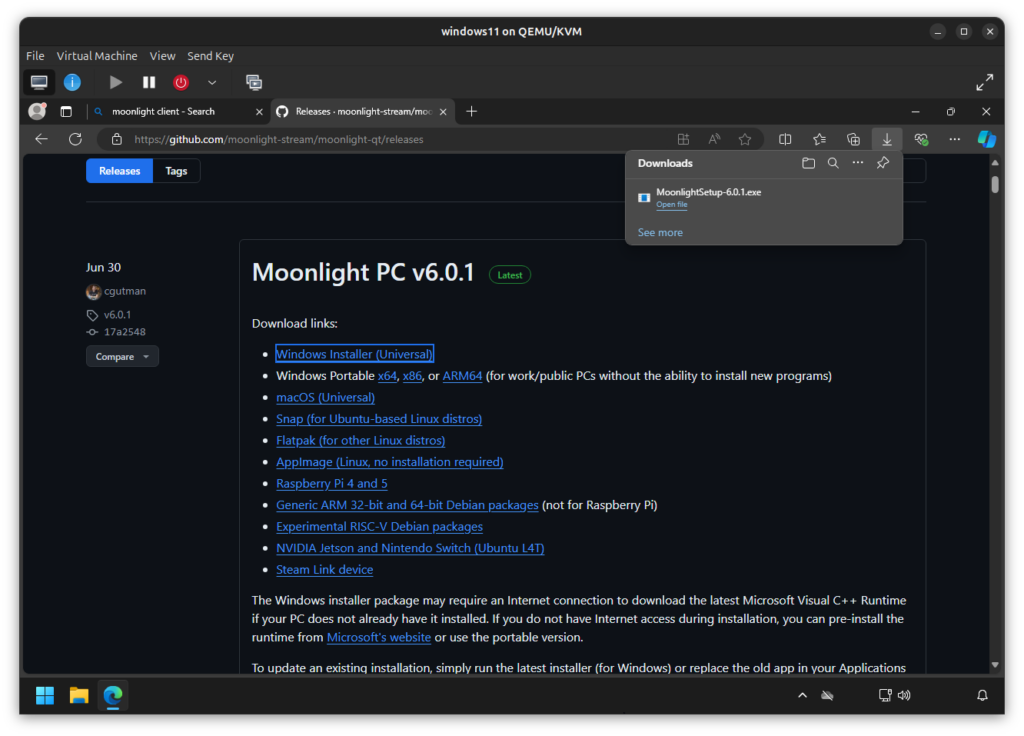
On your other pc, go to the Moonlight PC releases, and download the one for your system (in my case, windows11).
The cool thing about moonlight is that there is a lot of clients for a lot of different systems, here are some examples:
And you can visit their website to check the other options.
On your Client PC, you will see your Host PC, if both are on the same network. If they are not, you can press the ‘+’ icon to add one via it’s address.
Once your wanted server appears in there, click it.
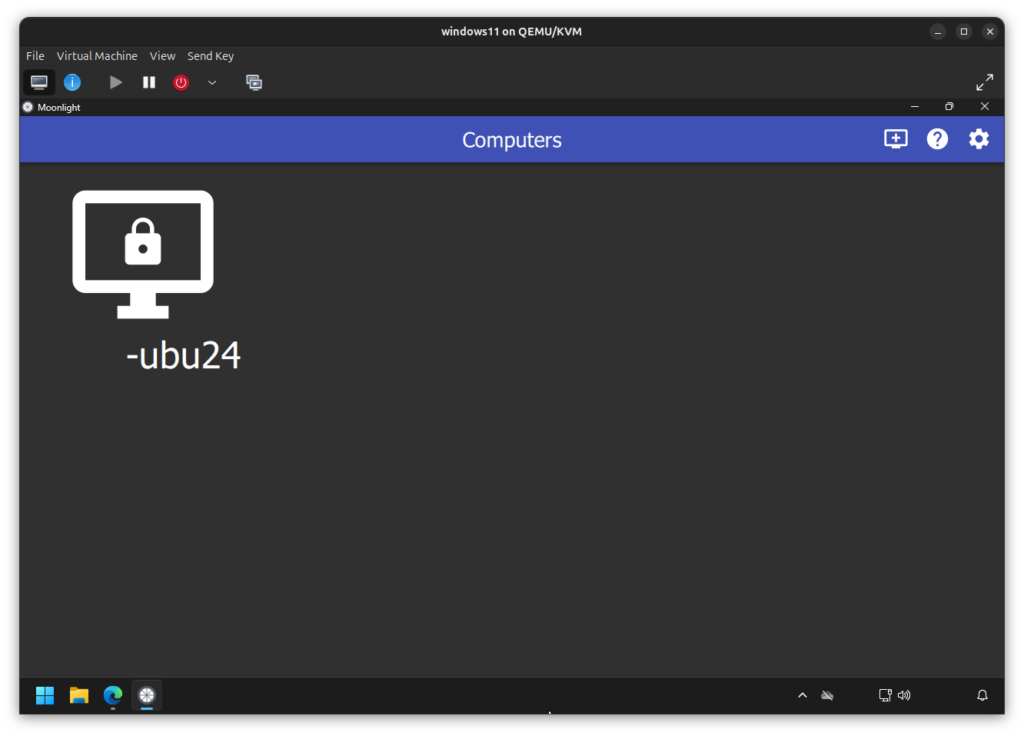
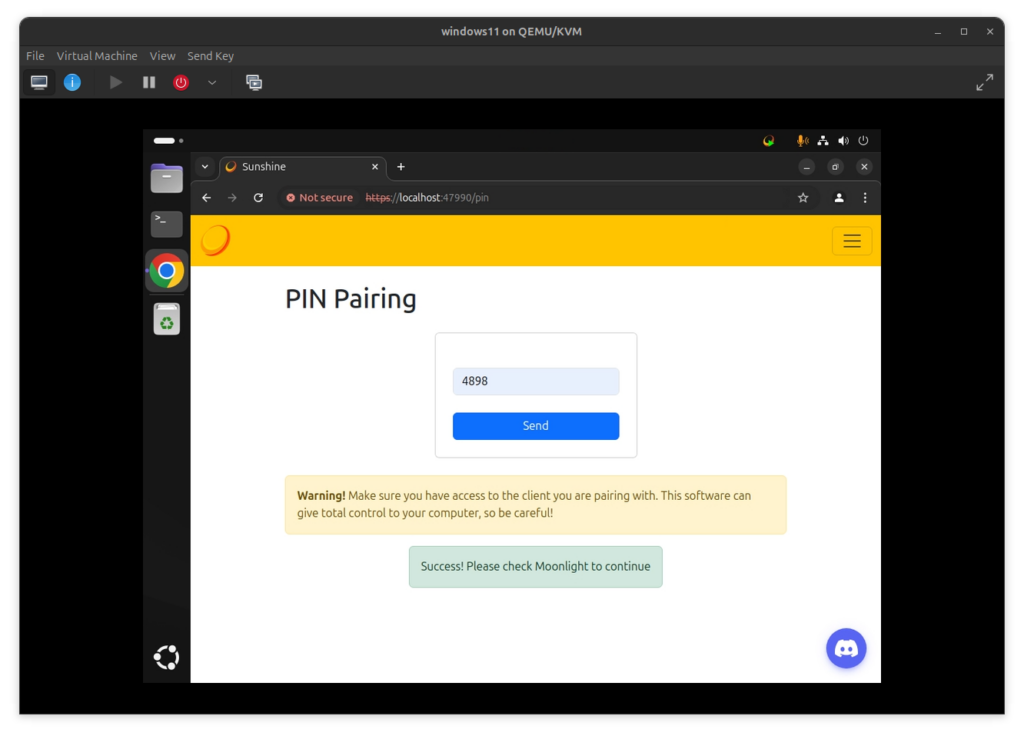
You will get, on the client, a PIN.
Then, you need to go to your host and continue in there.
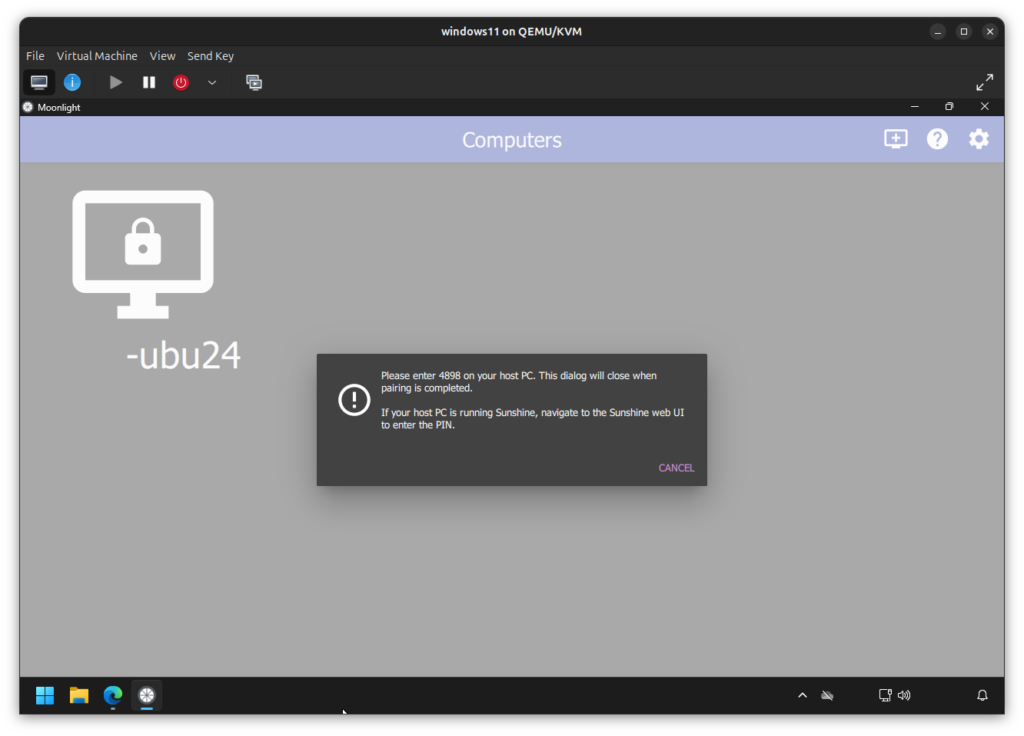
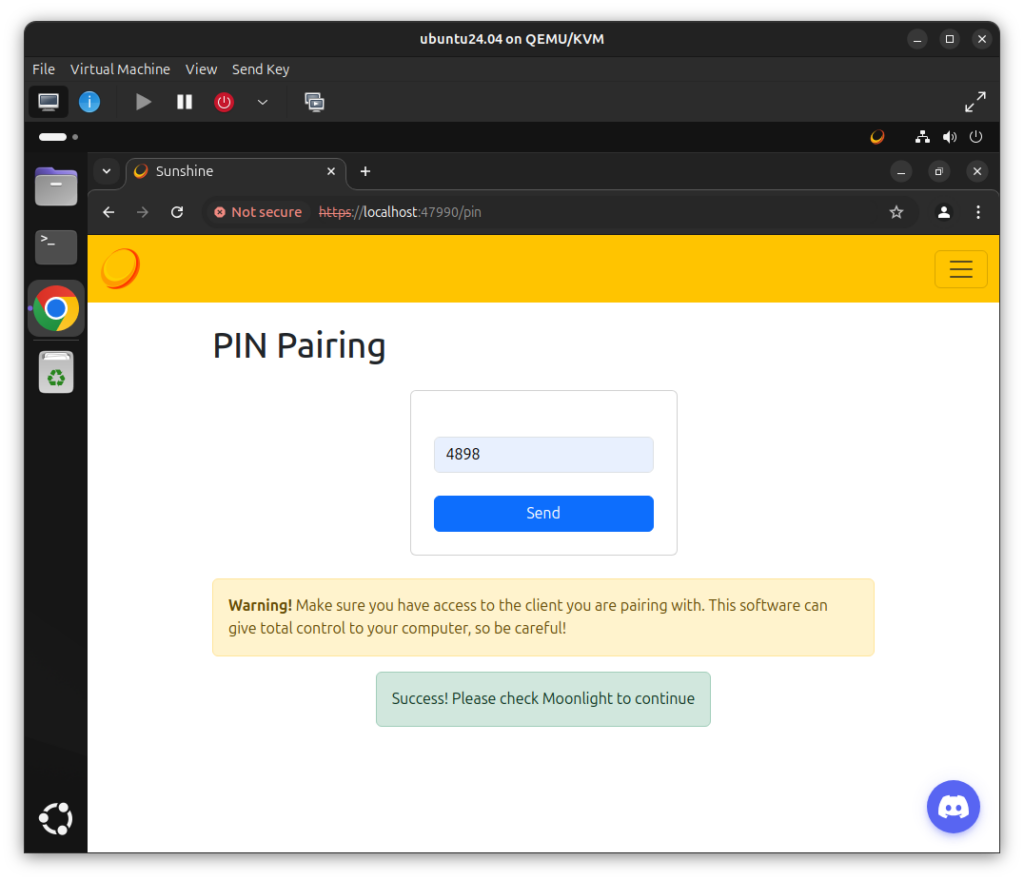
Continuing where we left of, in the Pin tab, you can write the pin you got on your client in the text box, and click ‘Send’.
Then, you either get a Success message or the reason why it wasn’t a success.
After pairing, on your client, you can now connect to the host.
You can, either enter a game directly (or Steam Big Picture) or go to the desktop and use it normally.
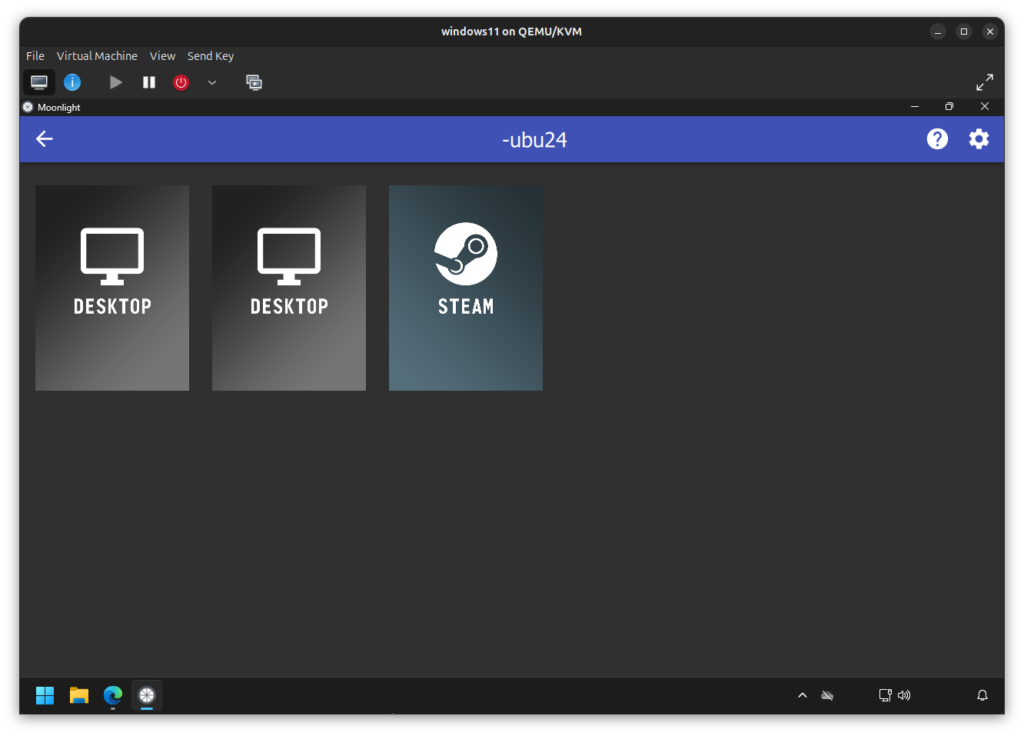
Once you choose what to open, the connection starts.
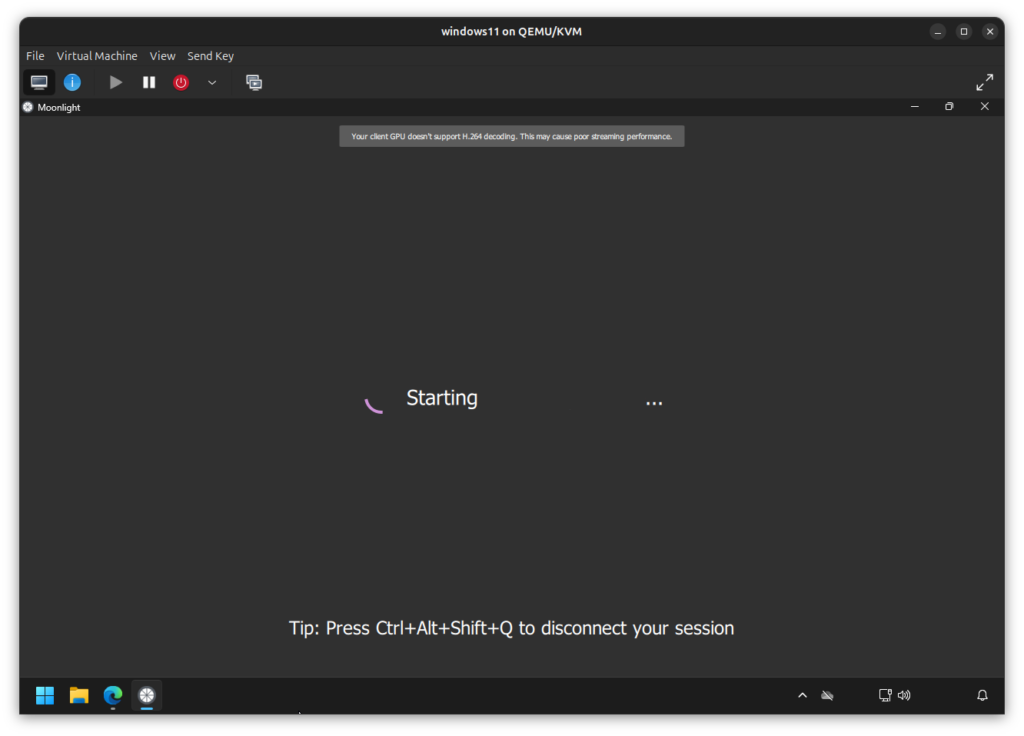
Once connected, you will be able to see the desktop of the host machine.
You are now ready to game on your portable or underpowered system.
And that’s it!
You can also use a controller to game on the Client. A Xbox controller works almost everytime, flawlessly.
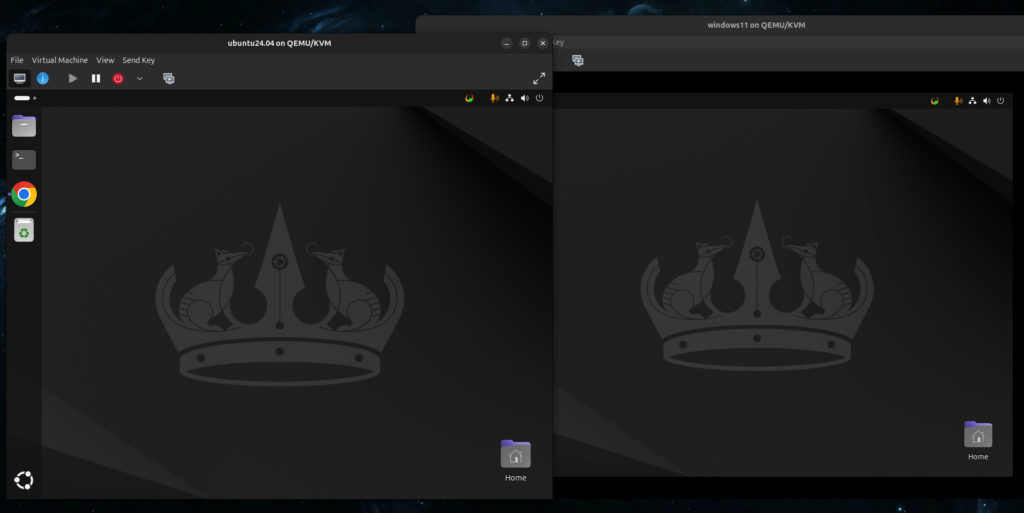
And as you can see in this image, the Desktop of my Ubuntu 24 VM is being streamed to my Windows 11 VM.
Thanks for reading, and stay tuned for more tech insights and tutorials. Until next time, and keep exploring the world of tech!
