0 - Introduction
If you are mainly a retro gamer that does not have the real hardware, or that prefers to have all your games in the same device, then the Retro Pie gives you one of the best experiences you can have. Very simple UI, very simple configuration, everything is simple with Retro Pie.
In this article I will be installing it in a Ubuntu 24 VM on my x64 pc, but, this was also tested on a Raspberry Pi 5 running Ubuntu 24.
1 - Installing Retro Pie
To install Retro Pie we first need to install some dependencies that the installer uses. There is a big change you already have them but, just to be sure, we will install them anyways:
sudo apt install -y git dialog unzip xmlstarlet
After installing the dependencies you need to install the RetroPie Setup, we do that by cloning their repository and we cloned it into the Home directory so that it is easely accessed if needed (After install you can’t delete it, because the config menu inside RetroPie uses the RetroPie setup).
cd ~
git clone --depth=1 https://github.com/RetroPie/RetroPie-Setup.git
With the installer cloned, we can now install RetroPie:
cd RetroPie-Setup
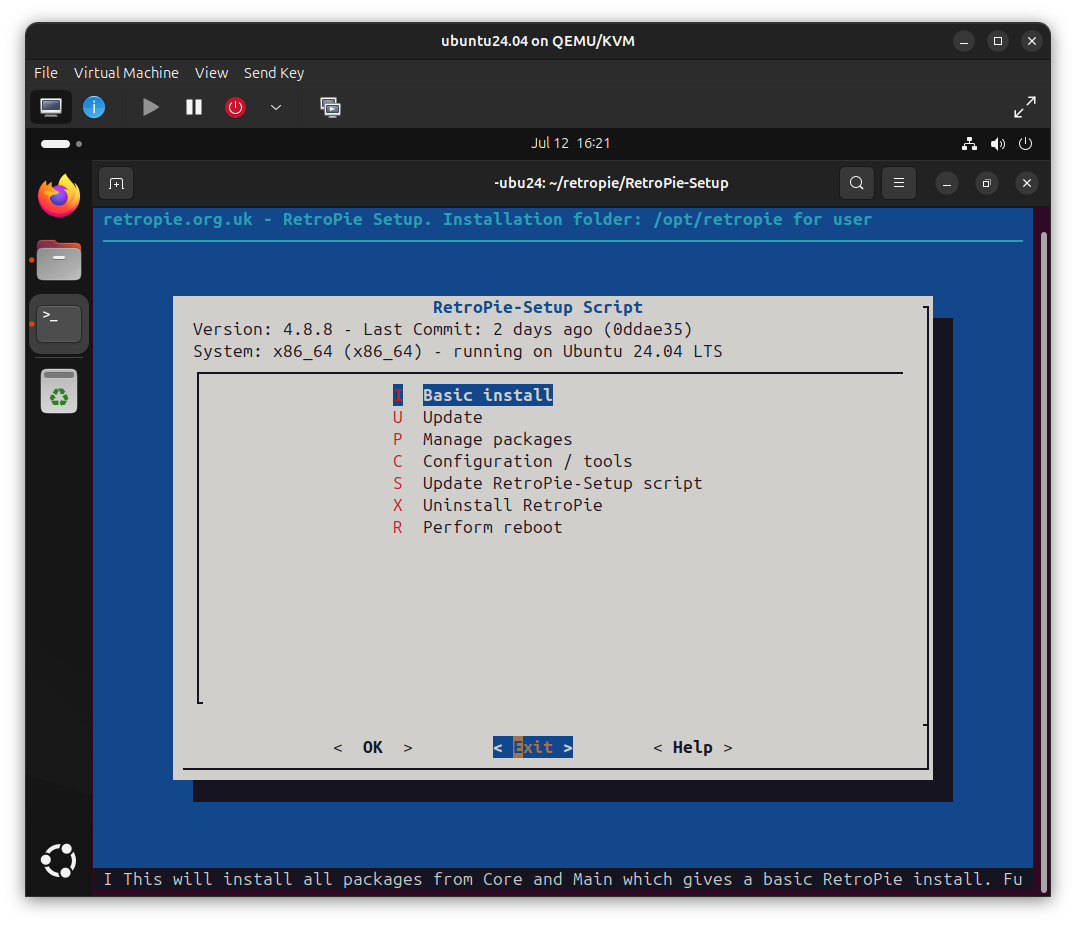
sudo ./retropie_setup.sh
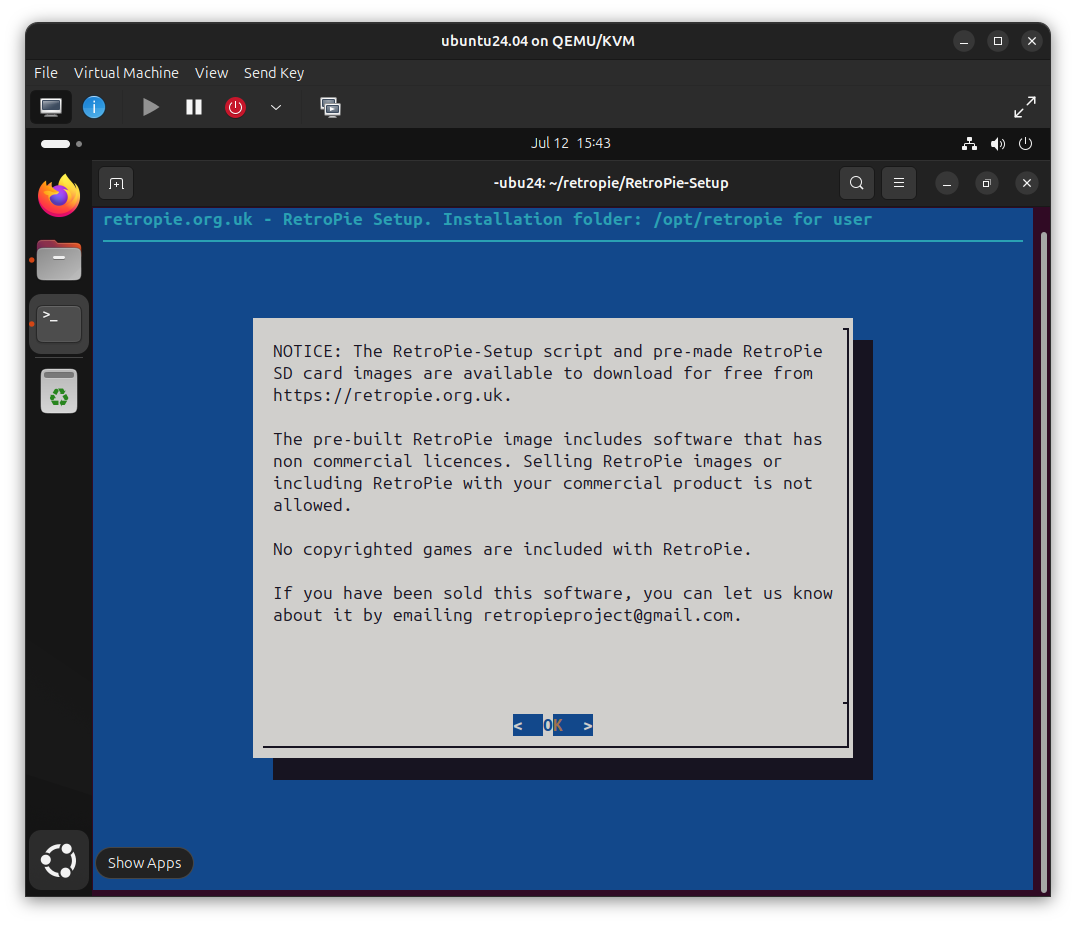
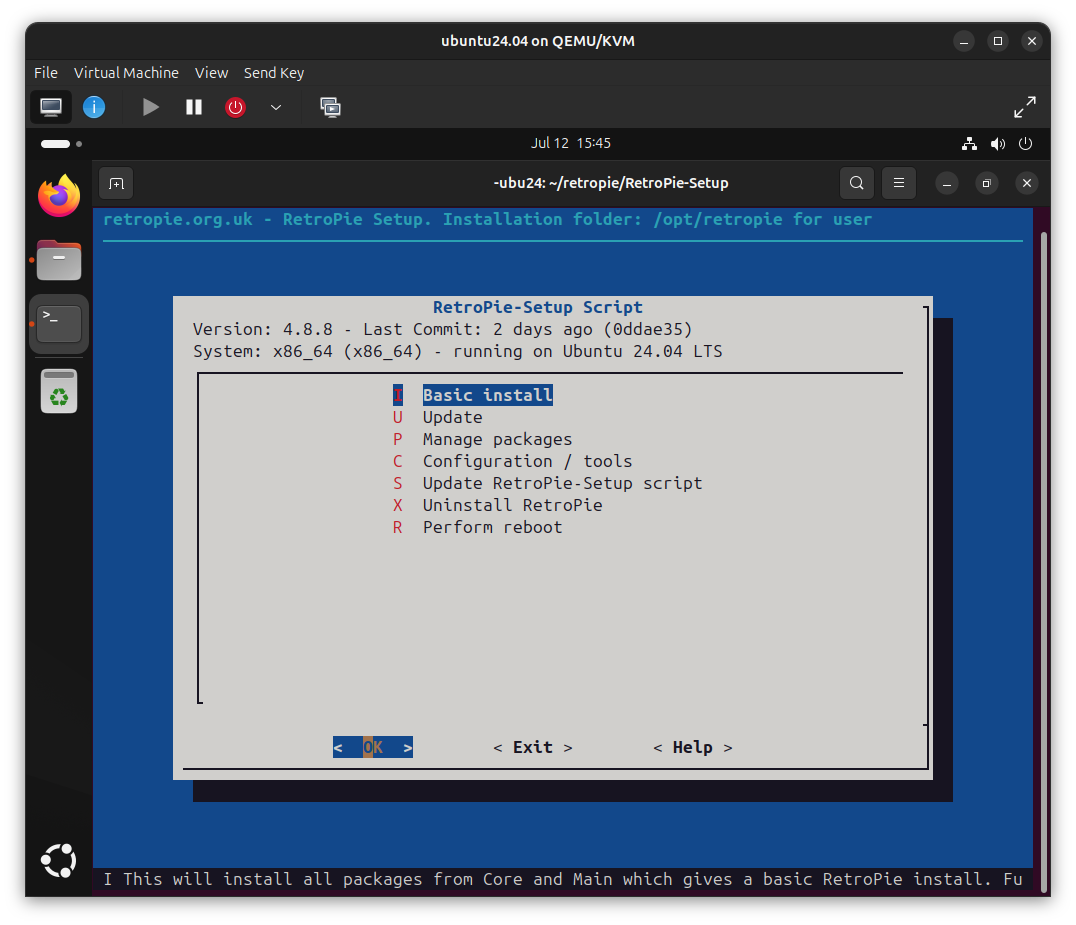
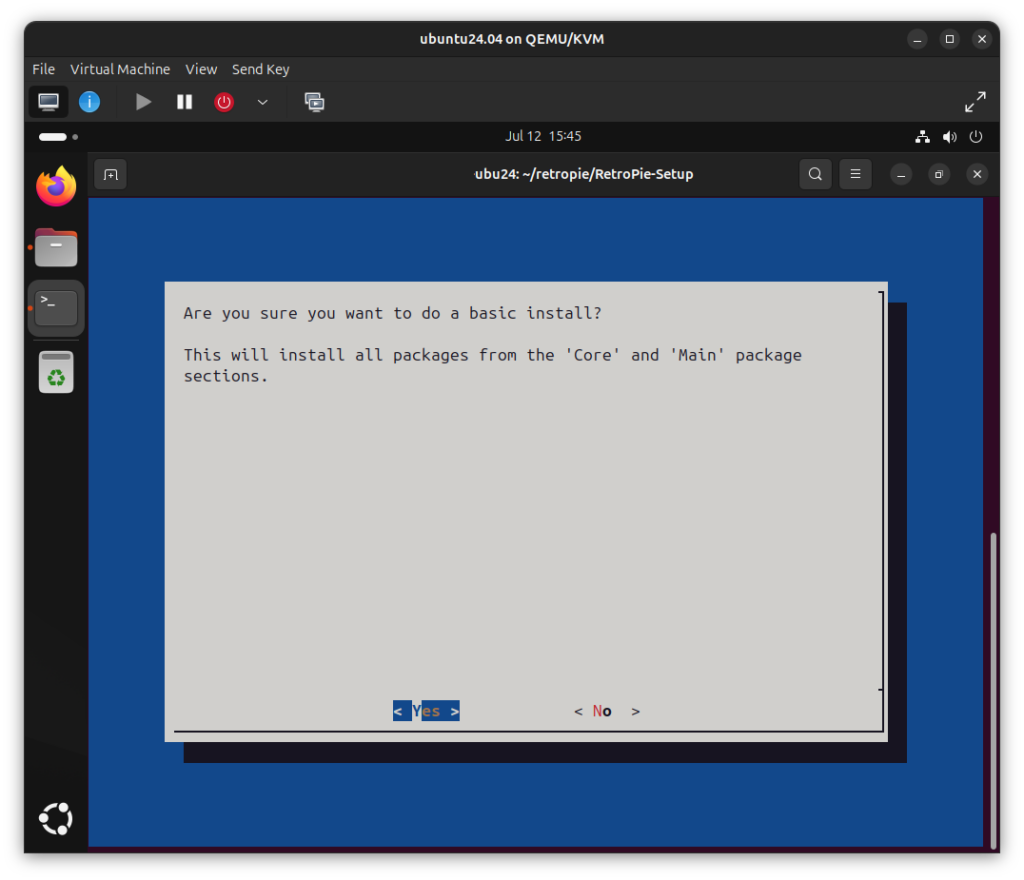
With the setup open, you now have to follow the following instructions:
2 - Important Fixes / Tweaks
If your system will be a gaming only system and you trust the people who use it, you can remove the password requirement of your system to use sudo, why would you do that? When configuring EmulationStation, there are some menus that hang the app, that is because it is asking for your password, you can just plug-in a keyboard, ‘Alt-Tab’, input your password and ‘Alt-Tab’ again but, if you set the Raspberry Pi behind a TV and don’t have a bluetooth keyboard, it can be very annoying.
Keep in mind that this can be a huge security risk! But, to do it, type the following command in your terminal and, when a file opens, paste the line below at the end of the file, replacing ‘username’ with your username.
sudo visudousername ALL=(ALL) NOPASSWD:ALLTo make RetroPie open at boot, you can search ‘Startup Applications’ in your App Drawer, open it and add an entry. In it type a name, description and paste the following command:
gnome-terminal --full-screen --hide-menubar -e emulationstationAnd now, a couple of notes to fix some annoyances I found while using RetroPie in my home:
- On this version of RetroPie, the Xbox360 driver can come with some problems, to fix it go to ‘Retropie-Setup’, ‘Manage Packages – Drivers’ and install xboxdrv. After that boot emulationstation and remap your controller.
- Ubuntu comes with a PS3 controller driver, so you do not need to install one. Just plug in the controller with a USB cable, go to ‘Settings’, ‘Bluetooth’ and click on the PS3 controller that should appear there and, finally, on the controller, press the PS button.
- To prevent the screen from shutting down when idle, open Settings and go to ‘Power’, in there on ‘Screen Blank’ set it to ‘Never’.
- To login without asking for a password, open ‘Settings’, go to ‘System’, ‘Users’ and enable ‘Automatic Login’.
Aside from the PS3 and Xbox 360 controllers that required some researching to make them work, I also tried some wired Krom and Logitech controllers and both, the new Xbox Series, and the old Xbox One controllers, all of them required no workarounds or tweaks, just plug in to a USB port, or pair with Bluetooth.
3 - Adding and Playing games
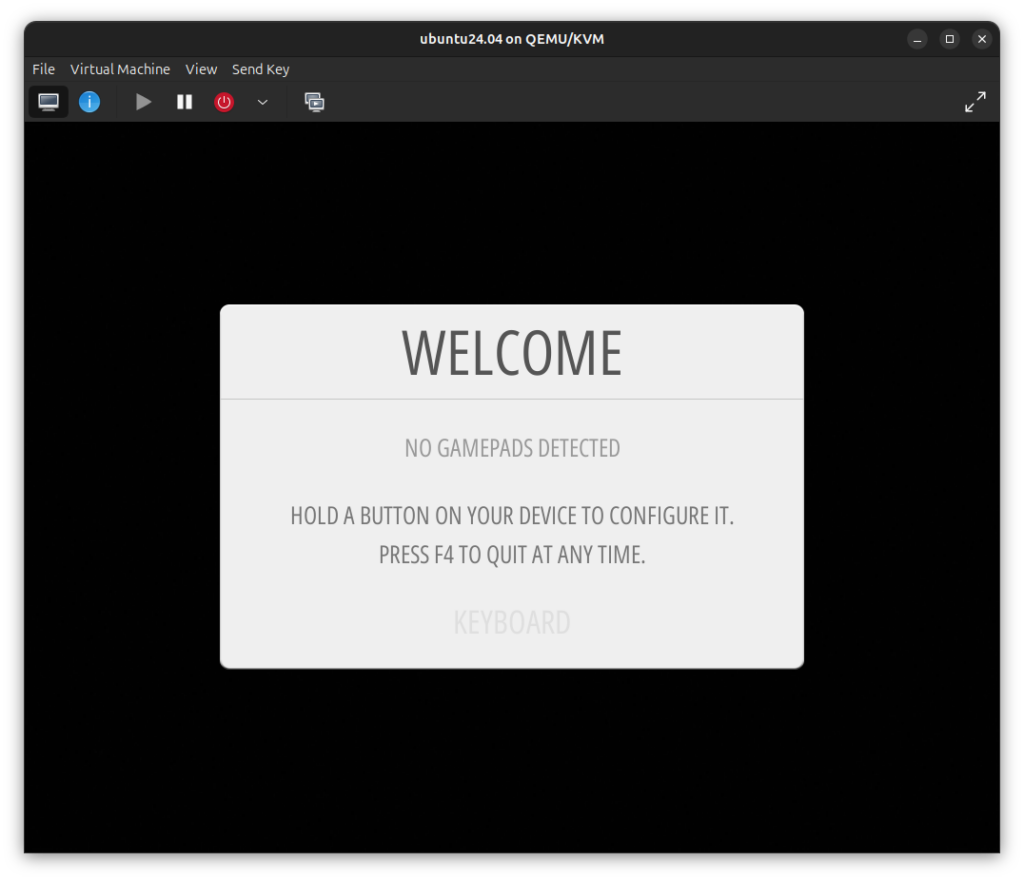
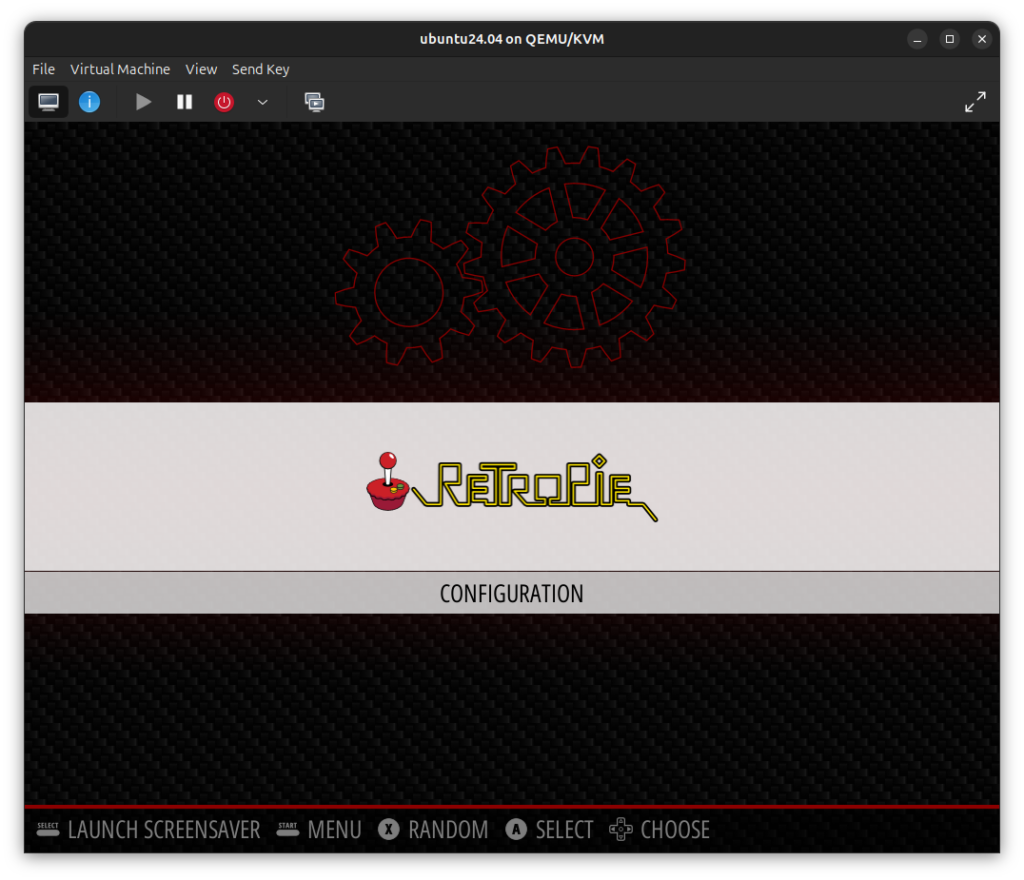
To open RetroPie, you have a couple of options, you can open it via the App Drawer, type ’emulationstation’ in a terminal or reboot your system, if you did the tweak where we put it to start on boot, of course. Once the app boots you will be greeted with a welcome screen that let’s you setup an input device, I really encourage you to setup a keyboard first! Also, do not use the Arrow Keys for anything other than D-Pad, as it can mess up with the configuration menus.
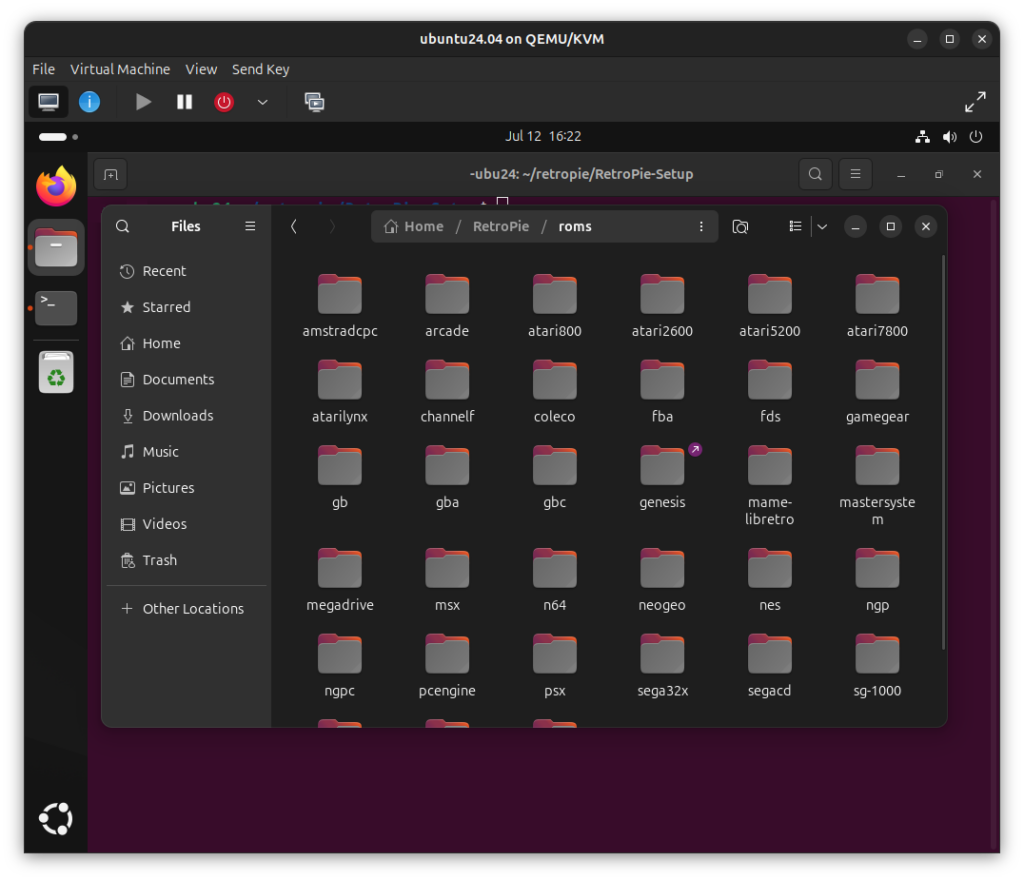
Adding games to your library is also pretty easy, you just open any file explorer you have, go to the folder at ‘Home’, ‘RetroPie’ and, in there, you will see a couple of folders, the most important ones are ‘Roms’ and ‘Bios’, the first is the one where we will place our games, split by system and, the latter, is where we will place any ‘Bios’ that some emulators might require.
In the screenshots below, you can see two games, from different systems, working without any issues:
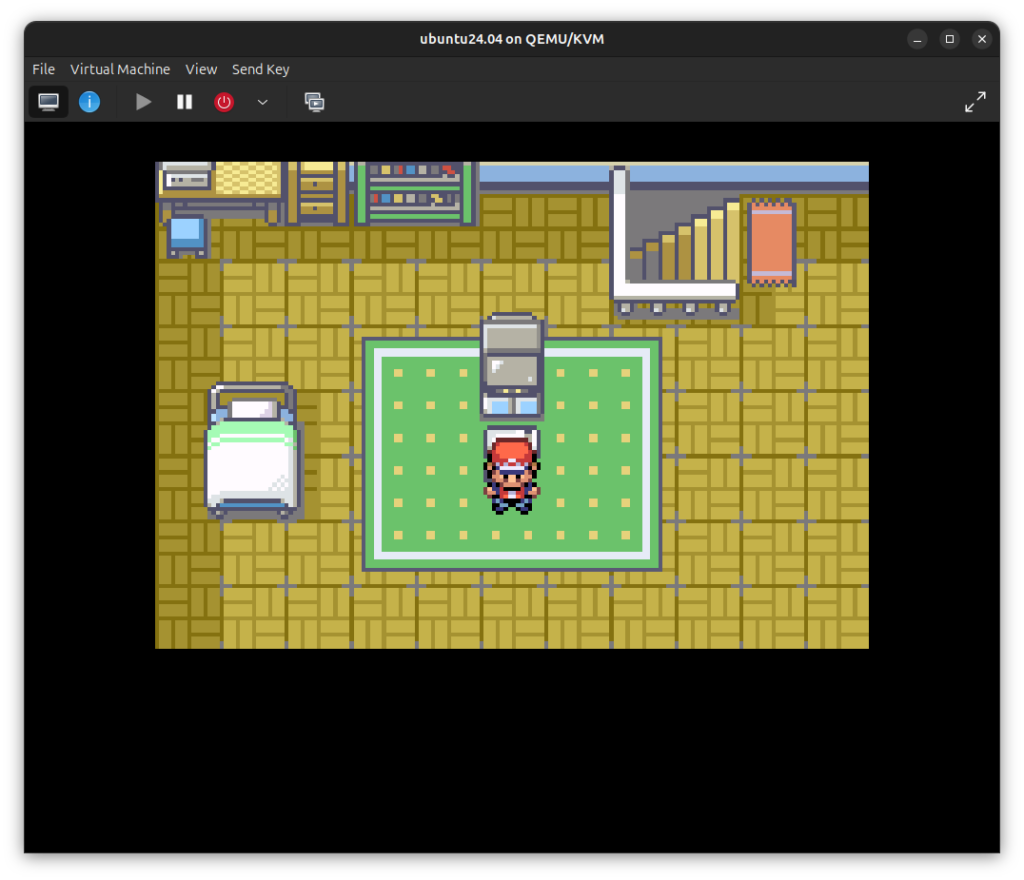
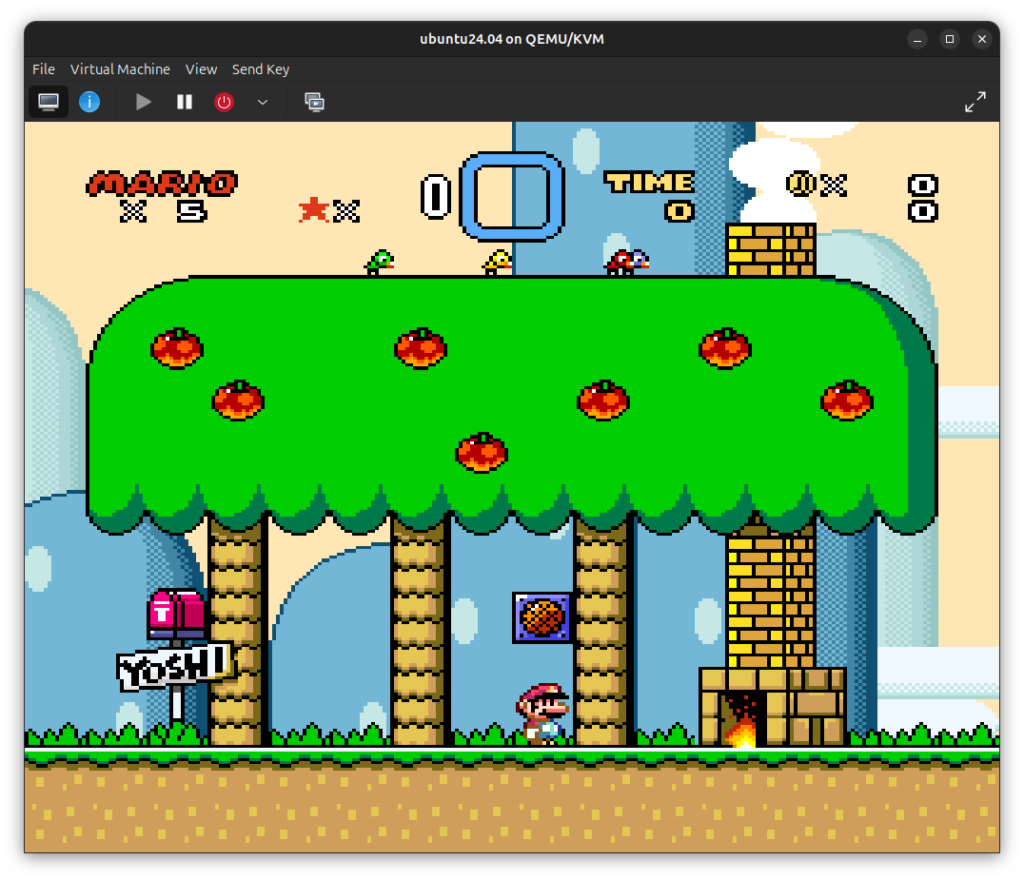
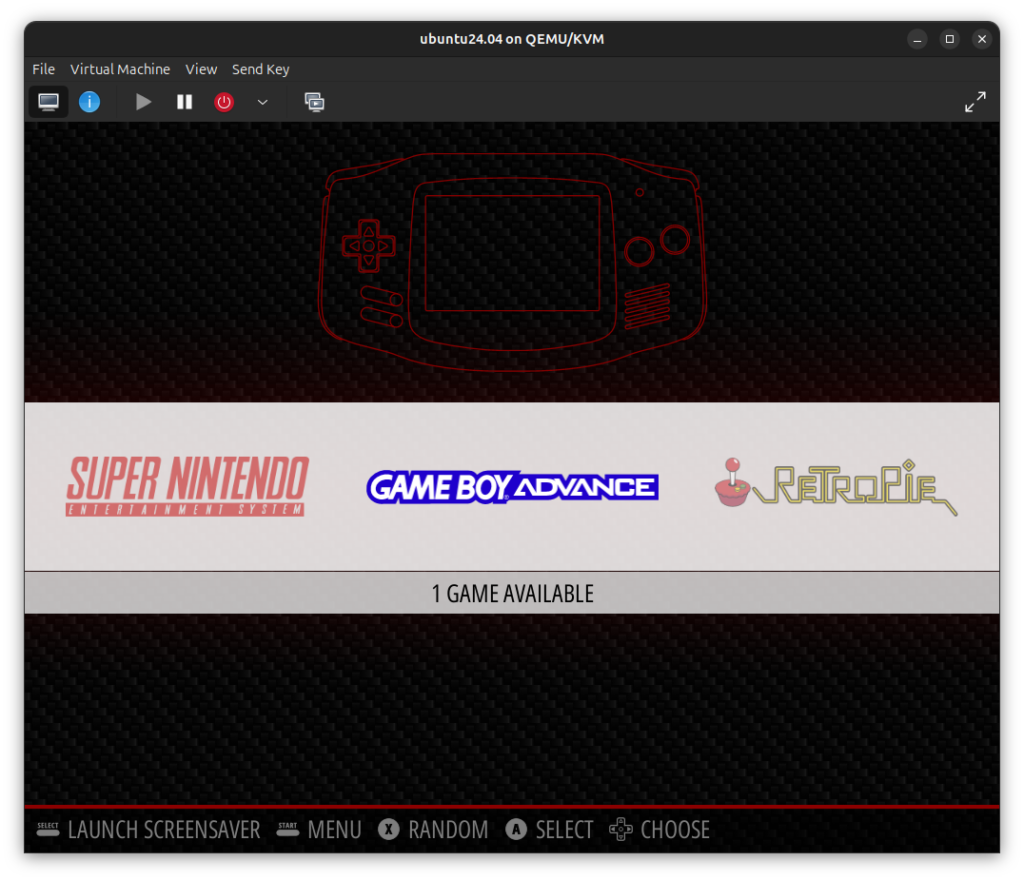
And that’s it, you should now be able to play most of your Retro games, all in the same machine! As you can see on the following image, the menu only shows systems you have games for.
Thanks for reading and stay tuned for more tech insights and tutorials. Until next time, and keep exploring the world of tech!
