0 - Introduction
Have you ever needed a VPN while using some public network? There are a lot of free options out there, but when you do not pay with money, you are paying with something else and, in most cases, it is being payed with your data. To avoid the security risks and limitations of using a free VPN, you can host your own. Not only will you be safer using it, you will also have access to all your home services everywhere.
There are a lot of options out there, but Wireguard is, by far, the best one. In this article we will be installing ‘wg-easy’ that is a docker container with Wireguard and a neat frontend that let’s you create and delete clients.
1 - Installing Wireguard
Before being able to install Wireguard, you will need to install docker, which you can see how to do in this article. After installing docker, you need to create a folder that will contain Wireguard’s files, inside it create a file named ‘docker-compose.yml’ and copy the following, replacing ‘myhost.com’ with either your public ip address or your domain.
services:
  wg-easy:
    image: ghcr.io/wg-easy/wg-easy
    container_name: wg-easy # can be changed
    environment:
      - LANG=en
      - WG_HOST=myhost.com # 🚨 change this to your domain or public ip
      - PORT=51821 # frontend port
      - WG_PORT=51820 # vpn port
      - UI_TRAFFIC_STATS=true
      - UI_CHART_TYPE=2 # 0, 1, 2 or 3
      - WG_ALLOWED_IPS=0.0.0.0/0,::/0
    volumes:
      - ./data:/etc/wireguard
    ports:
      - "51820:51820/udp" # vpn port (must be udp)
      - "51821:51821/tcp" # frontend port (must be tcp)
    cap_add:
      - NET_ADMIN
      - SYS_MODULE
    sysctls:
      - net.ipv4.conf.all.src_valid_mark=1
      - net.ipv4.ip_forward=1
    restart: unless-stopped
After saving the file open a terminal and run:
docker compose upAdd a ‘-d’ to make it run even when you close your terminal.
2 - Creating a Client
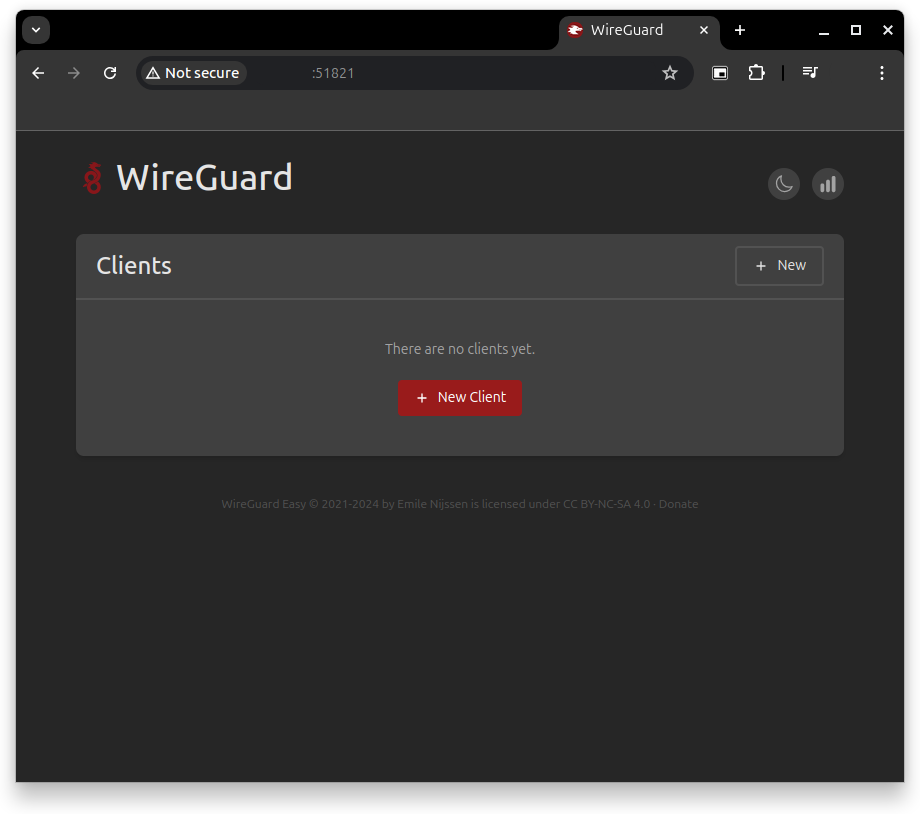
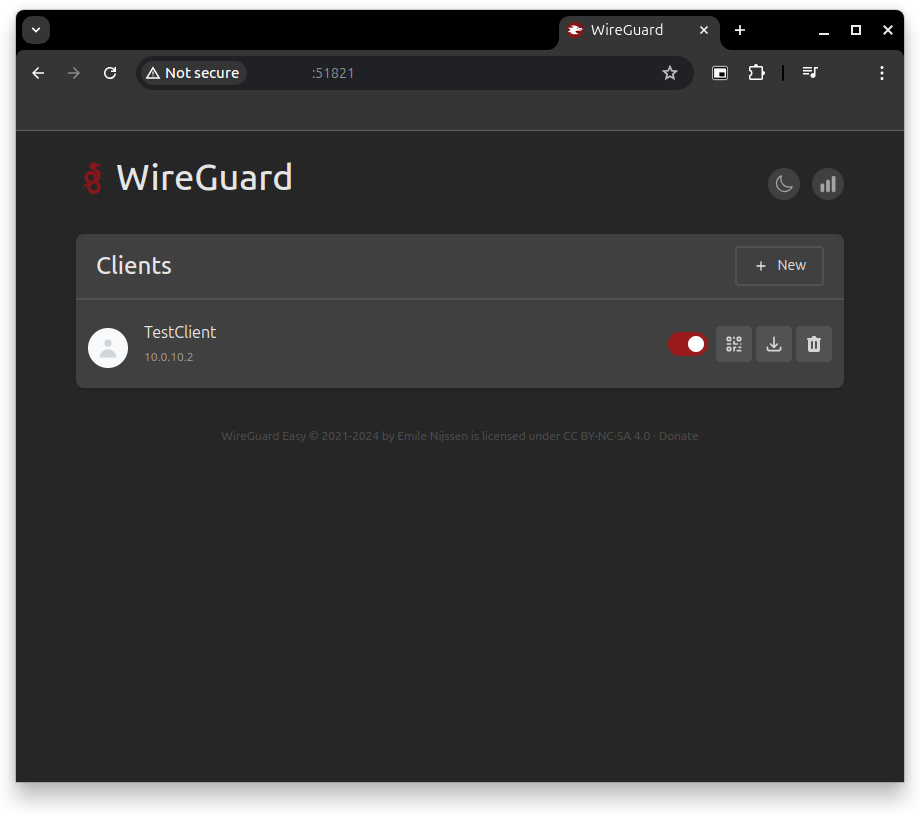
You can easely create new clients in the webpage hosted at ‘http://machineip:51821’. After opening the page, you can press ‘+ New Client’ and give it a name, and that’s it, you have a client, as easy as it could get.
Attention: You SHOULD NOT expose the frontend port to the public as it gives anyone access to everything inside your private network and you NEED to expose the vpn port to the public to be able to use it outside your home.


3.1 - Connect with your Phone

After adding the Host to your phone, you can easely turn it on or off by just opening the app and clicking slider.
3.2 - Connecting with Ubuntu
To connect to your Wireguard vpn you have a couple of options on Ubuntu, but we will use the easiest one, ‘wg-quick’. To set it up start by going to the webpage, create a client and press the download button near it. You then need to move the file you downloaded to ‘/etc/wireguard’, if that folder does not exist you can create one with the command below. You can then use the second command to move every conf file you downloaded to the wireguard folder and, finally, the two last commands change the name of the conf files, so that they better represent which vpn they connect into.
sudo mkdir /etc/wireguard
sudo mv ~/Downloads/*.conf /etc/wireguard
cd /etc/wireguard
sudo mv mylaptop.conf home.conf
sudo mv jonhslaptop.conf office.conf
You can then connect to a vpn by running:
wg-quick up homeTo disconnect, just switch ‘up’ with ‘down’:
wg-quick down home3.3 - Connecting with Windows
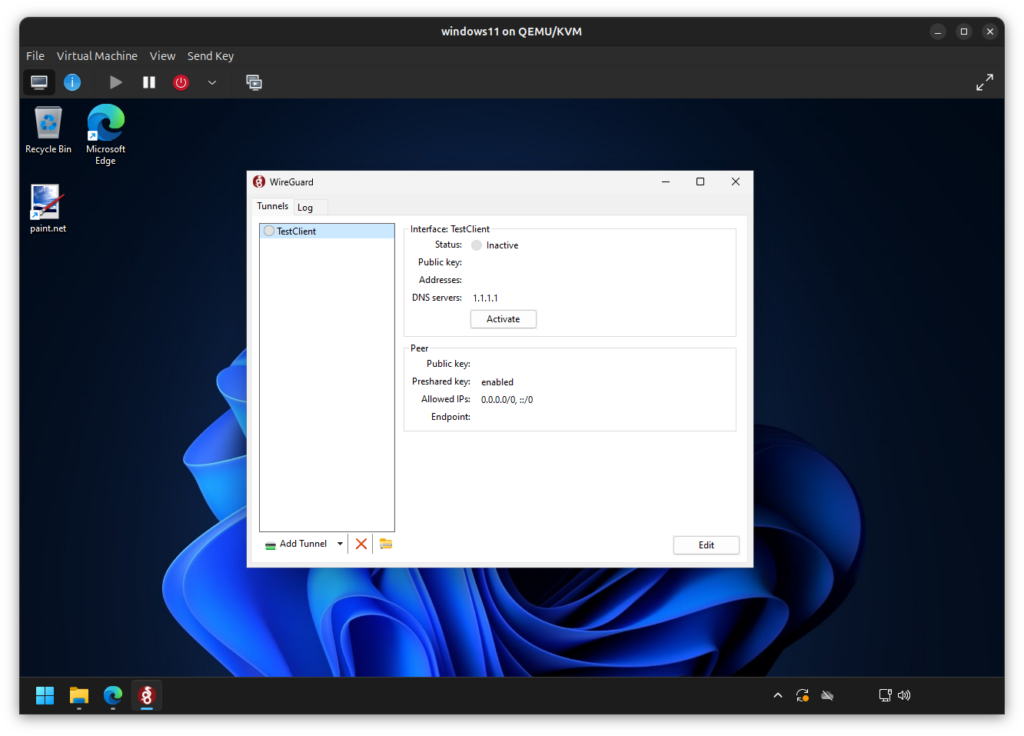
Using Wireguard in Windows is also pretty easy, start by going to their website, download the windows installation and run it. To add a host, download the conf file like on Ubuntu, after that, click on ‘Add Tunnel’ on the bottom left, and that’s it.

And if you got here, you now know how to host a Wireguard server and how to connect to it with almost every device you have.
As always, thanks for reading and stay tuned for more tech insights and tutorials. Until next time, keep exploring the world of tech!
