
0 - Introduction
If you want to have your own movies and series available to you everywhere on any device rather than paying for a service like Netflix or HBO, then Jellyfix is for you! In this article we will setup a Jellyfin server that you can access at your local network, but that with almost no changes can be accessed from outside.
Before starting, you need to have docker in your machine. You can learn how to install it here.
1 - Setup Container
Create a folder, inside it create the ‘docker-compose.yml’ file and paste the given file below:
services:
  jellyfin:
    image: lscr.io/linuxserver/jellyfin:latest
    container_name: jellyfin
    volumes:
      - ./data/config:/config
      - ./data/cache:/cache
      - ./data/media:/media
      # you can add other disks
      # - /mnt/hdd0/media:/media2
      # or a readonly folder
      # - type: bind
      #   source: /mnt/hdd0/media
      #   target: /media2
      #   read_only: true
    restart: unless-stopped
    environment:
      - PUID=1000
      - GUID=1000
      - TZ=Etc/UTC
    # optional, autodiscovery
    #   - JELLYFIN_PublishedServerUrl=http://example.com
    ports:
      - "8096:8096"
      - "8920:8920" #optional
      - "7359:7359/udp" #optional
      - "1900:1900/udp" #optional
Then you can start your container with:
sudo chmod go+rw data/mediaAfter your container is up and running you can open your web browser and go to:
http://yourip:8096/And you will be greeted with a language select screen.
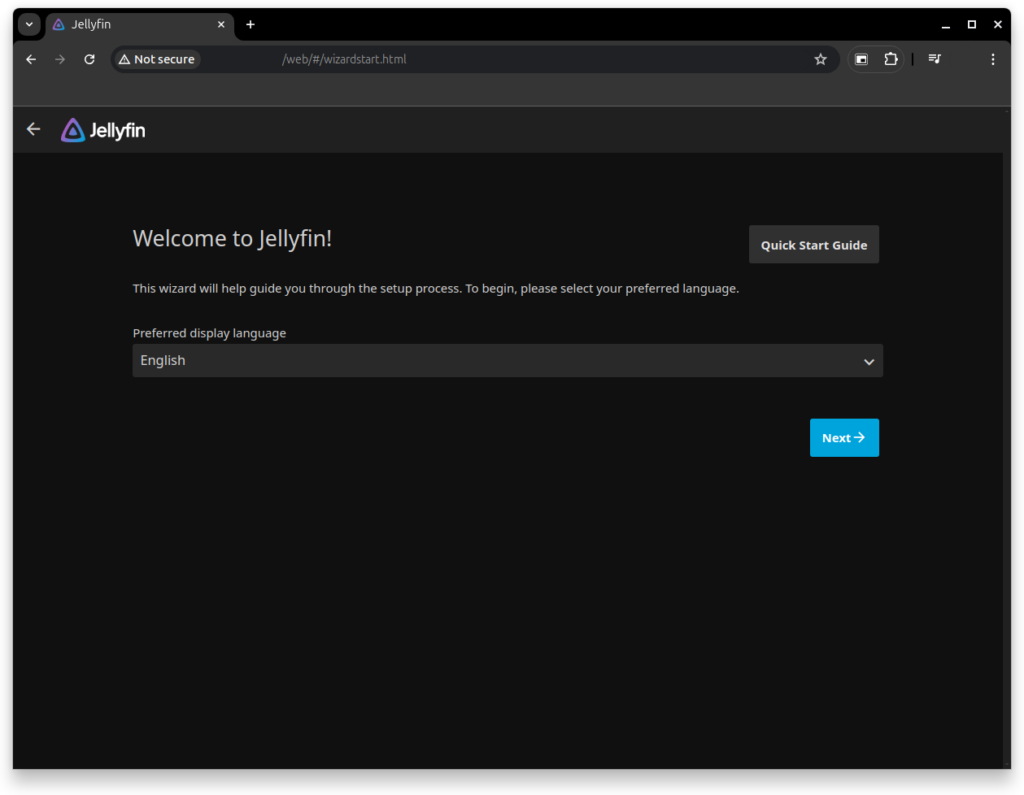
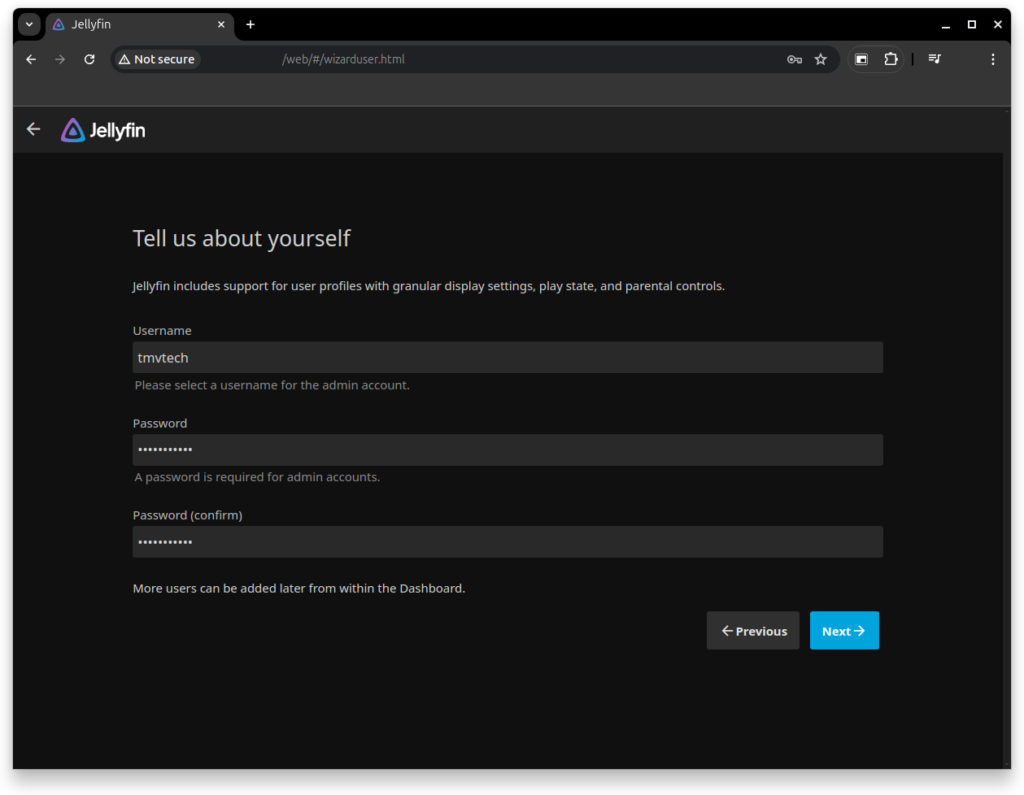
After clicking next you can create your admin account for Jellyfin.
I recommend using a good password if your service will be exposed to outside your network.
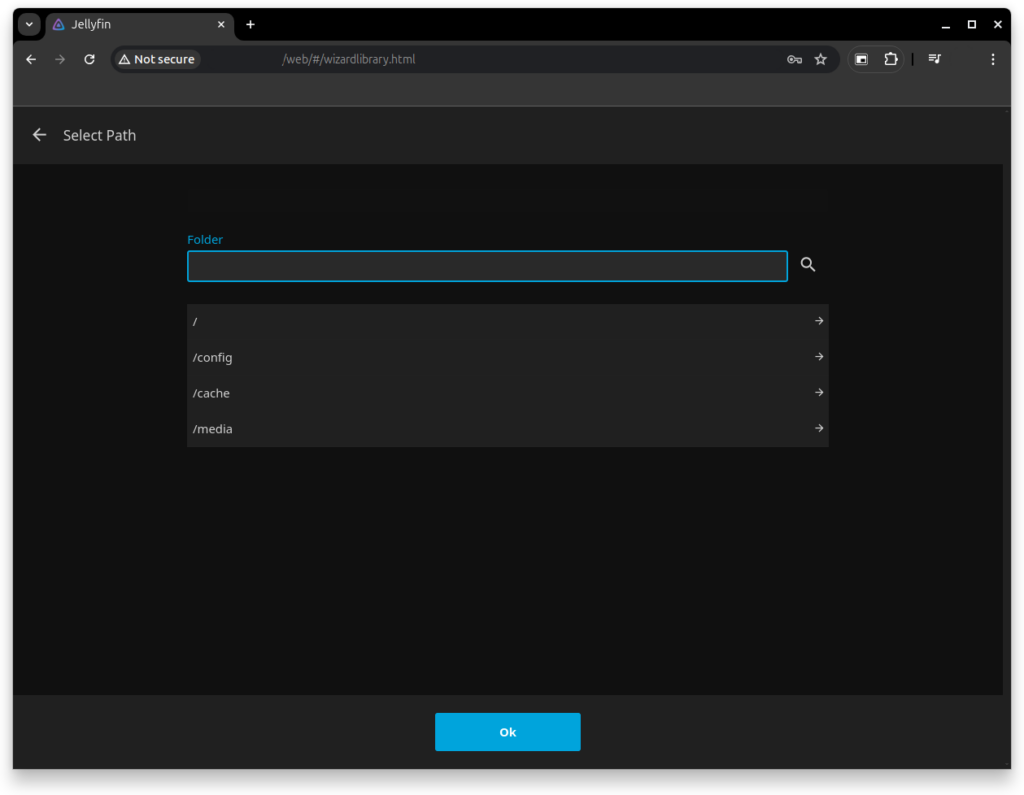
Then you can add your media locations.
Don’t forget that if you add a location that was not on your docker compose file, then you need to stop the Jellyfin server, add it to the docker compose file and start the server again.
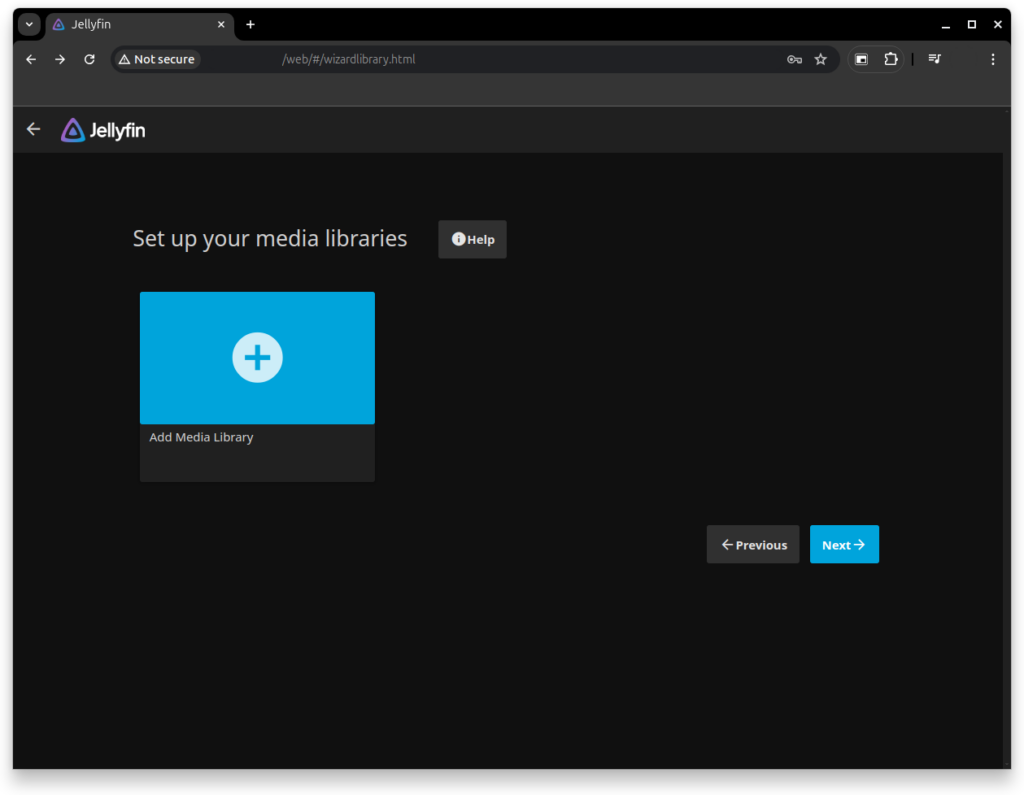
If you used the same docker compose file as the one provided, then your folder will be ‘/media’.
The folder you select in Jellyfin is not the same as your local machine’s.
In my case, local is ‘~/docker/jellyfin/data/media’ and the folder in Jellyfin is just ‘/media’.
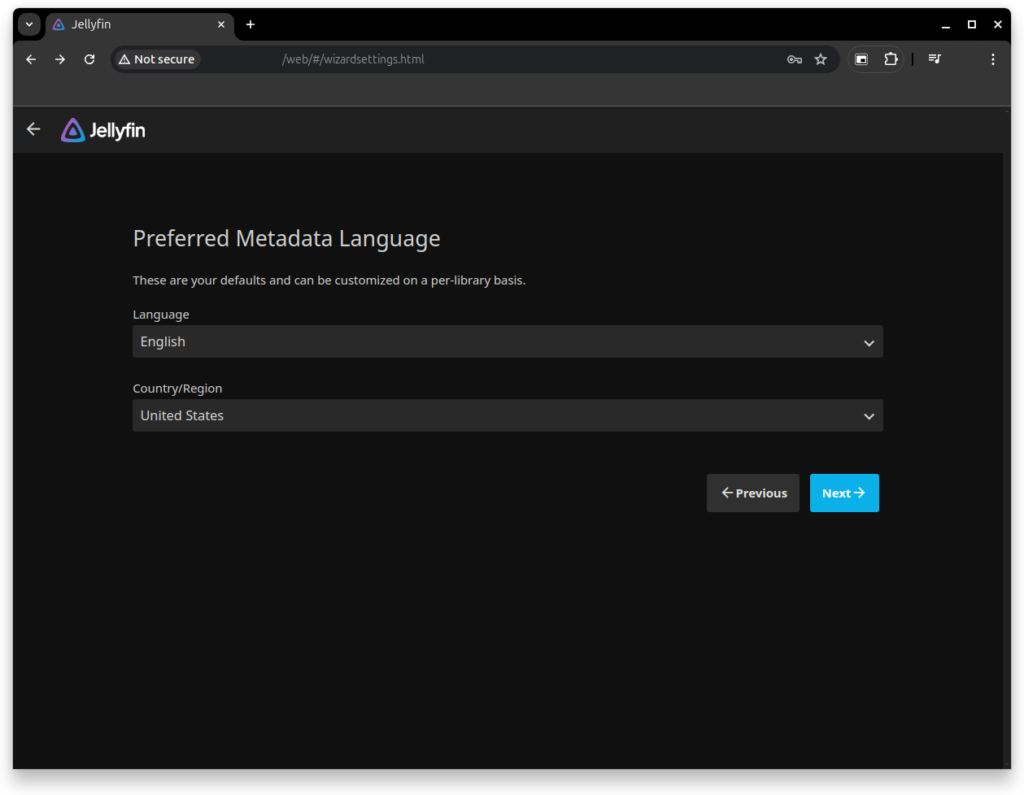
Then you need to select your metadata language. It is usually easier to find metadata in english so, if you understand it, i would recommend leaving it at english US.
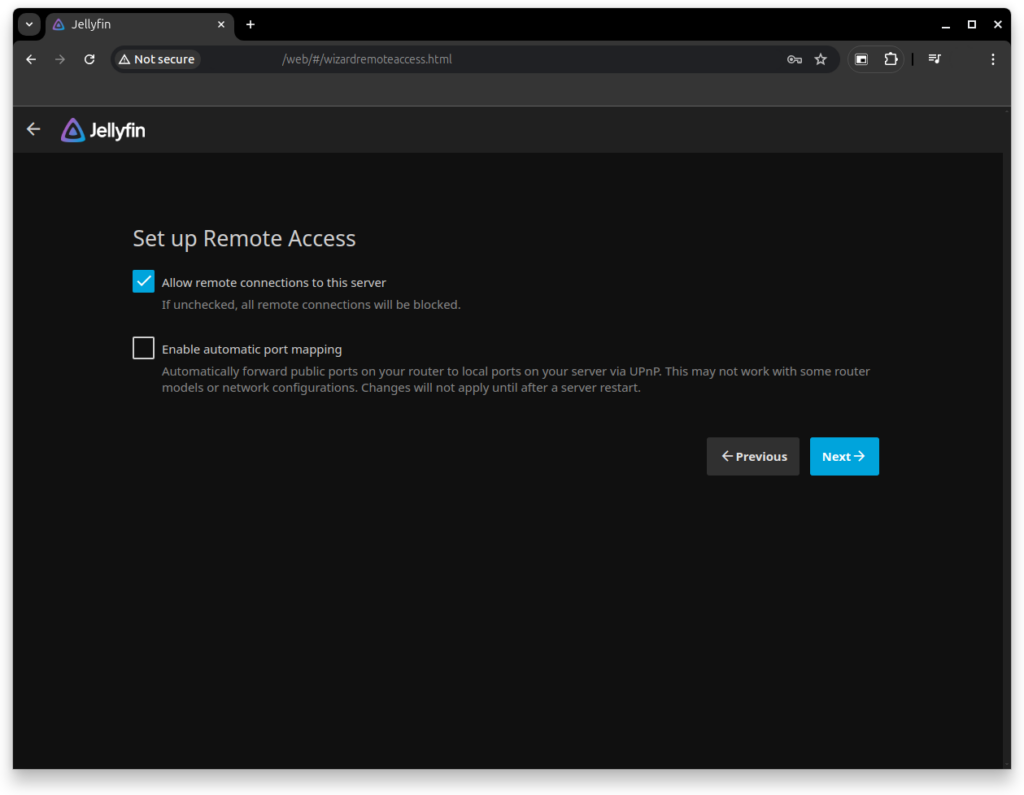
For the remote access i would leave it checked as you can later want to enable it.
As long as your ports are closed no one will be able to access it from outside.
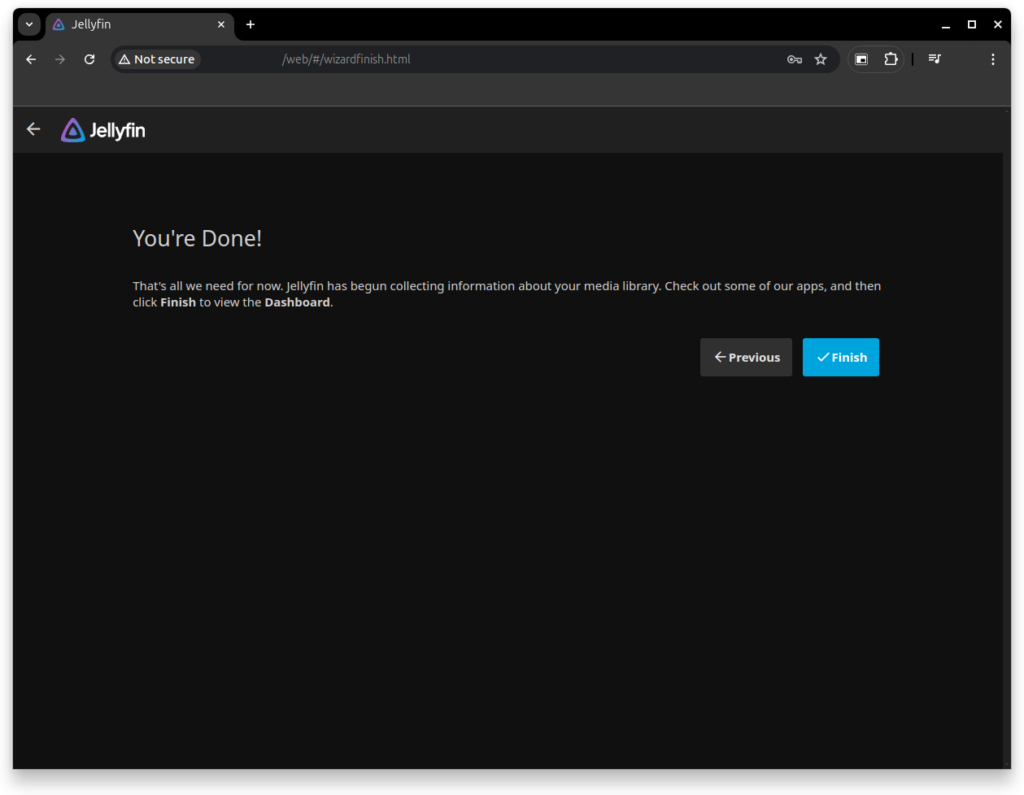
And that’s it for the setup, Now just click finish:
And that’s it for the setup. Now just click finish and login to your account.
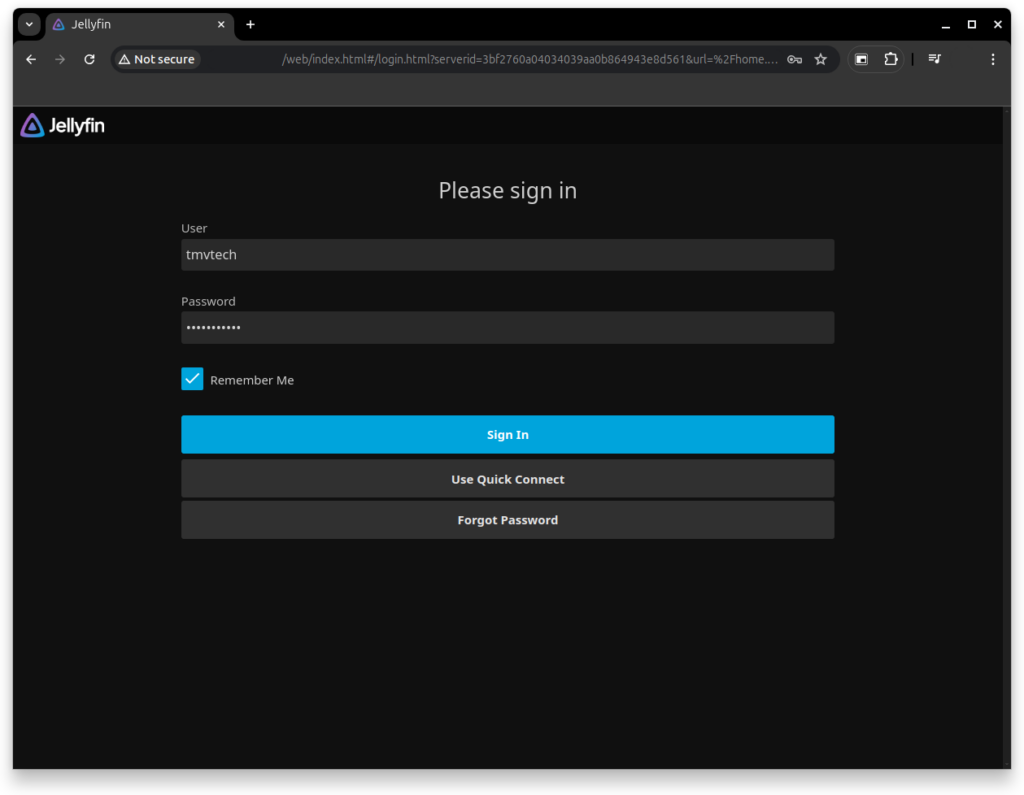
And you can now login:
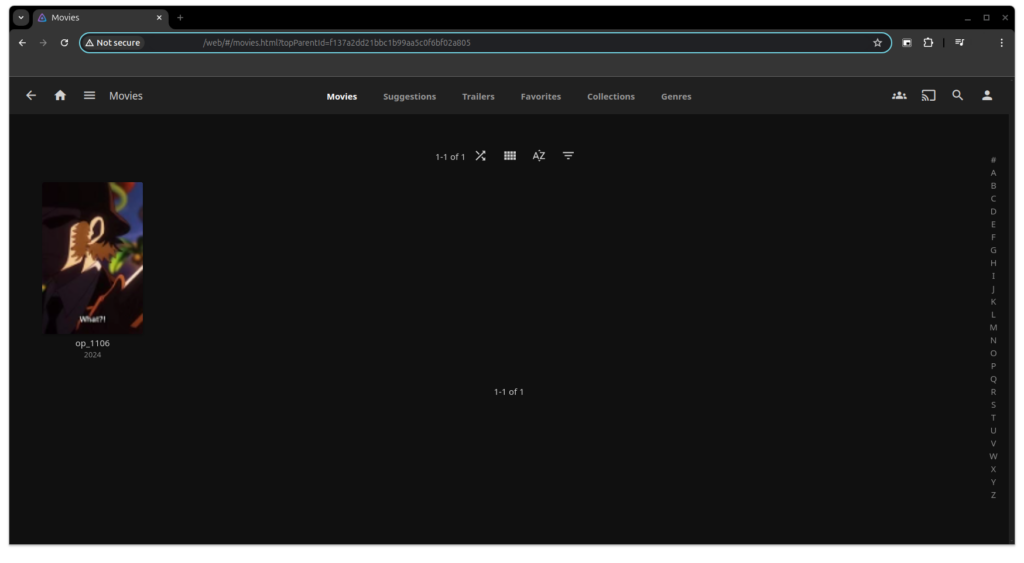
Now go put all your movies and series in your media folder! After waiting a little for your library to refresh, it all shows up.
In case you can’t copy files to your mediia folder use this command:
sudo chmod go+rw .data/mediaAnd that’s it, you should now be able to host your own movies and series to see either at your home on any device, or even while you are outside (if you setup port forwarding and maybe a reverse proxy).
As always, thanks for reading and stay tuned for more tech insights and tutorials. Until next time, keep exploring the world of tech!