If you have a homelab or are the ‘tech guy’ of the family, you might spend some time installing different operating systems in many computers. That can become anoying and costly if you are always reflashing your flash drive with a different operating system. That can be avoided with today’s article’s subject, Ventoy.
Ventoy is a piece of software that let’s you have a flash drive with many operating systems at the same time. You can have an ‘.iso’ for Windows 10, one for Windows 11, one for Ubuntu, one for Fedora, you can have as many operating systems as your drive can handle.
1 - Setting up Ventoy
To install Ventoy you need a USB flash drive with at least 8Gbs (for Windows), but i wouldn’t use anything less than 32 or 64GBs, so that you can have multiple operating systems.
Attention: When installing Ventoy on a USB flash drive, ALL DATA on it will be DELETED, make a backup if you don’t want to lose it.
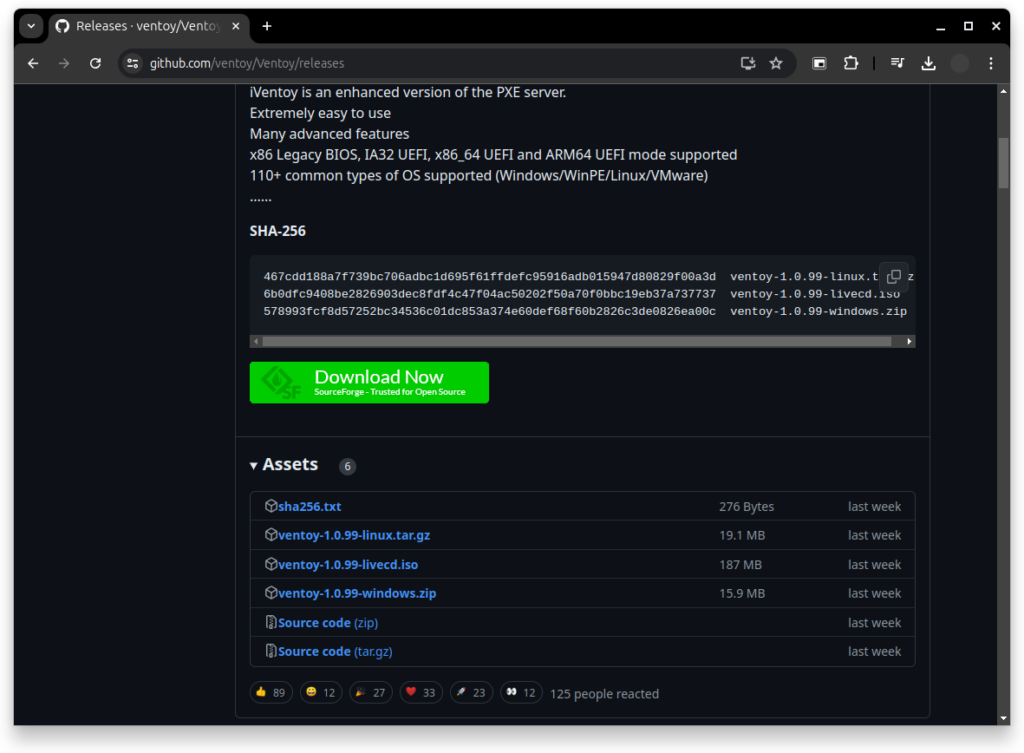
Let’s start by downloading ventoy in their github. After opening the link you should see the latest release with all the download options, because this tutorial is for Ubuntu, we will download the ‘linux.tar.gz’ version.
After downloading the file you need to ‘untar’ it, either with your file explorer or in the terminal and then open the app. If you are on a x64 or x86 system, open ‘VentoyGUI.x86_64’.
You will most likely be prompted for root access, you need to type your password and click ‘Authenticate’. If you are not prompted and then experience some error, try to run the app via a terminal with sudo.
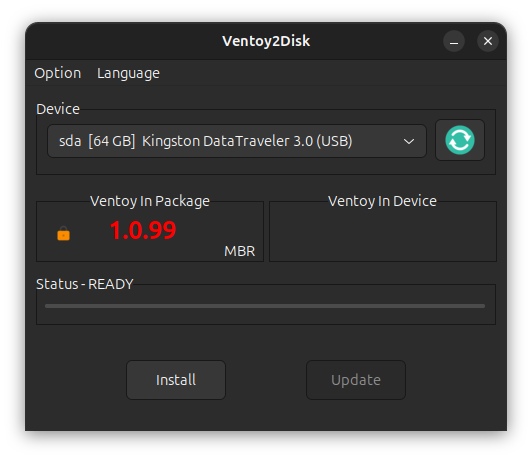
Now you can choose your device in the dropdown menu, but be 100% sure you chose the right one!
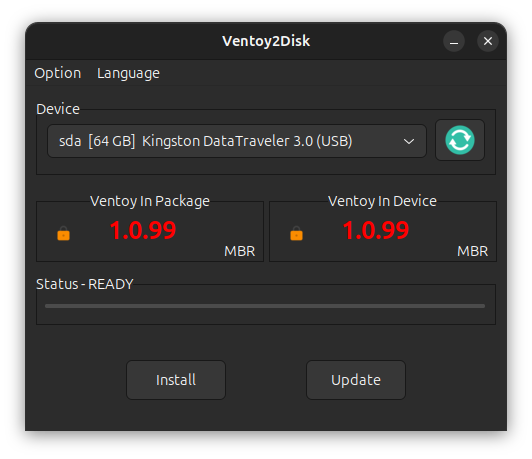
You can see in the middle which version your installer is running, and if you already used ventoy, you can also see which version was installed on your USB drive.
After clicking install you will be warned about the data deletion that will occur in your usb drive. Once again, double check the chosen device!
You can then click continue and Ventoy will be installed on your drive.
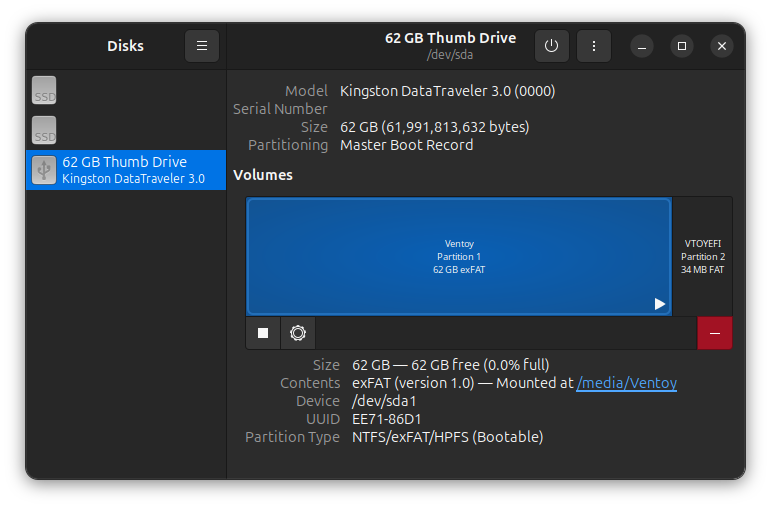
In the Disk Partition tool we can see that now our thumb drive has 2 partitions, one is called Ventoy, and the other is VTOYEFI.
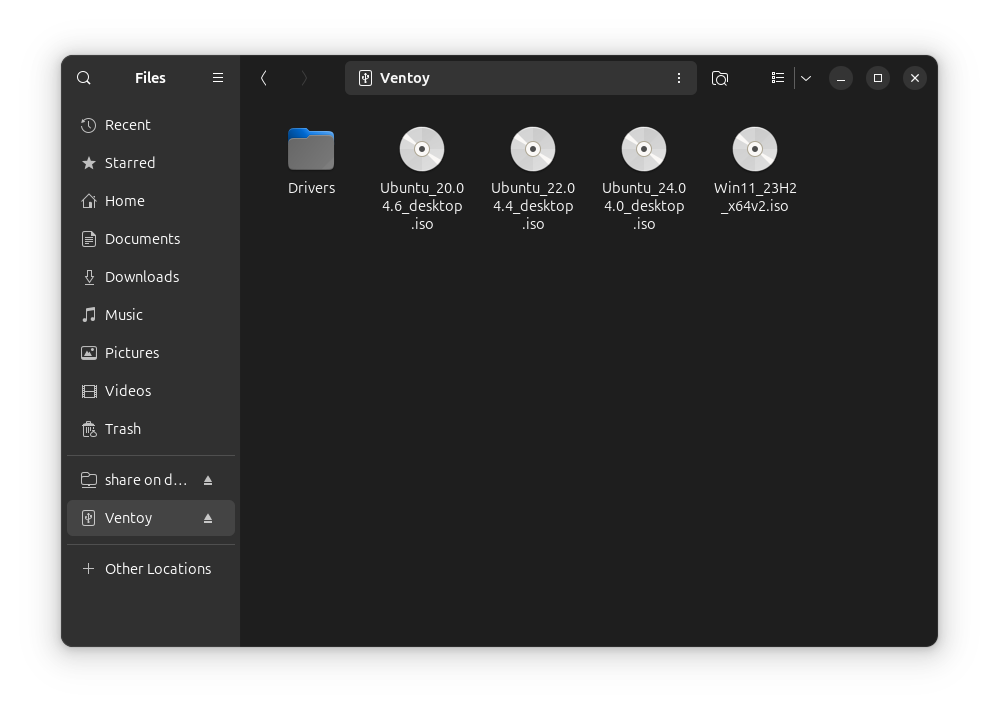
The VTOYEFI partition is the one we will boot into, and the Ventoy partition is the one that appears in our File Manager, and where we will drop our operating system isos.
After filling your Ventoy partition with your favorite operating systems we are ready to use it!
Note: I have a ‘Drivers’ folder on my ventoy drive because my Laptop requires M.2 drivers from intel for them to show on Windows and my desktop PC needs Ethernet drivers to be able to access the internet and download the other needed ones. Most likely you won’t need any drivers for Linux, and will only need WiFi or Ethernet drivers for older motherboards on Windows.
2 - Using Ventoy
For this part of the tutorial, to be able to take screenshots, I will be using an ‘Empty’ virtual machine running in KVM.
To access ventoy you need to press a button that will show you a list of available partitions to boot into. On Asus laptops and motherboards it is usually the ESC key and, on MSI, the F11 key. You can easely look this information by seaching ‘Brand boot menu key’.
If you find 2 partitions with your drive name try the first one first, if that does not work try the second one.
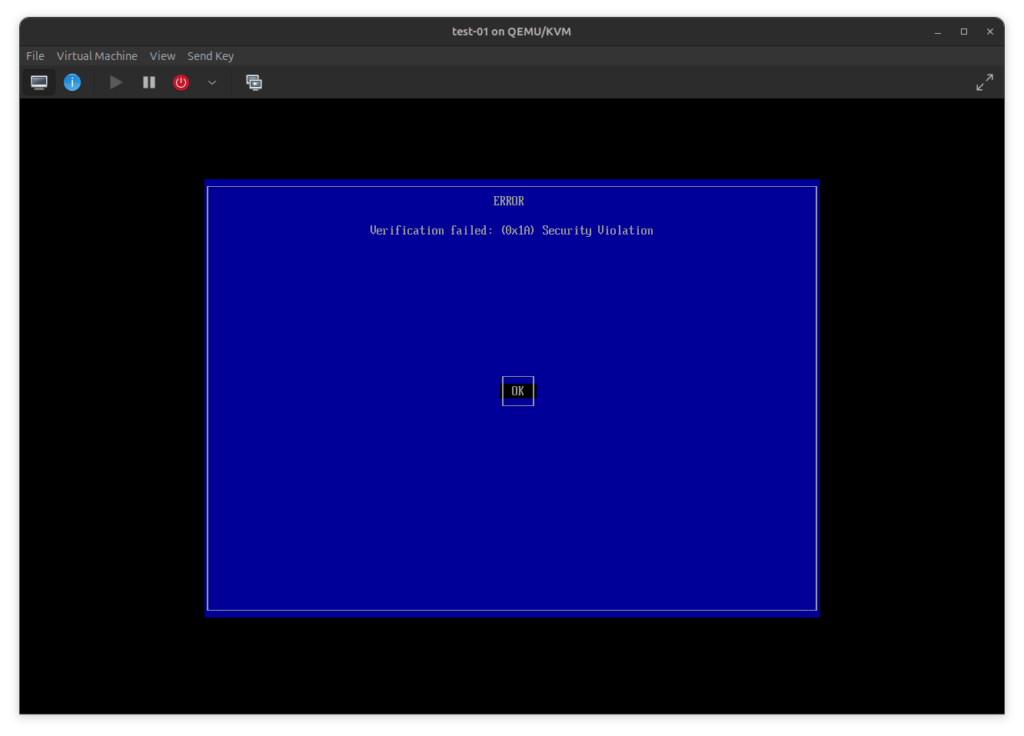
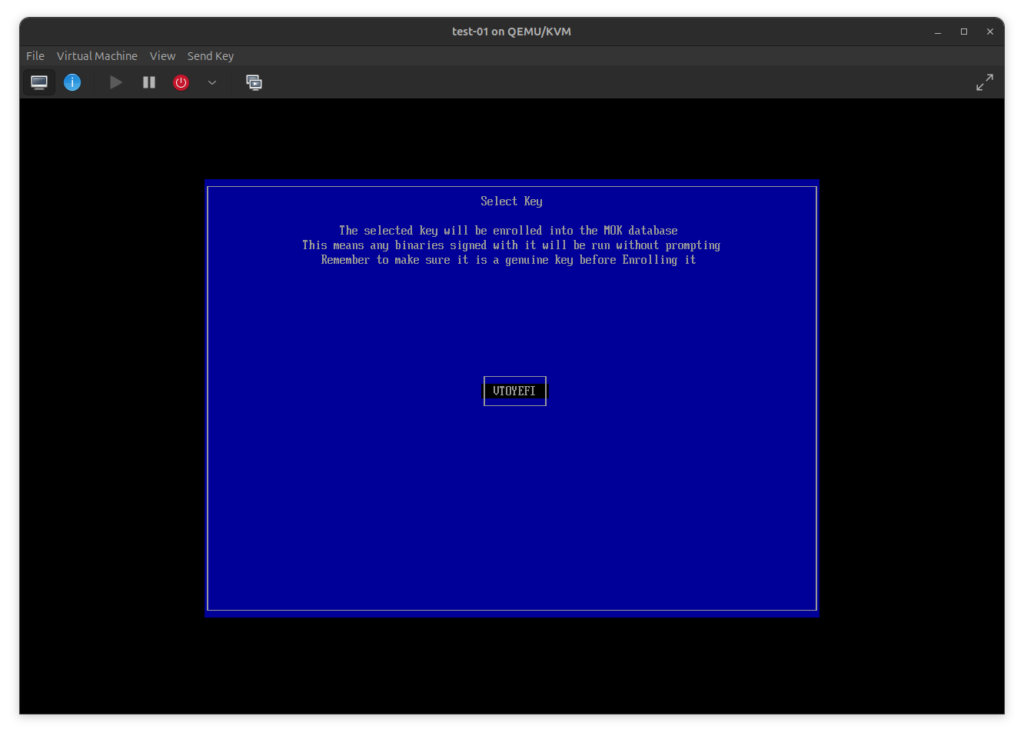
You will then receive a worrying warning, so i will show you in this sequence of screenshots, how to procede:
Press ENTER
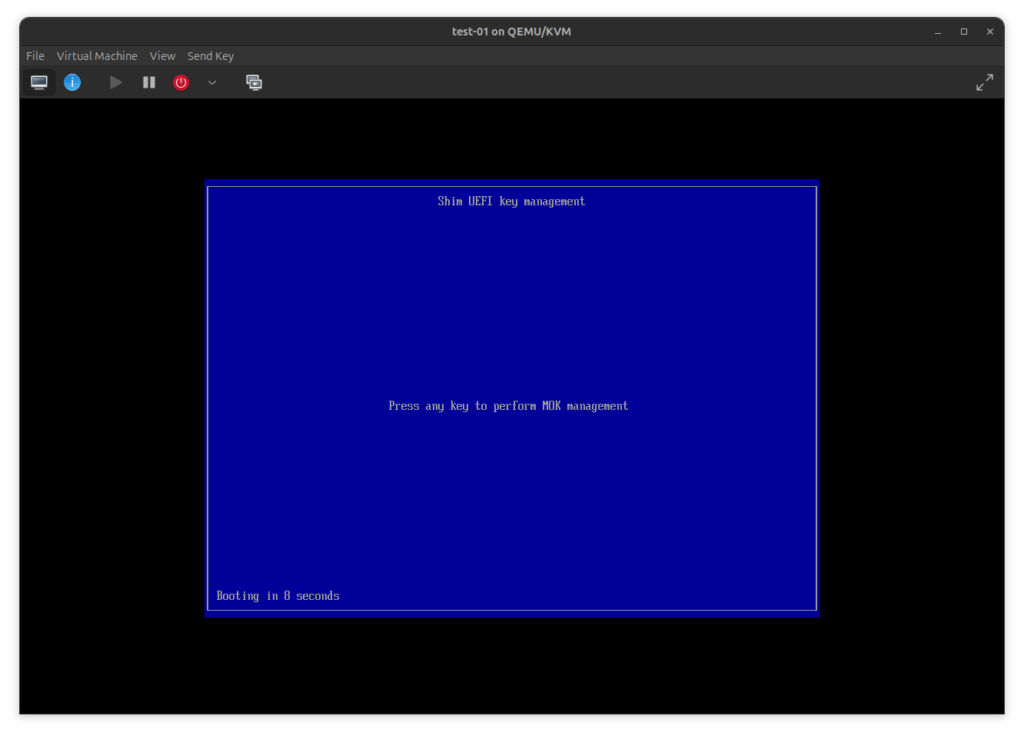
Press ENTER again
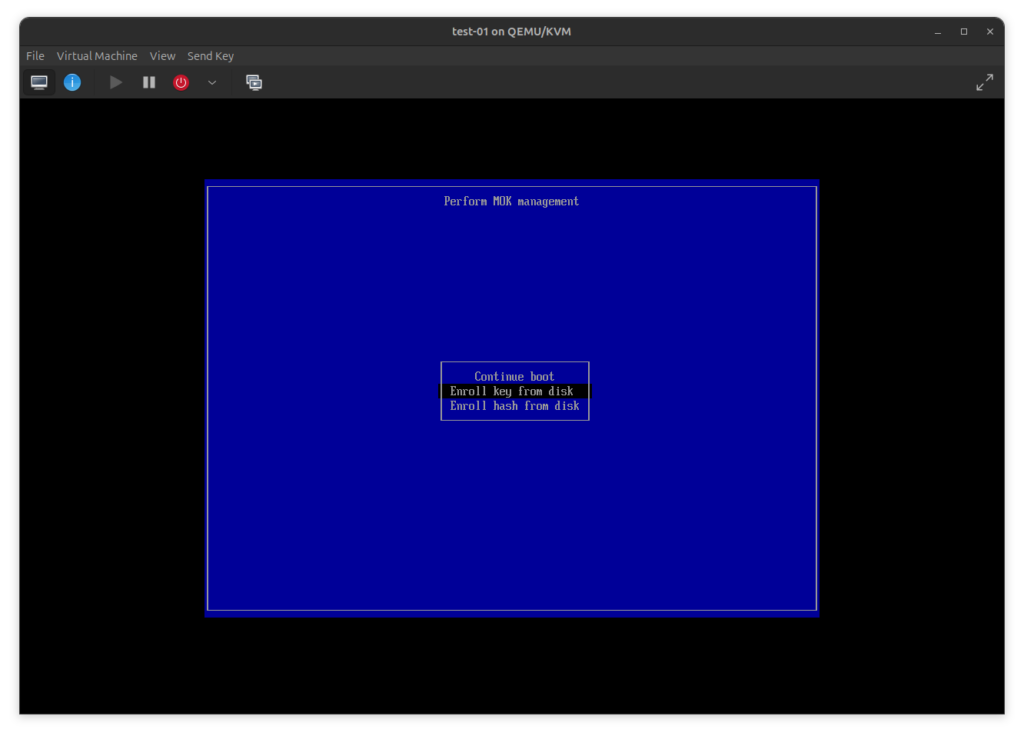
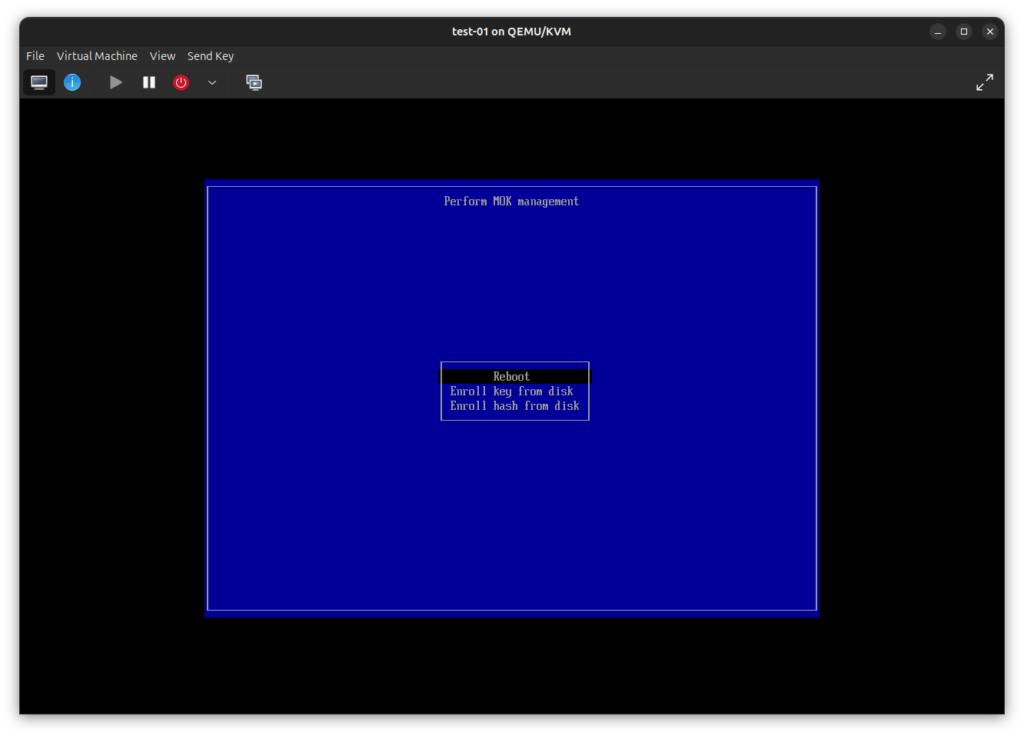
Select 'Enroll key from disk'
Press ENTER
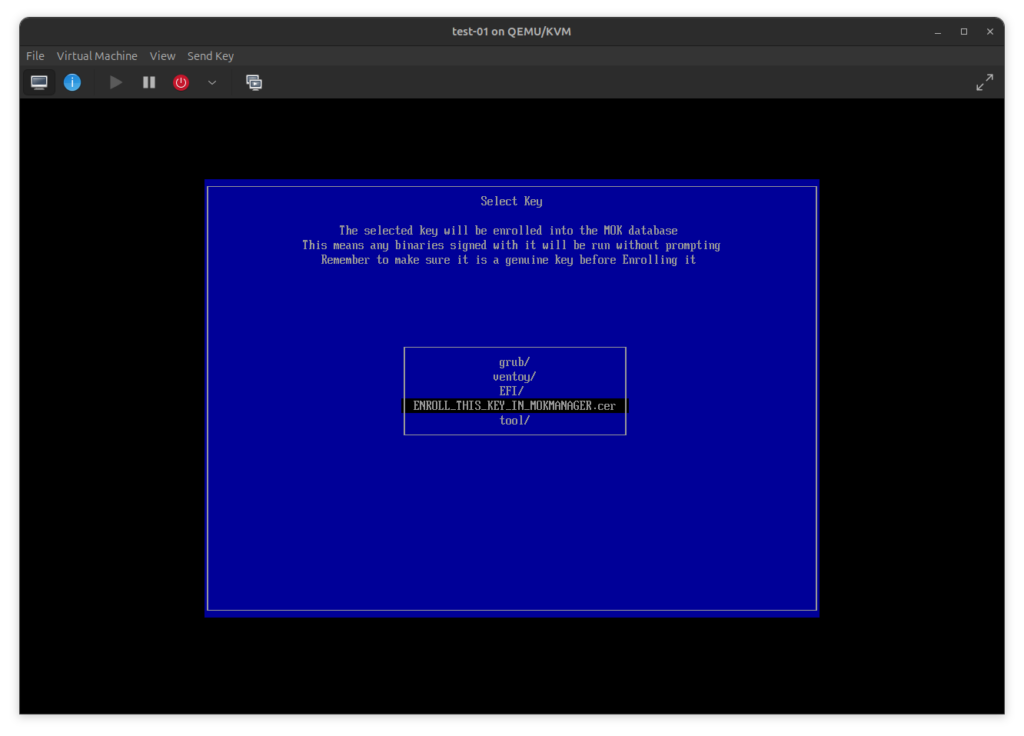
Select 'ENROLL_THIS_KEY_IN_MOKMANAGER.cer'
Select 'Continue'
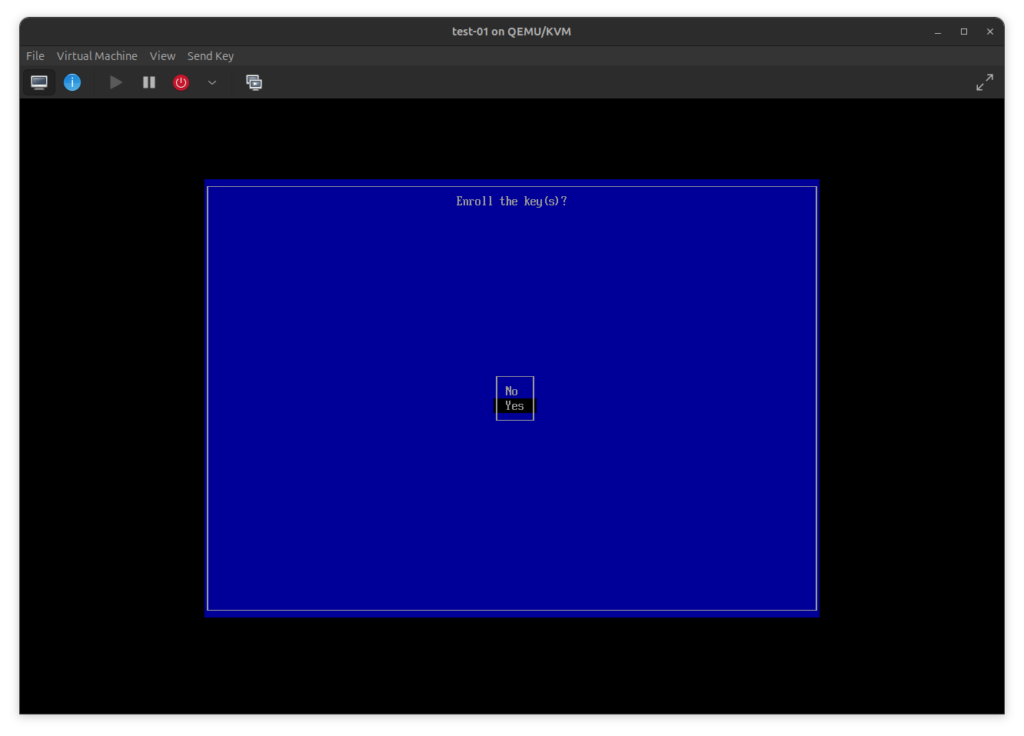
Select 'Yes'
Select 'Reboot'
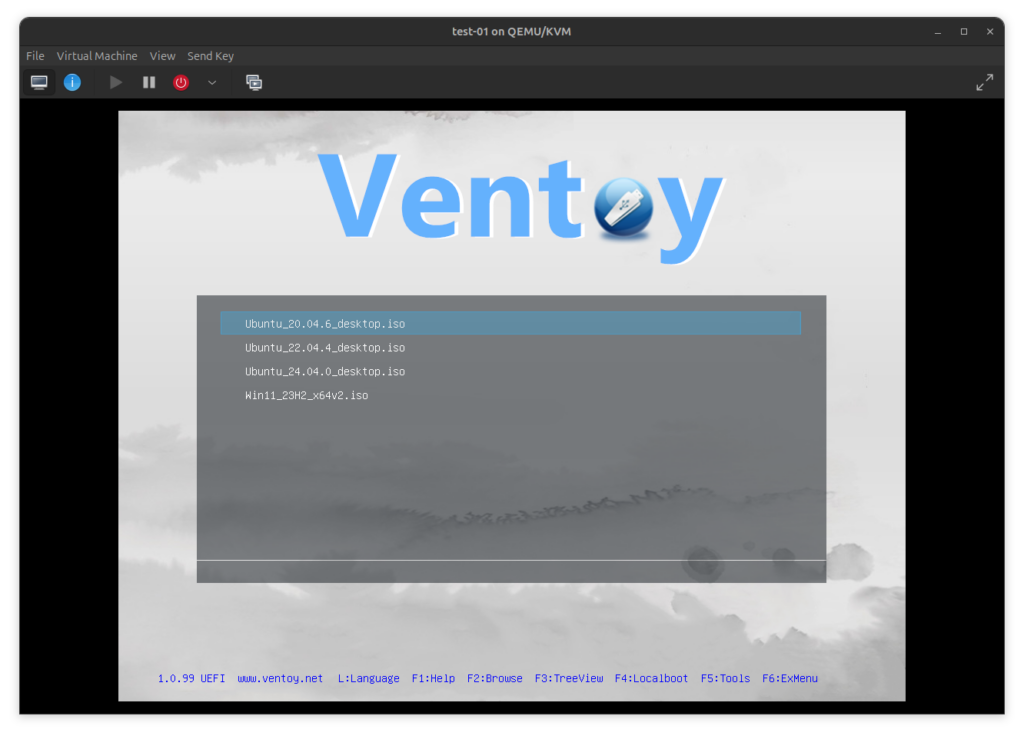
After this process you should now be booted into Ventoy, if you are not, boot again into the boot menu (Asus – Esc, MSI – F11) and you should be booted to the right place.
In here you can now use the up and down arrow to move the selected os and press enter to select it. In this article we will install Ubuntu 24.04 in this VM.
After selecting your OS, you will have to choose the boot mode, usually the ‘normal mode’ works, if it doesn’t, the second option (grub2 for linux and wimboot for windows) may solve some problems.
3 - Install Ubuntu
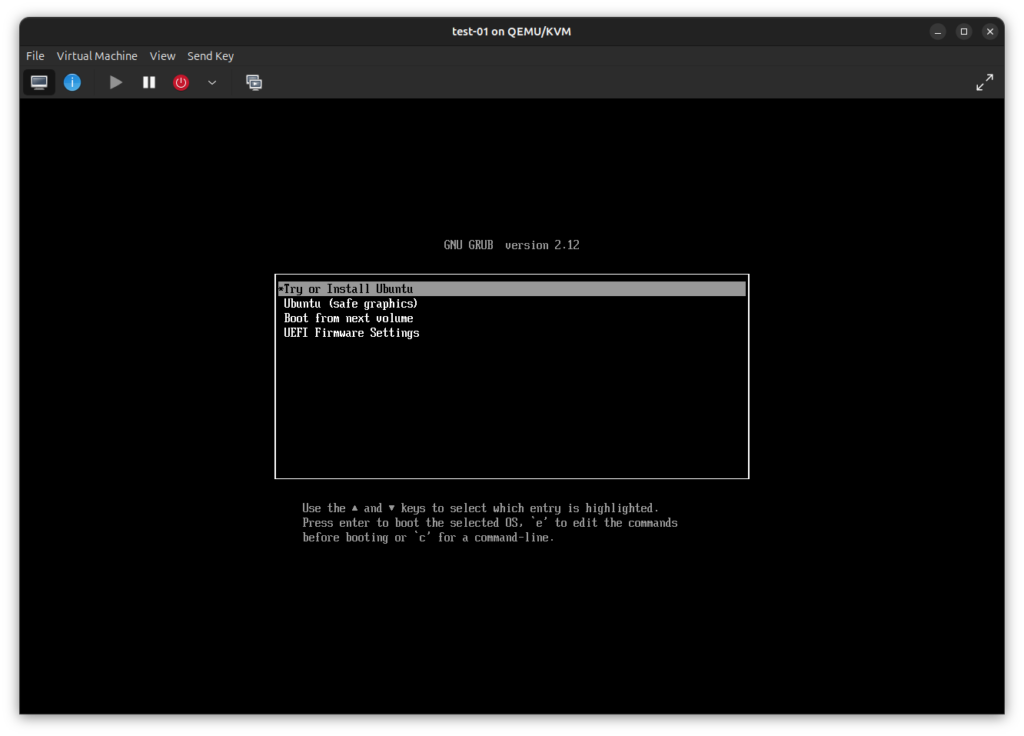
After selecting to boot a Ubuntu image, you will be greated with grub2, in here you can choose the option to ‘Try or Install’ the operating system.
Then just wait a while…
Once again i will show you a sequence of images for you to follow:
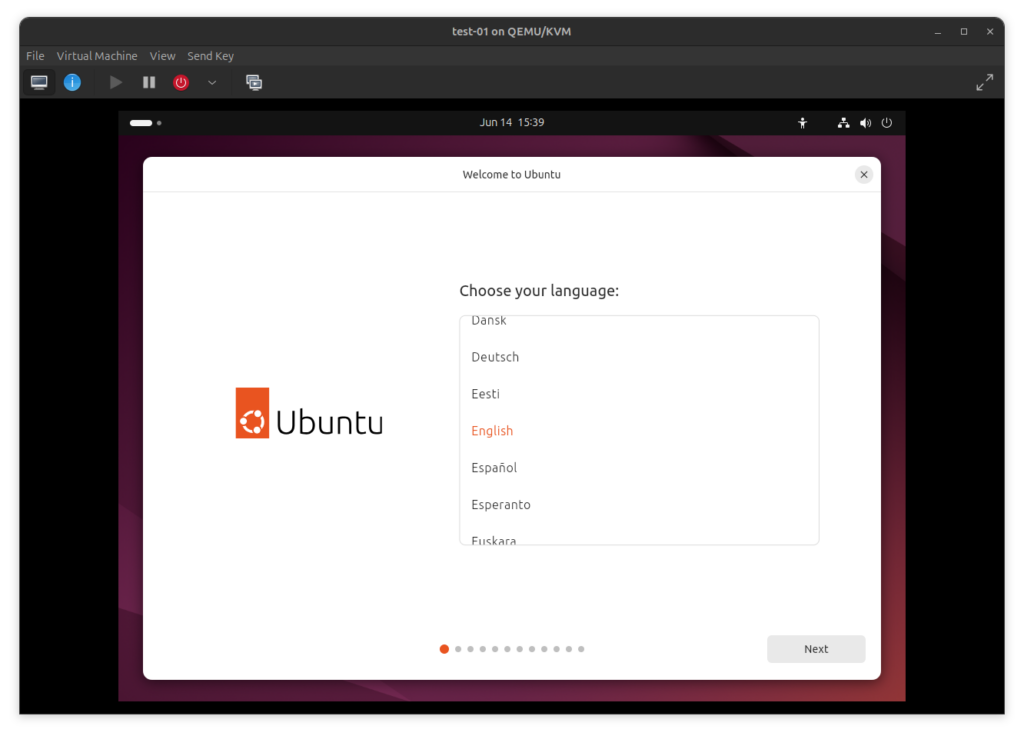
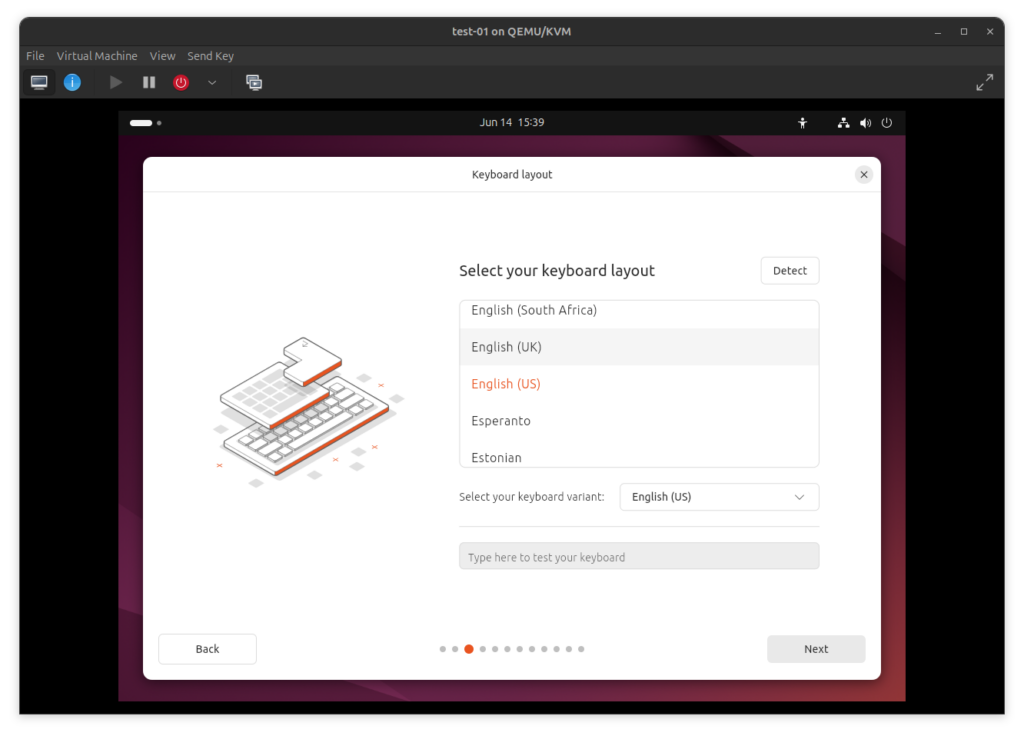
Select your language
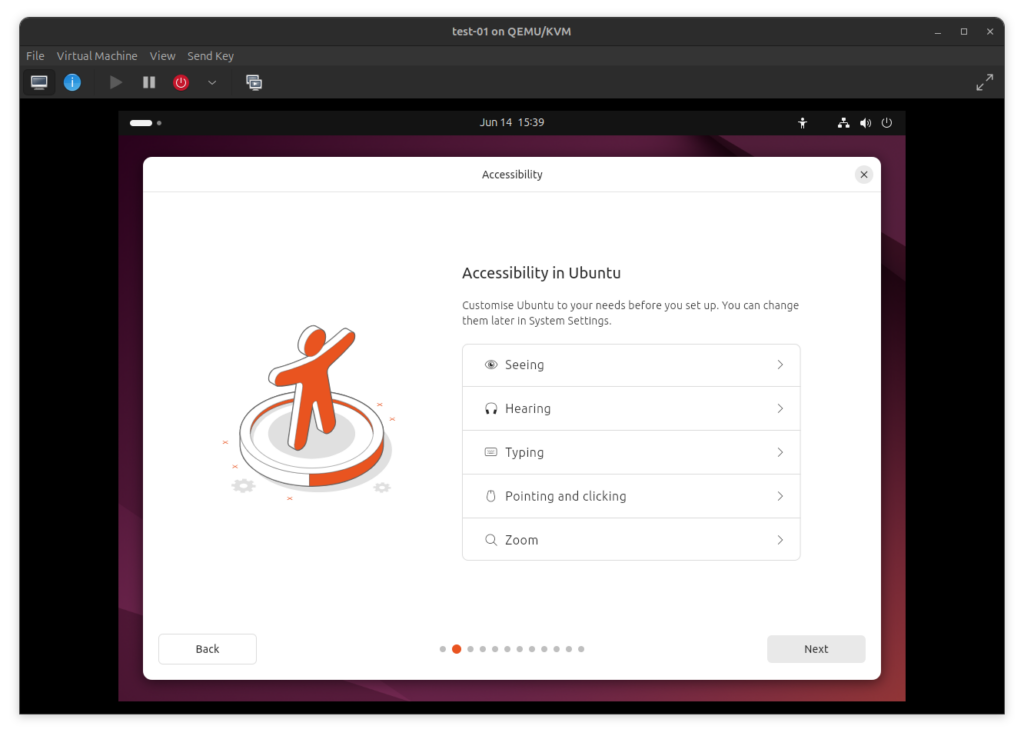
If you do not need it, skip accessibility options
Press 'Detect' and do the 'challenge'
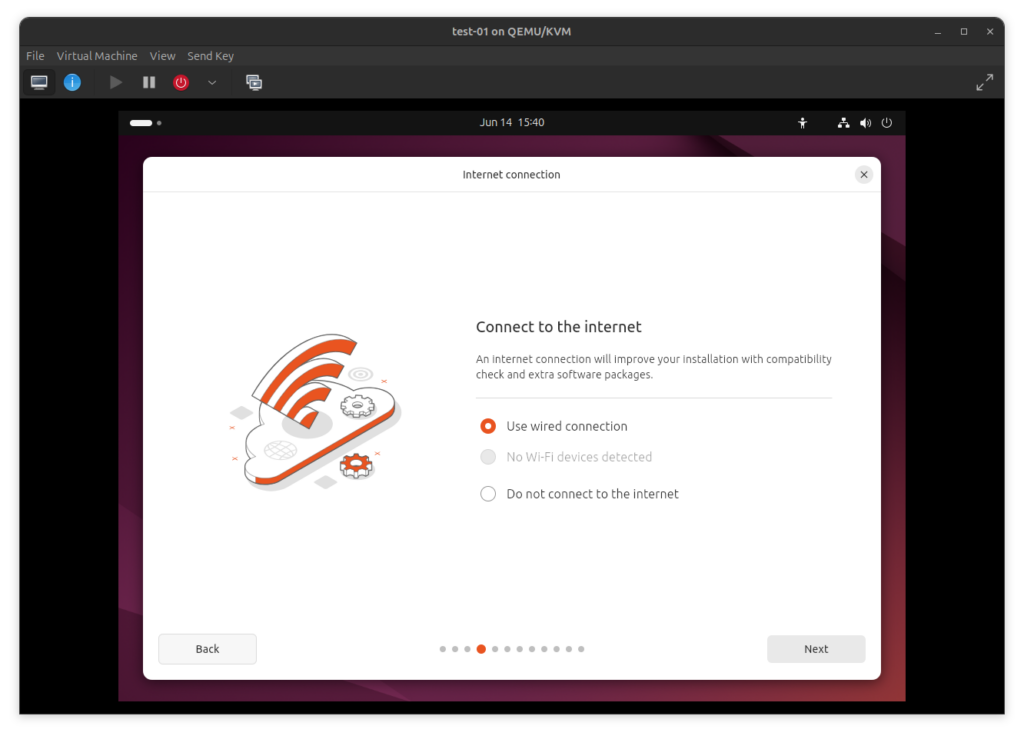
Select your WiFI, or cable and press next
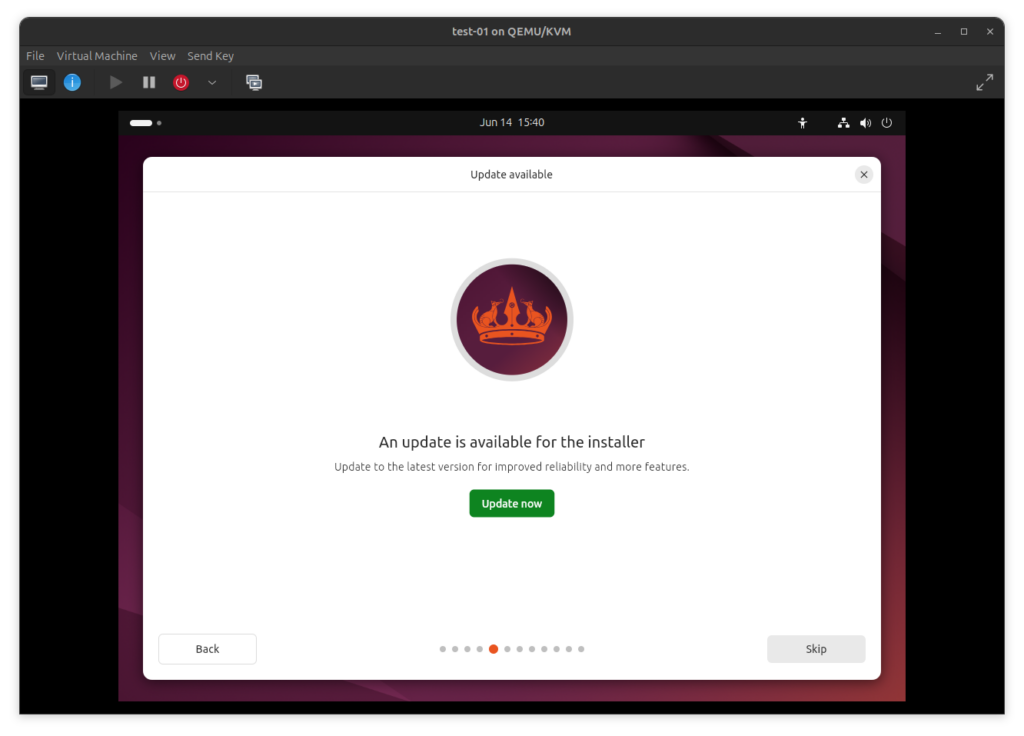
If prompted to update, do it
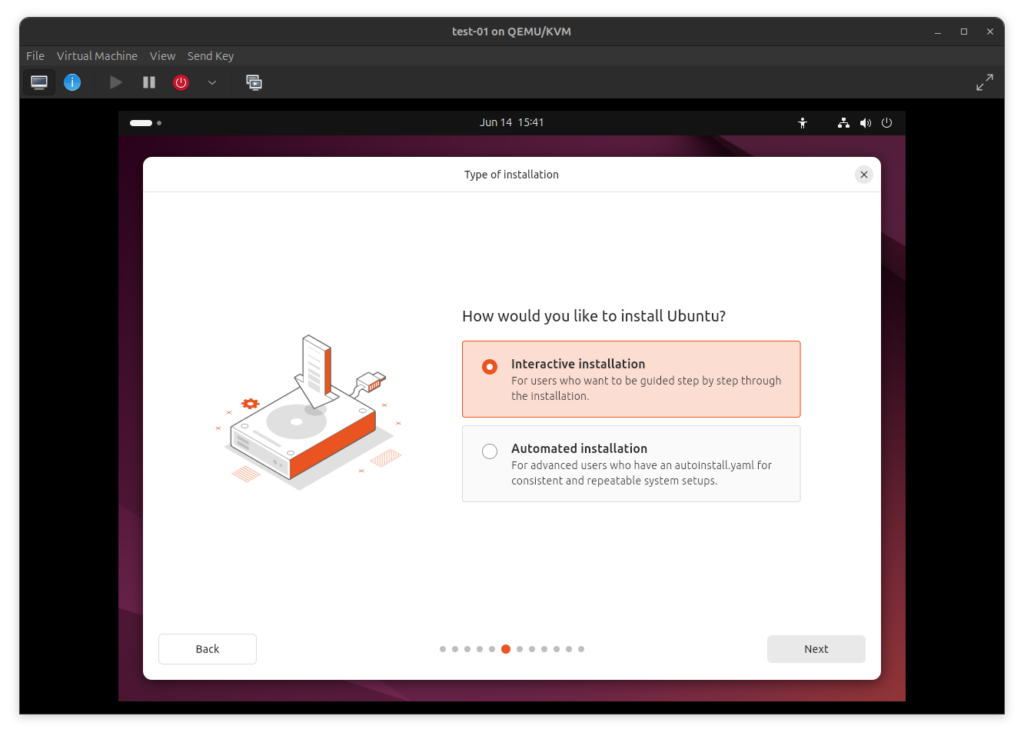
Select 'Install Ubuntu'
Select 'Interactive Instalation'
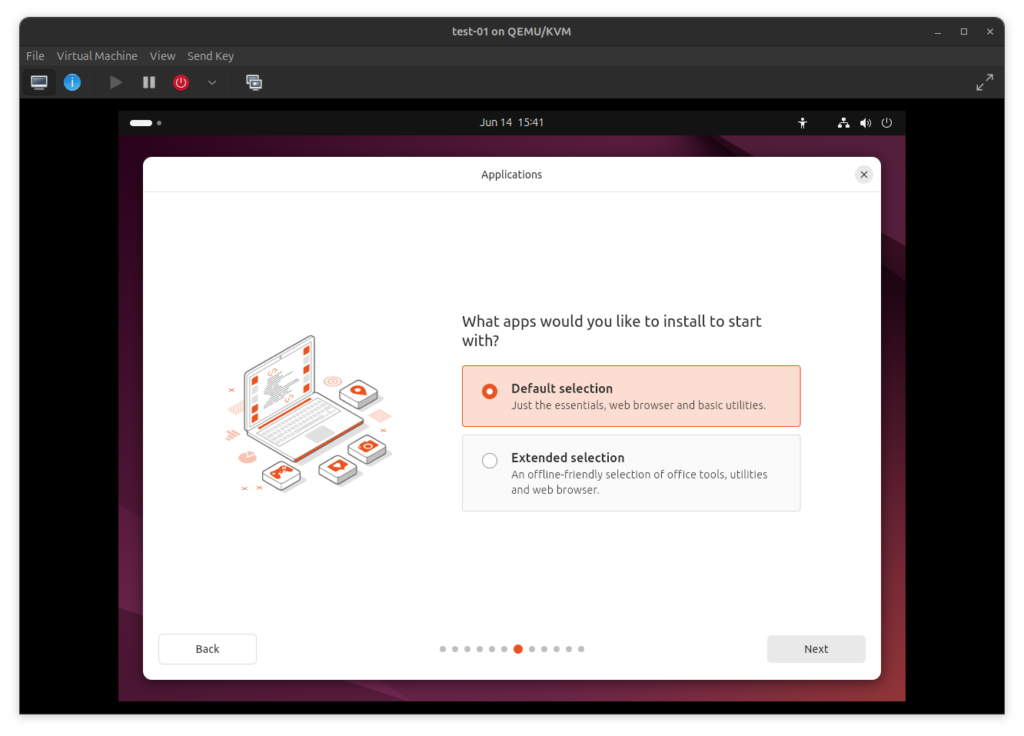
Select 'Default selection'
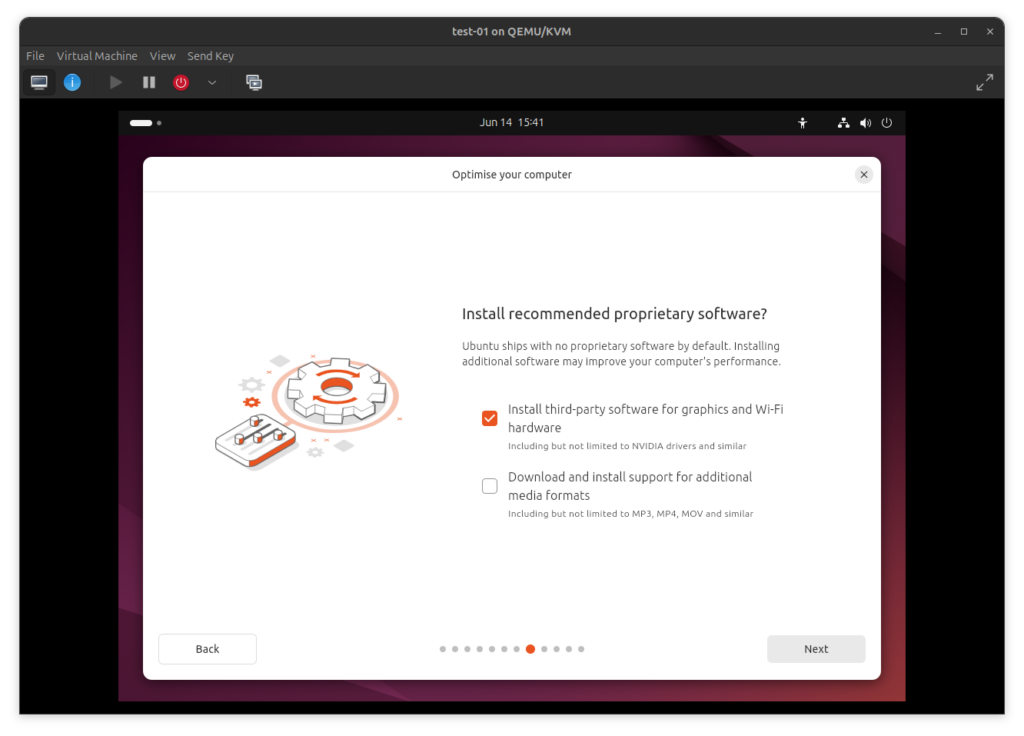
If you have a Nvidia GPU select the first option
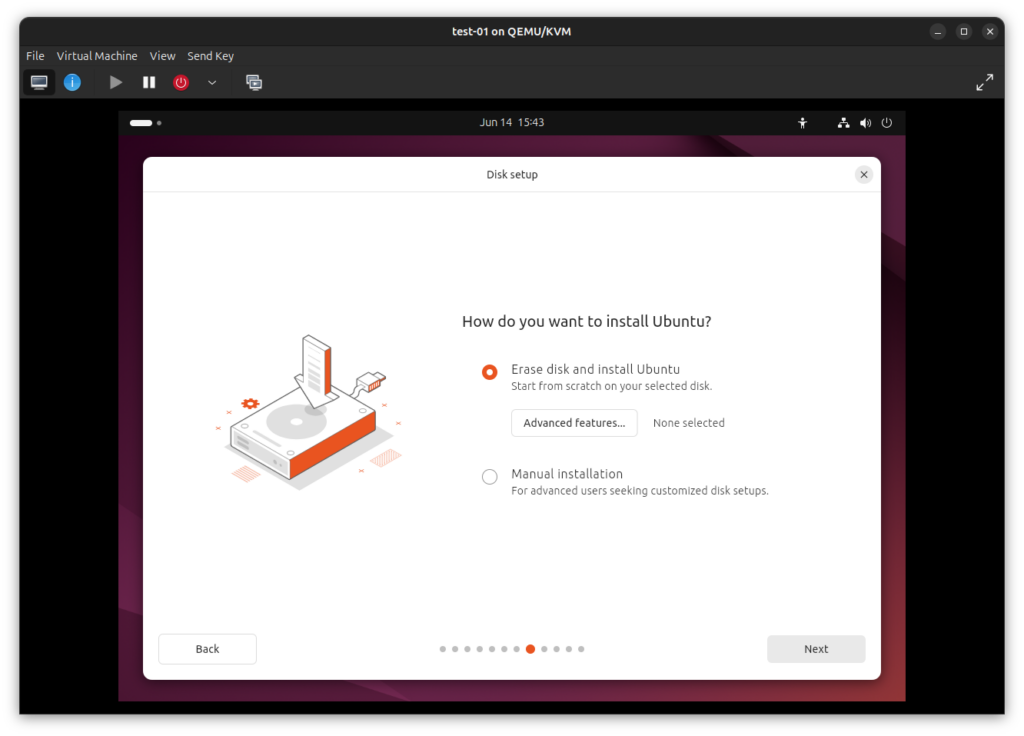
Select 'Erase disk'
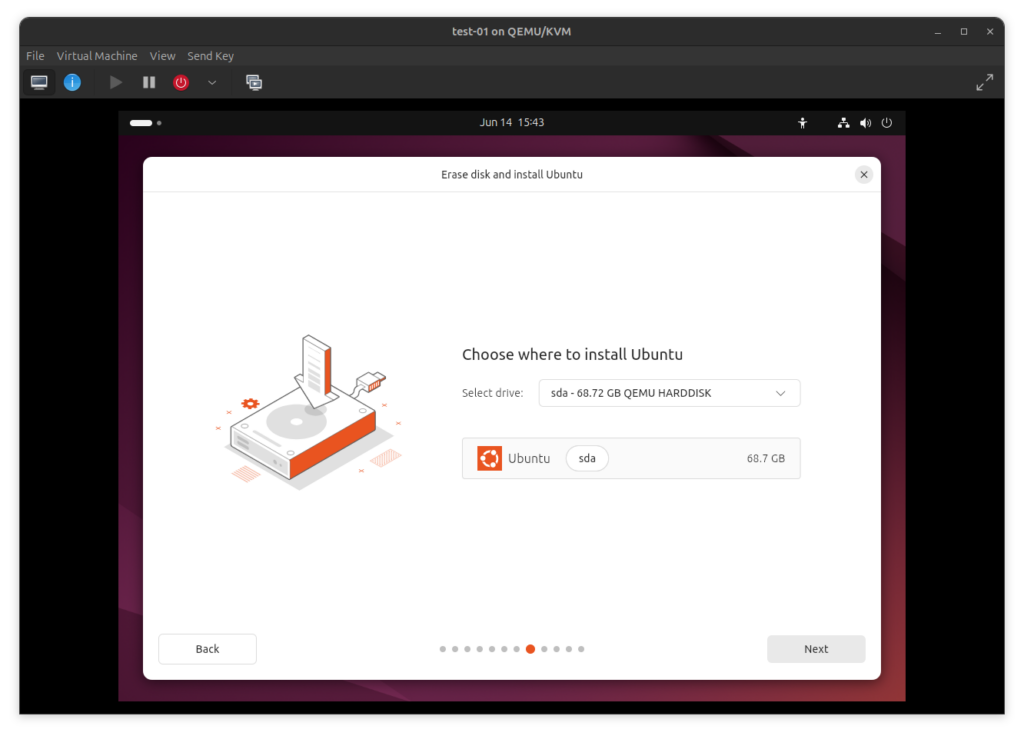
Select your drive
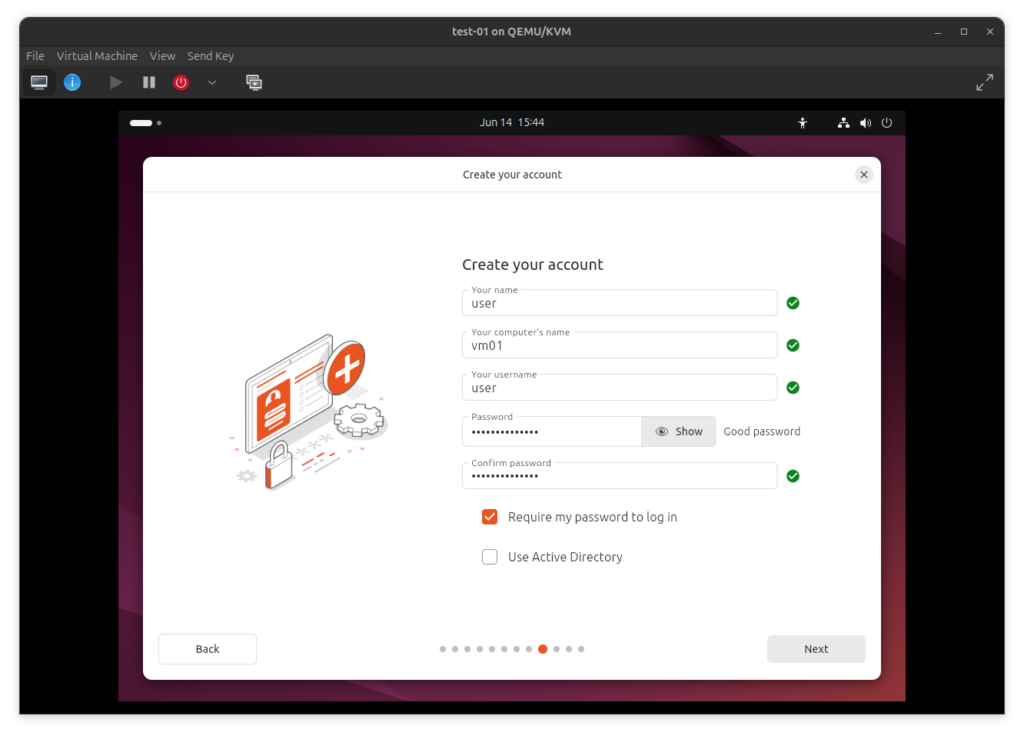
Input your name, pc name and password
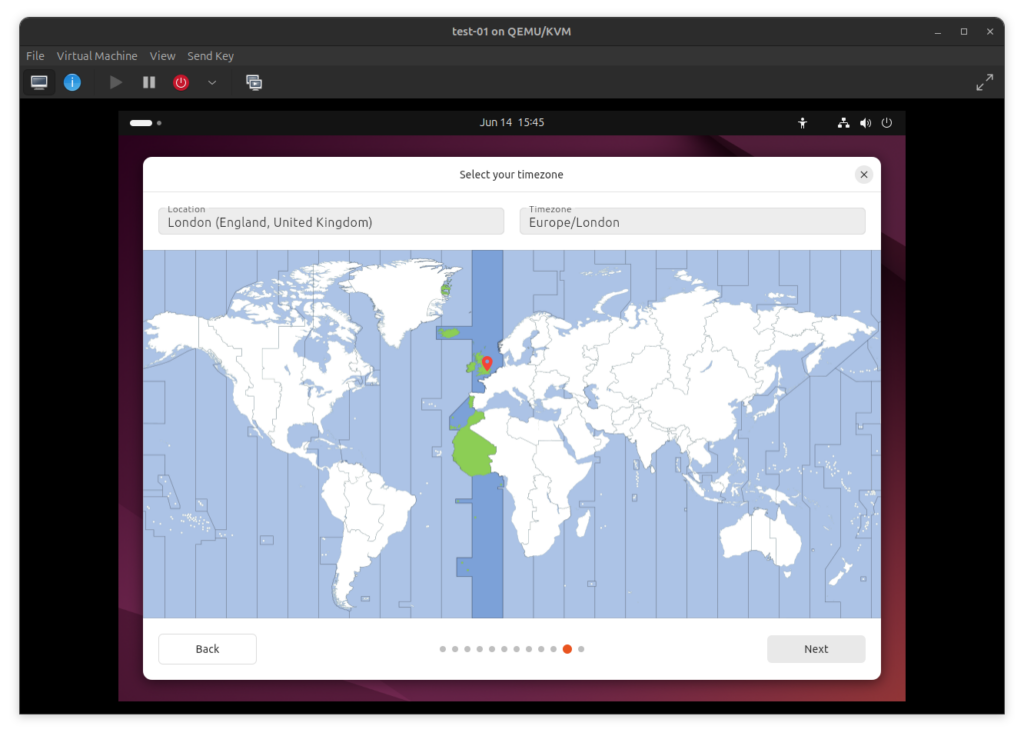
Select your city and timezone
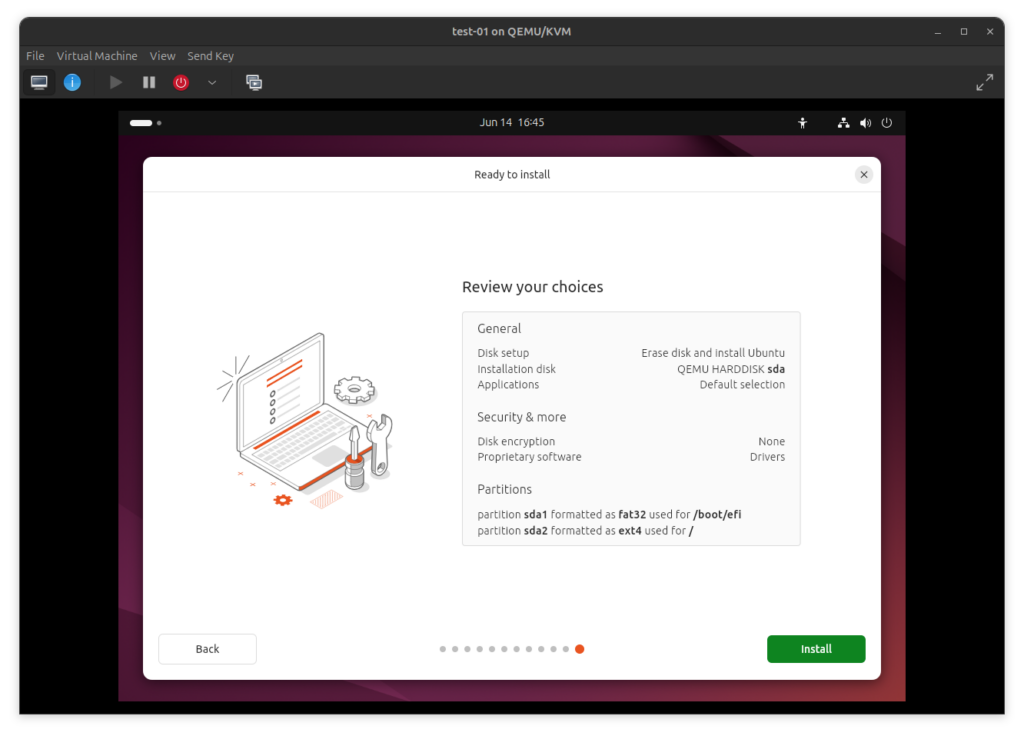
Double check and press 'Install'
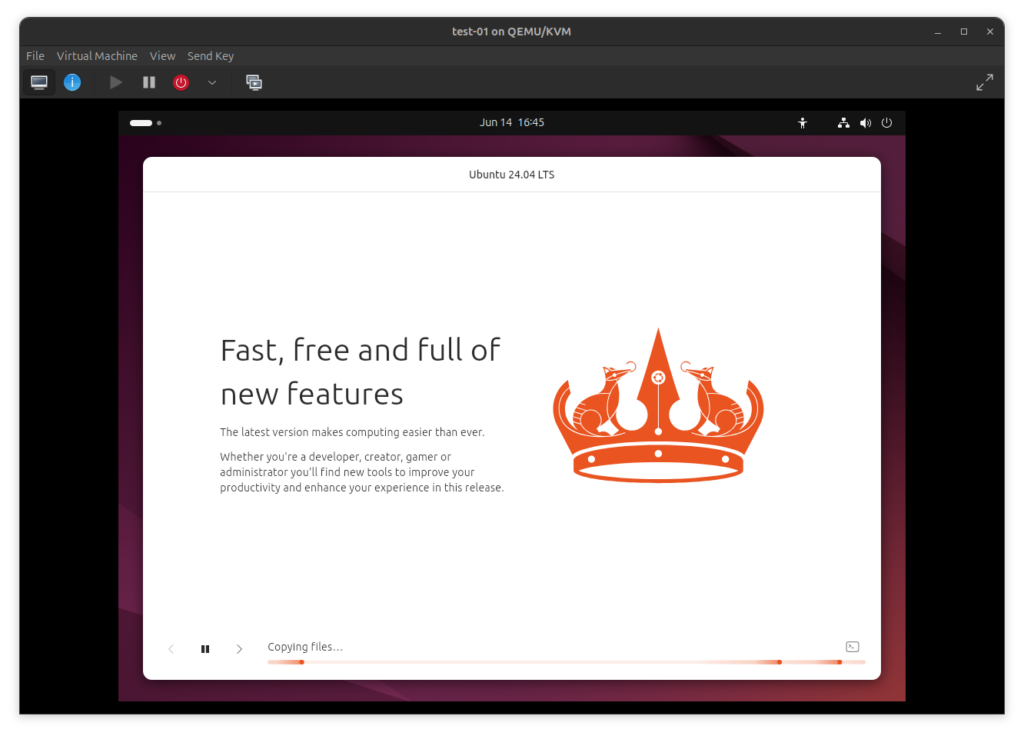
Wait...
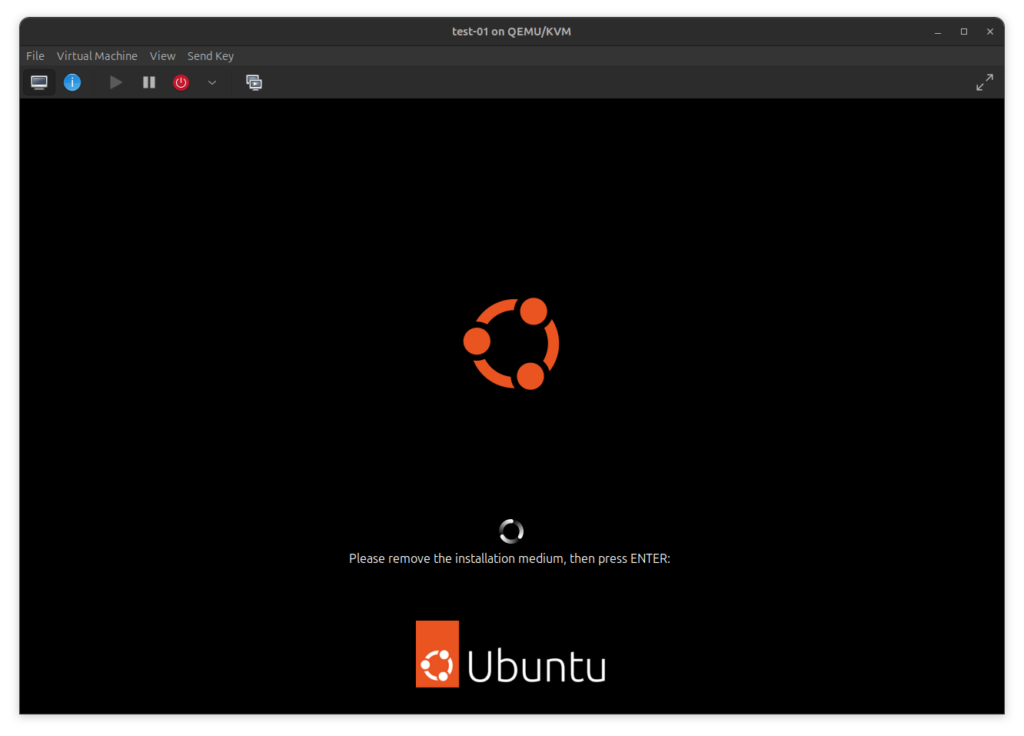
Remove your USB drive and press ENTER
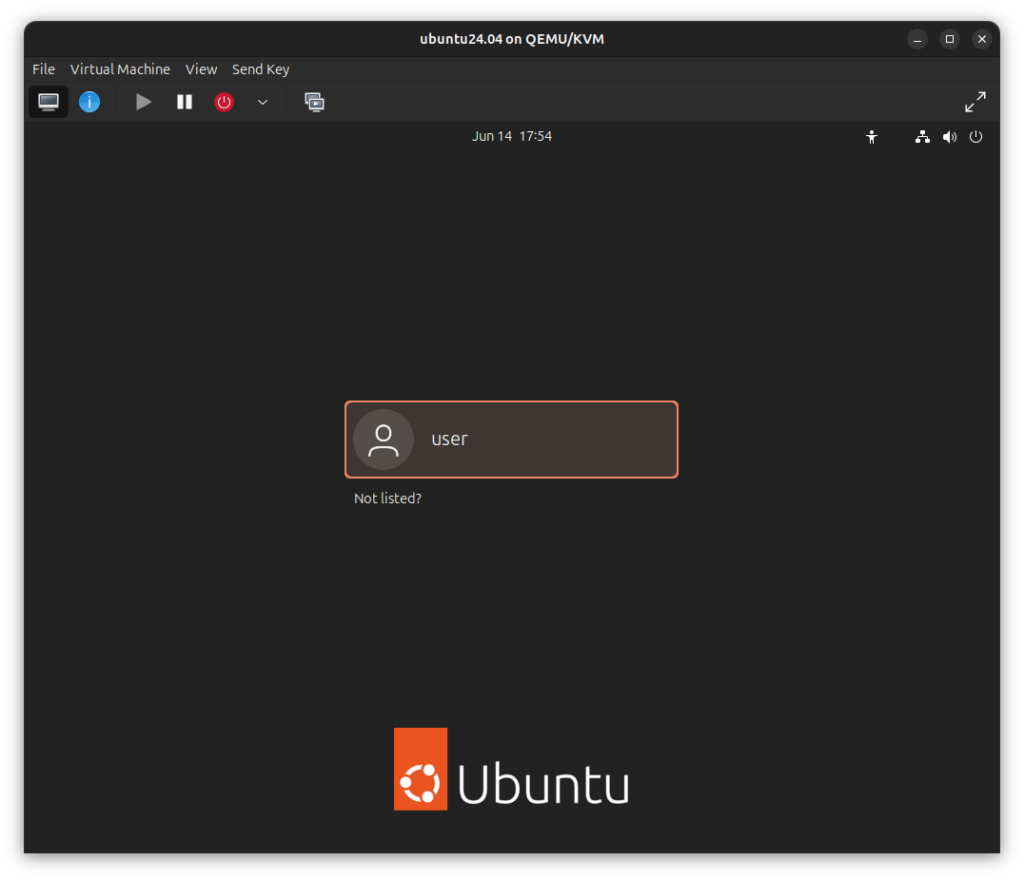
And that’s it, you should now have Ubuntu running on your machine and a USB drive perfect for when you need to format a pc.
If you need SSH on your new system you can check a tutorial here and, if you need a way to share a folder in your local network, you can check how to make a smb or nfs folder.
As always, thanks for reading and stay tuned for more tech insights and tutorials. Until next time, and keep exploring the world of tech!