If you started using Ubuntu after only using Windows for lots of years, you might find the default experience weird, a top bar and a left bar? You might even find other problems with it. You might not like the default control panel, or how the calendar looks. Well, you can change almost everything with extensions, and that’s the tutorial of today’s article.
1 - Install
To get extensions you need to first, get the browser extension, that changes depending on which browser you have, for firefox click here, for chrome here and for other browsers if you search ‘Gnome Extensions browser’ it is likely you will find it.
After downloading the extension for your browser, you need to install the connector on your pc, but before it, update your system:
sudo apt update
sudo apt upgrade
sudo apt install gnome-browser-connector
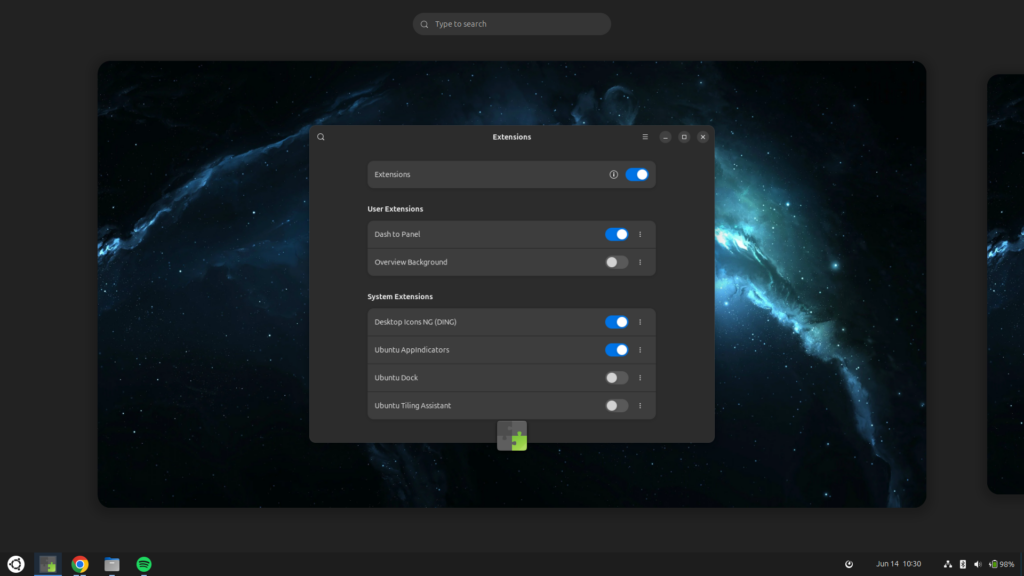
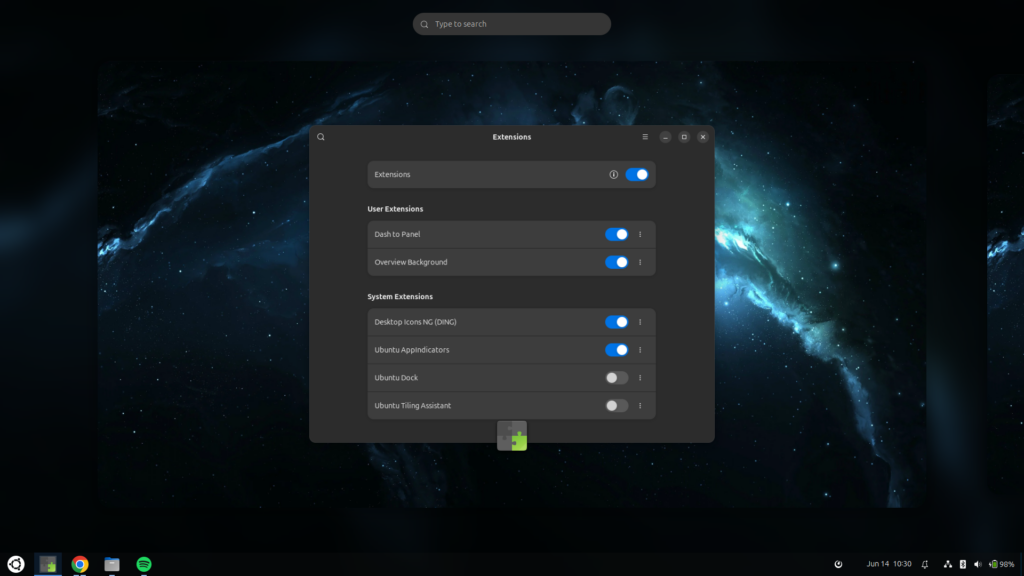
Now with both installed you are ready to get new extensions! Just go to extensions.gnome.org, choose one and press the ‘off’ switch to install it. To configure your extension you can go to the app menu on ubuntu and search ‘extensions’ or go here.
2 - Extensions I use
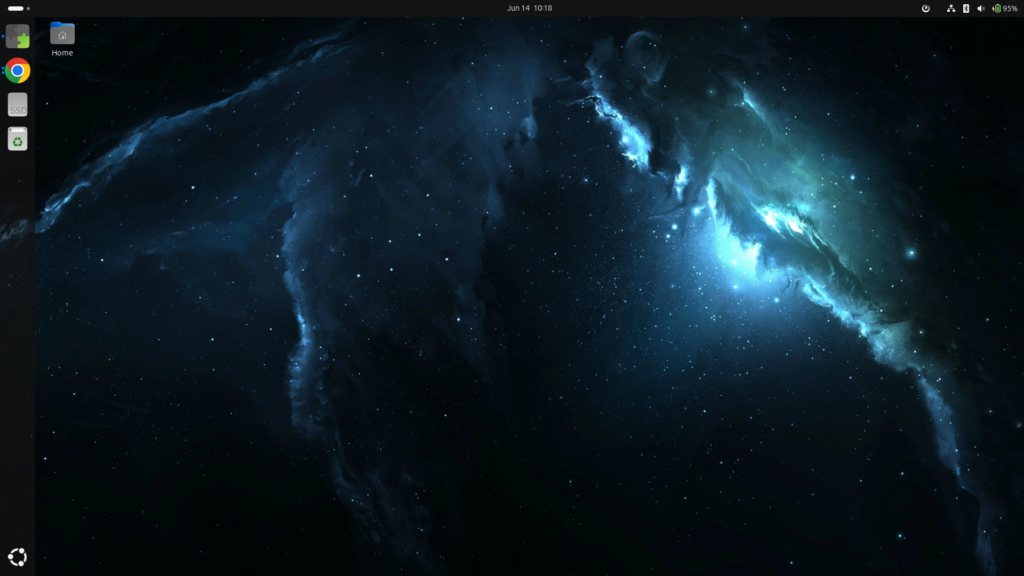
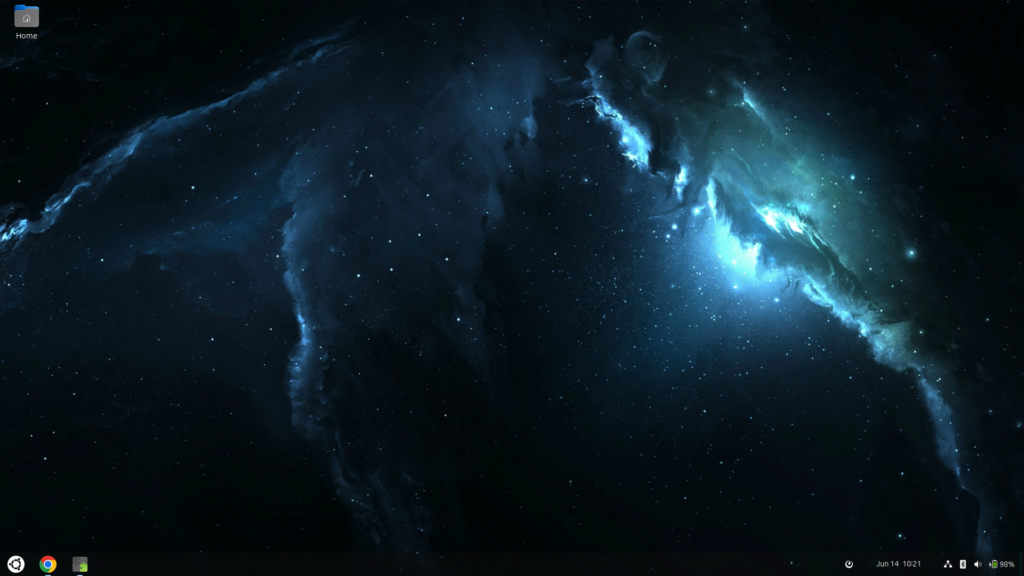
A very cool extension that merges the top bar with the left bar is ‘dash-to-panel‘, and it is very good mainly for windows users who cannot accept the screen space that two bars occupy. Here you can see the before and after:
Without dash-to-panel
With dash-to-panel
Another extension i use is ‘Overview Background‘, it is very simple, it just shows your background, blurred, when you go to activities or the app menu.
Without Overview Background
With Overview Background
And that’s it, now that you know how to install an extension you can go look for the thing you miss the most in your desktop.
As always, thanks for reading! Stay tuned for more tech insights and tutorials. Until next time, and keep exploring the world of tech!